In the spotlight

Ricky Huang
Prosthodontics Resident at Harvard School of Dental Medicine
United States
Brilliant design with strong customization (nine site options for different cases) and the mounting calibration, which should improve accuracy!
Necessary cookies keep the cart, your language and this choice working. With your consent we also use analytics cookies to see which pages help, and marketing cookies to measure our ads. Read the privacy policy and the cookie policy.
Articulator · Flex
Use DACOS Omni Flex on your Bio-Art articulator: bond the plates once, then mount every model magnetically. Flex covers A7Plus, A7Fix and 4000-S.
See the recommended kit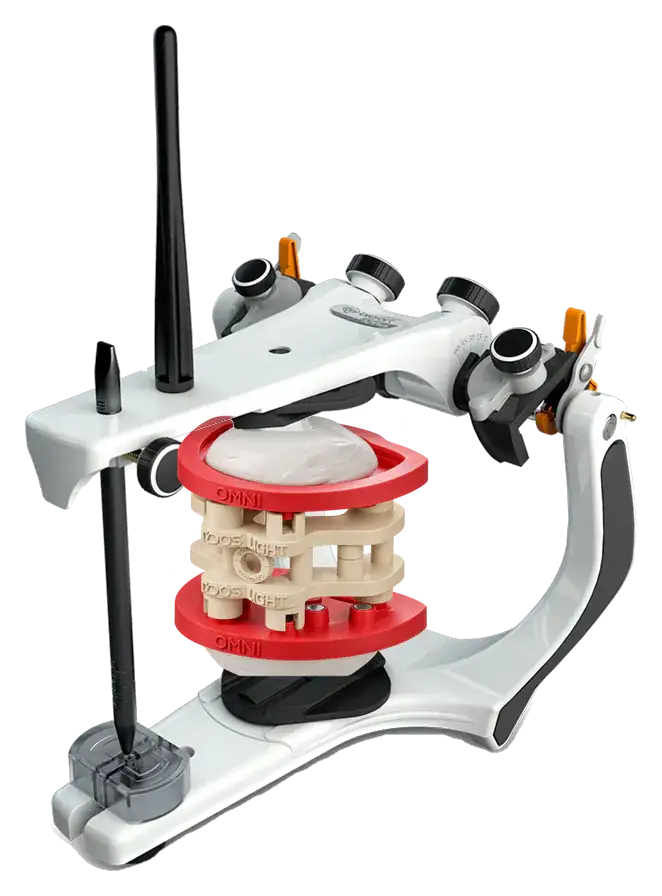
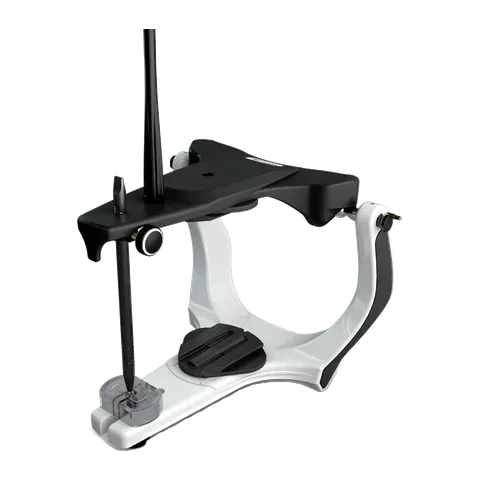
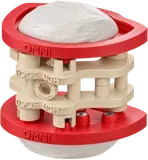
A7Fix
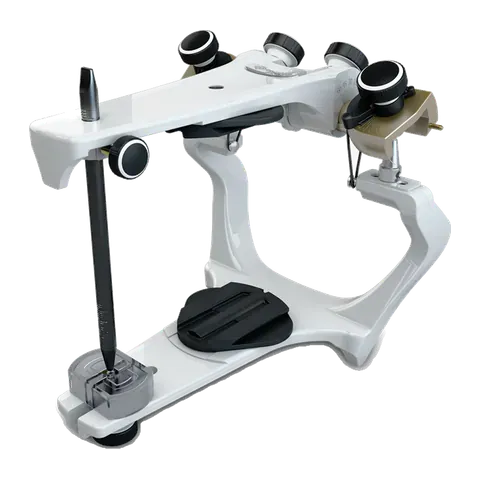
4000-S
Pick the height for your cases: Light for no implants or implants on one arch, Ultra for implants on both arches, Duo for both heights in one box.
Full kit detailsDACOS Omni Flex
Price: USD 366.60
Charged in USD. Estimate at today’s ECB rate.
Prices shown without VAT. Prices in USD. Taxes and duties are shown at checkout. Italian business with a Partita IVA? You can buy without IVA.
Dispatched from Italy within 2 business days
Carrier estimate. Customs clearance can add time outside the EU.
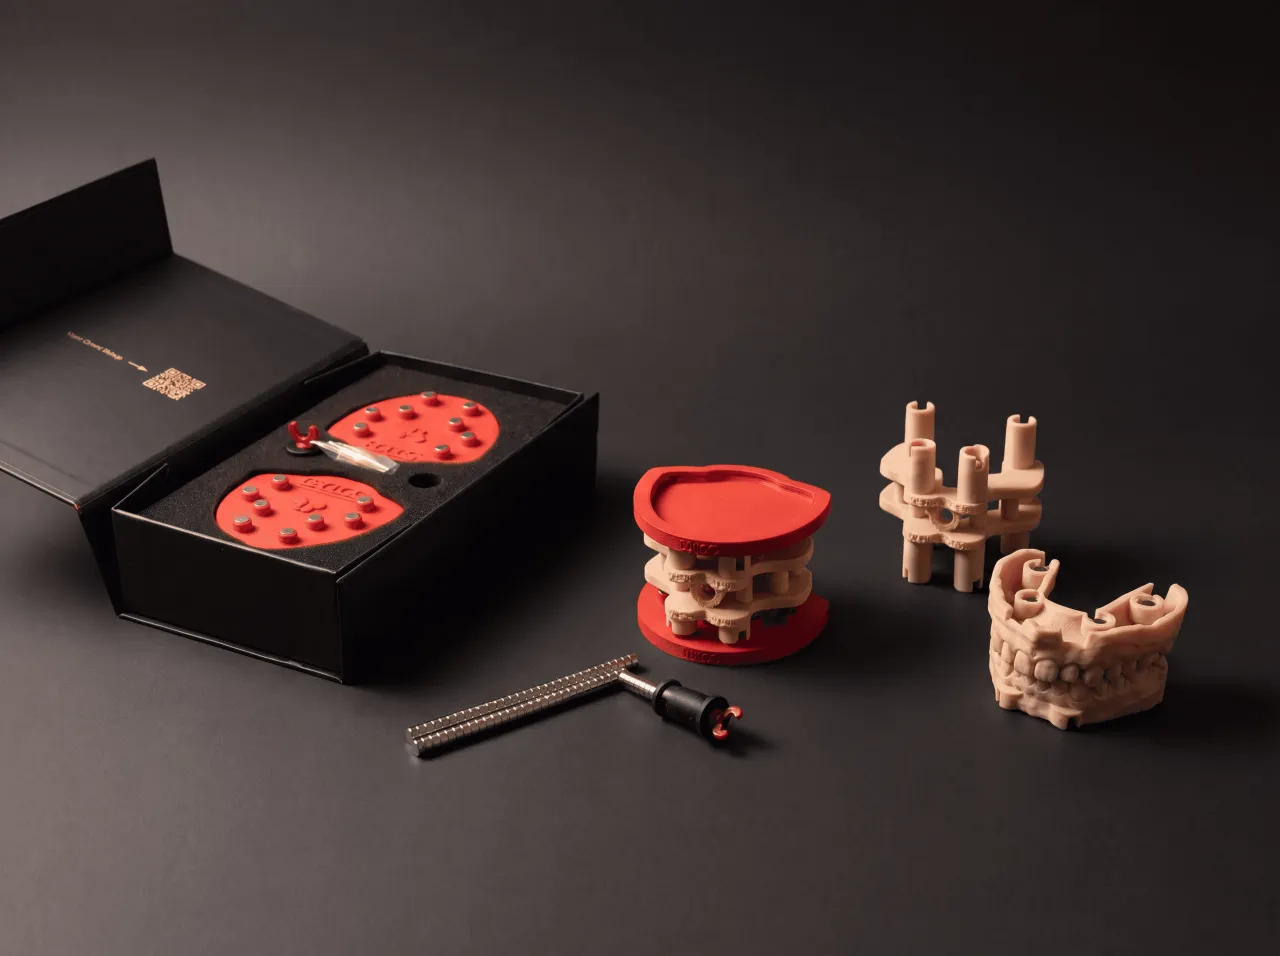
Installation, step by step
Once per articulator: the plates are plastered on with the calibrator between them. Then every model mounts by magnets.
The photos show Flex on two different articulators. On yours the steps are the same.
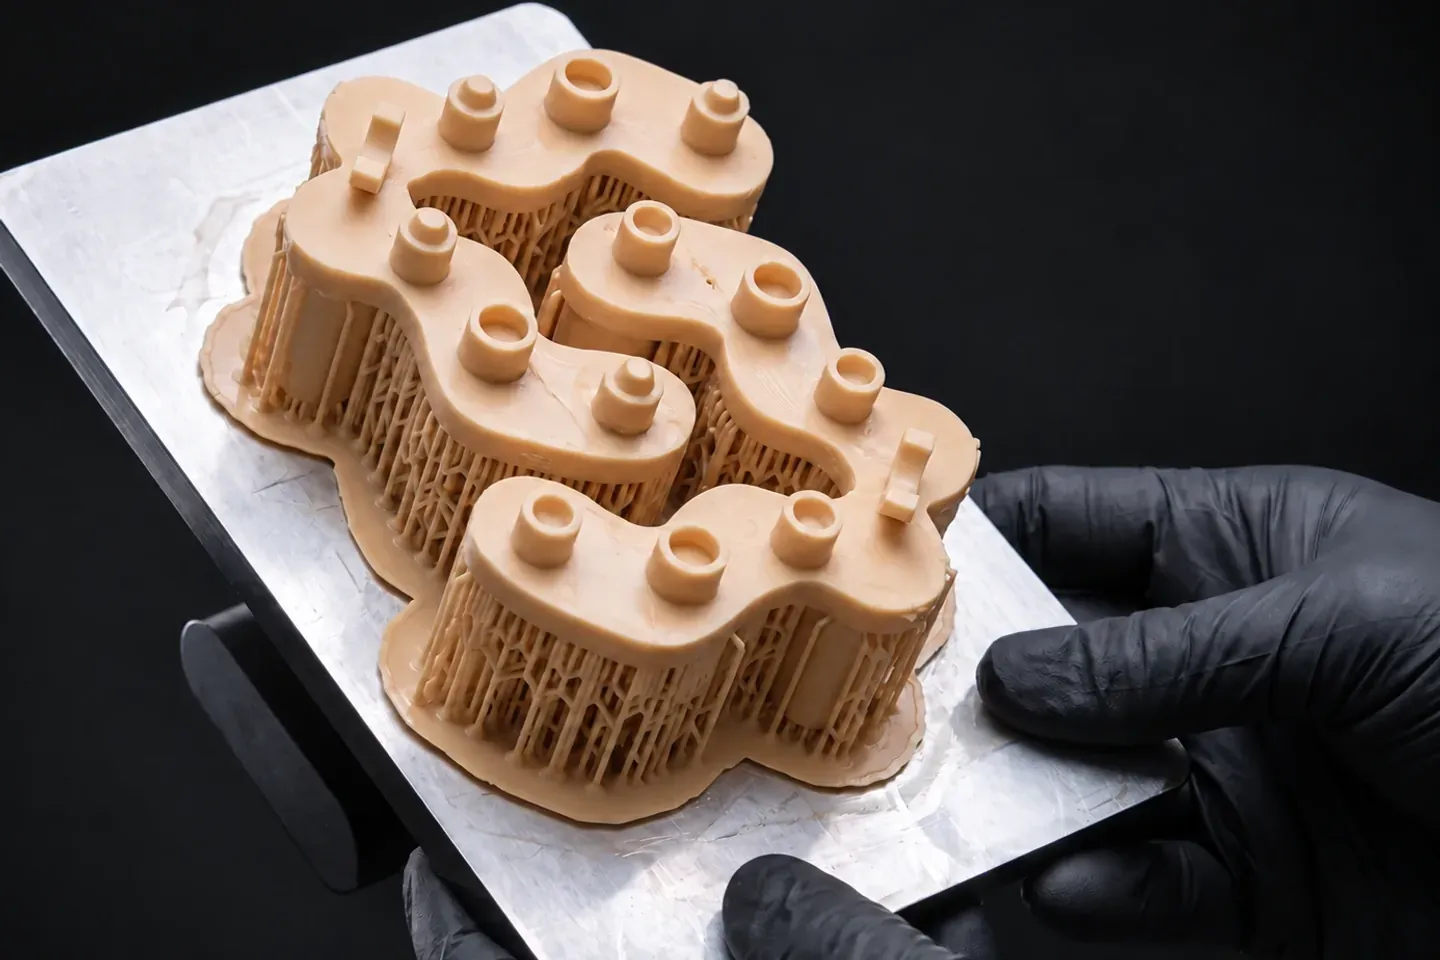
Print the two halves of the TrueZero™ calibrator on your own printer, with the same resin, settings and post-curing as your models. The fitting test before it picks the offset.
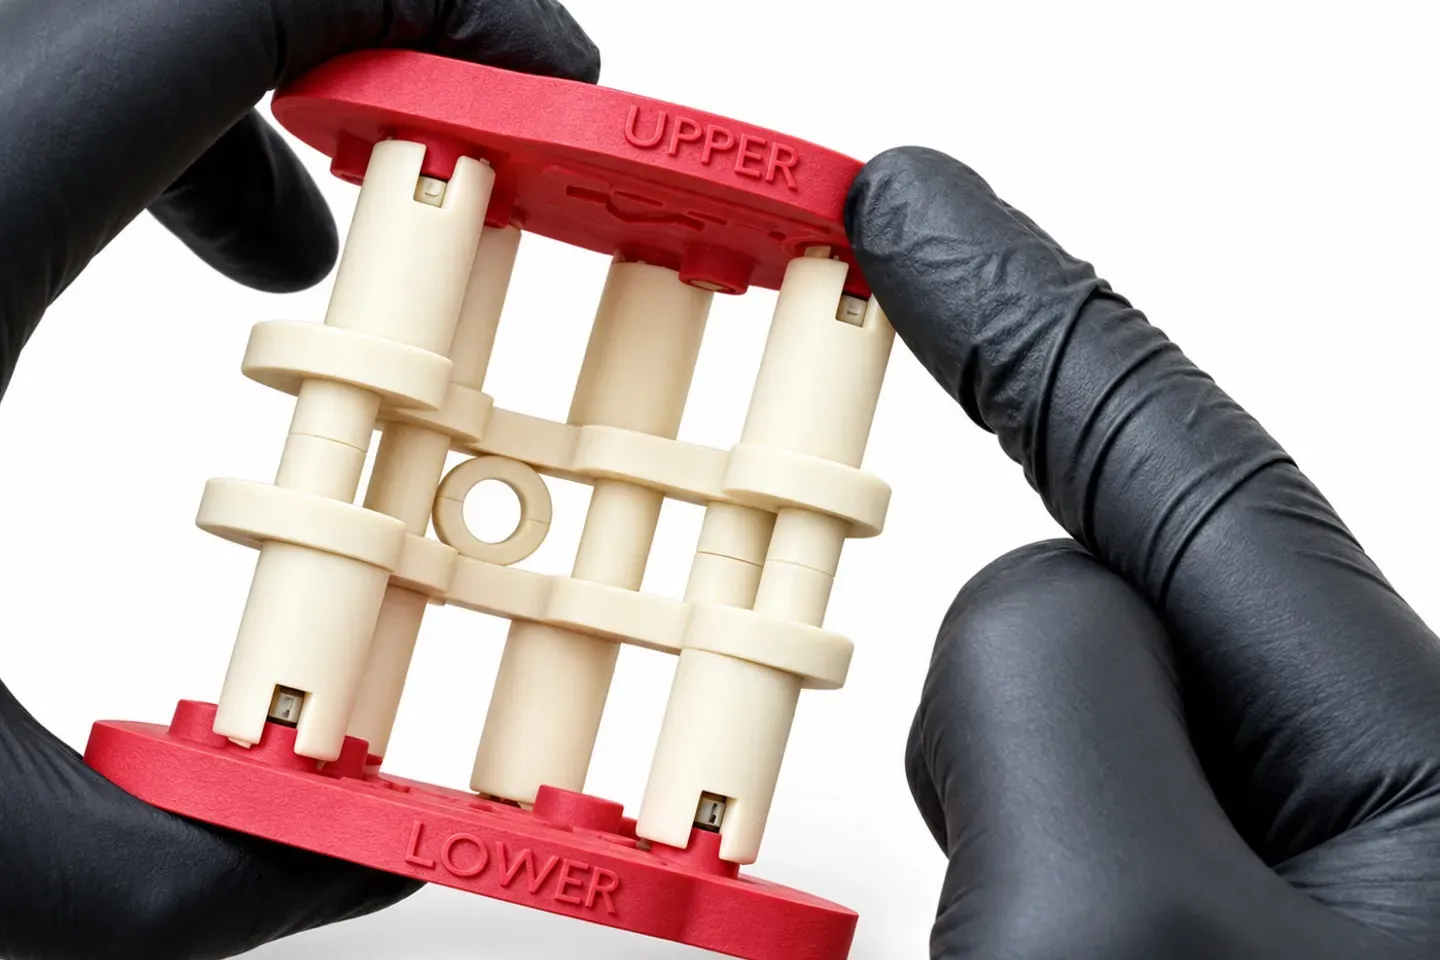
Join the calibrator halves into one rigid block. Seat the UPPER plate on the upper half and the LOWER plate on the lower half, and never swap them.
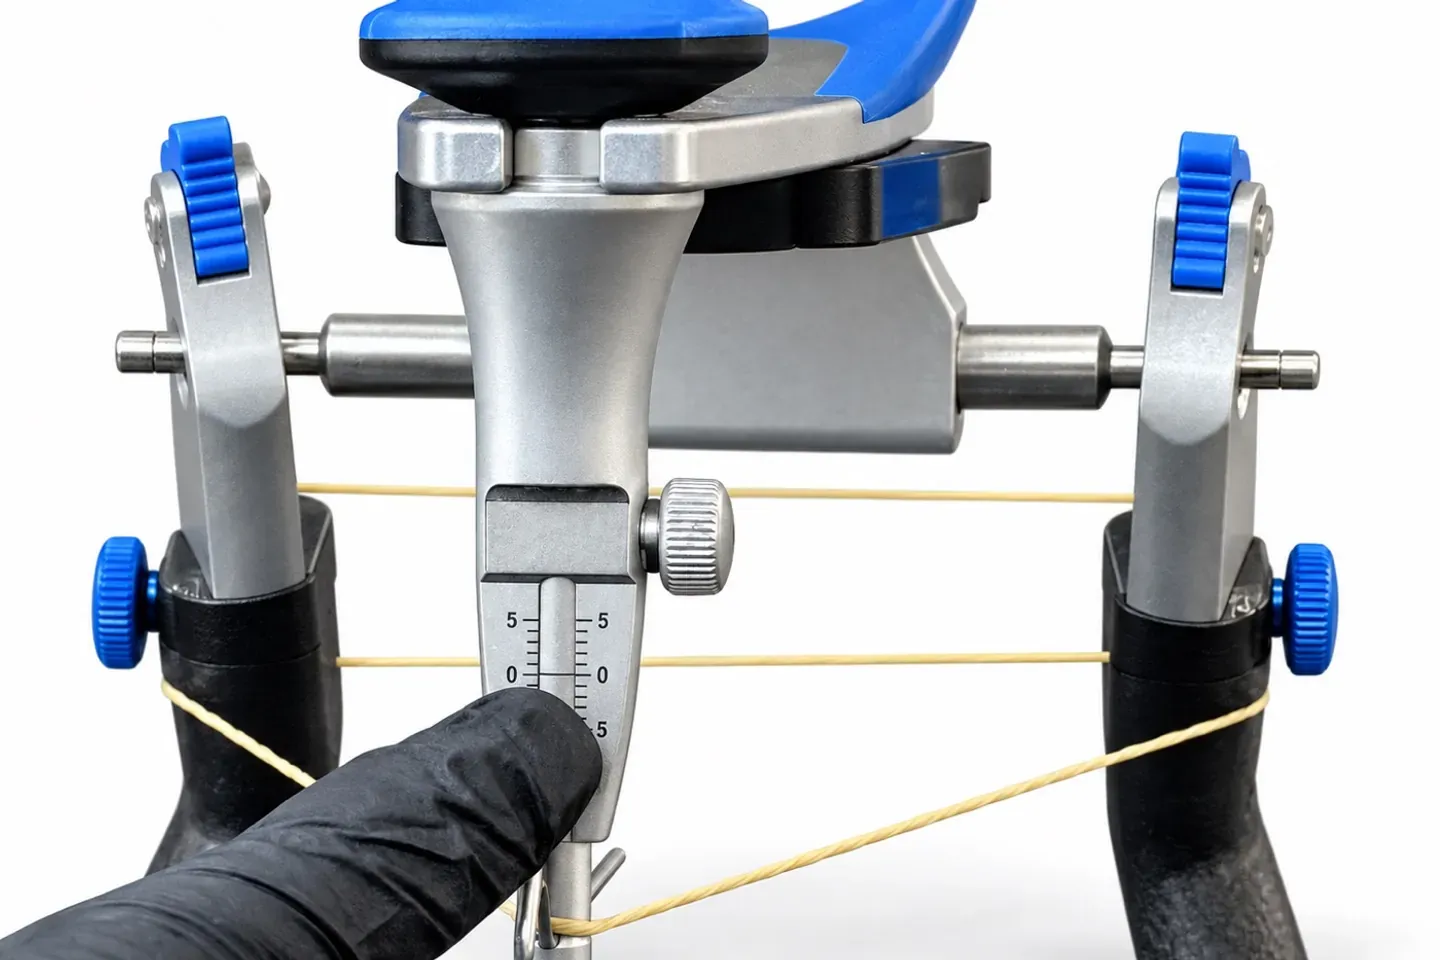
Mount your articulator’s own split cast mounting plates, upper and lower. Set the incisal pin at zero and lock it.
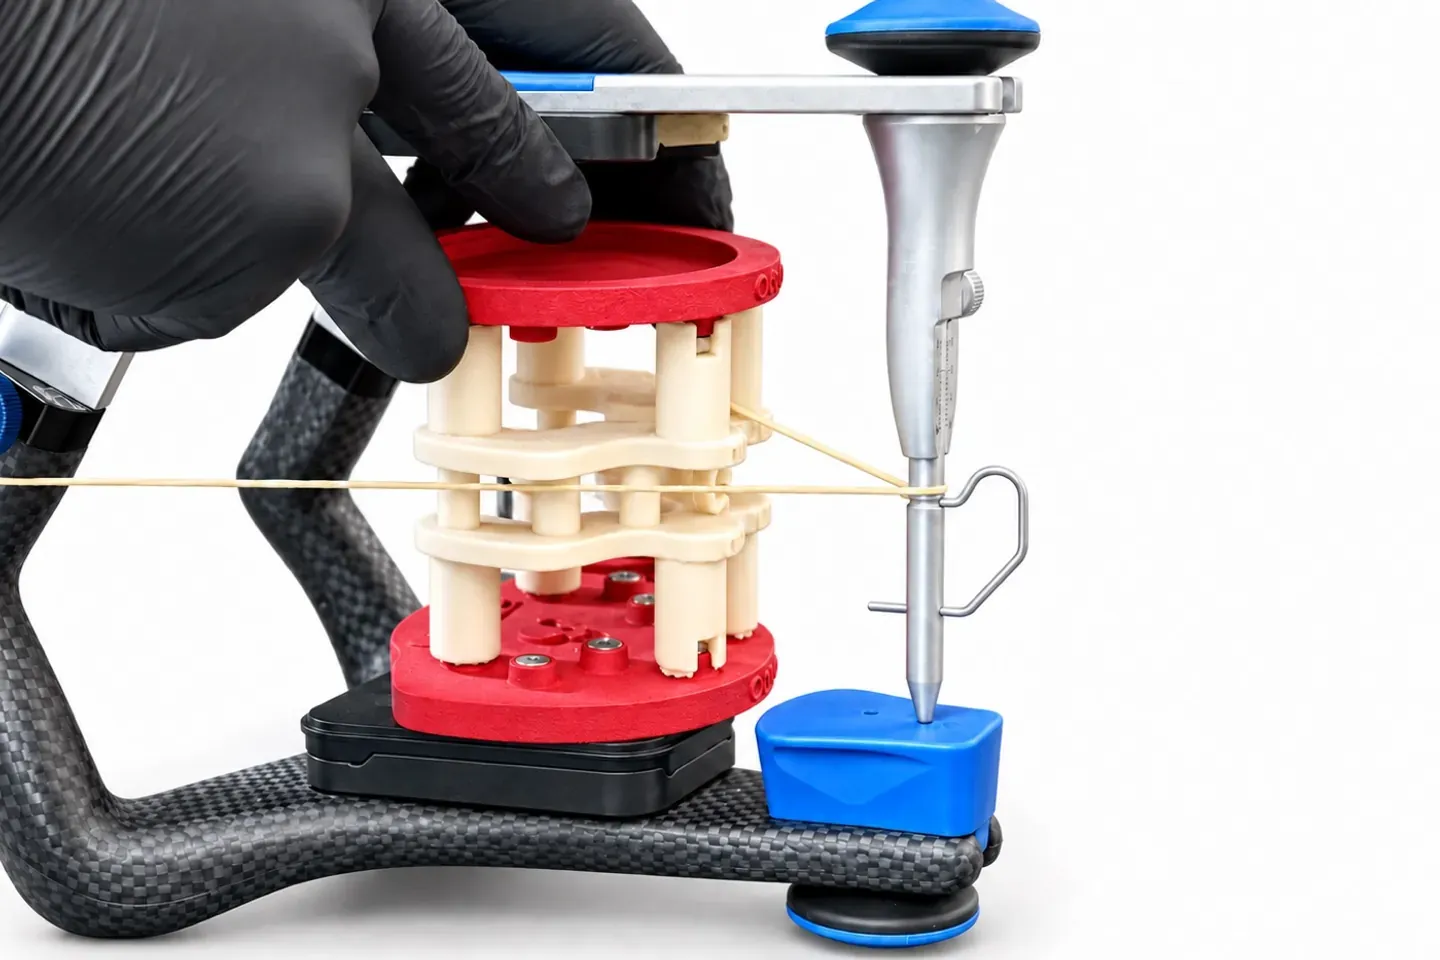
An elastic band around the articulator marks the Bonwill triangle. Centre the block between the members and line up its occlusal plane with the band.
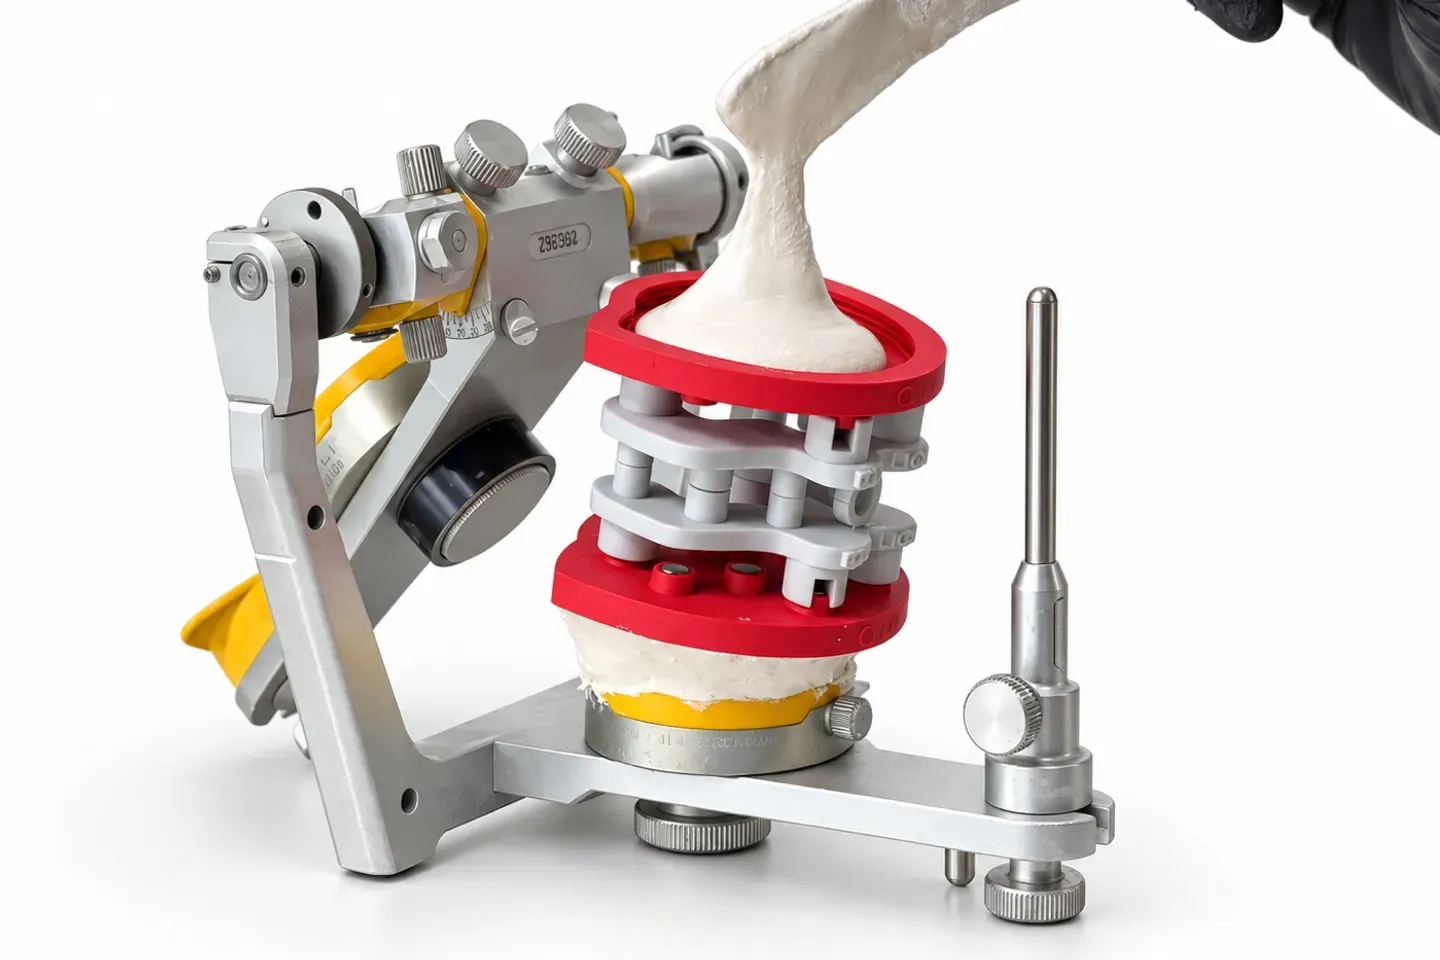
A little silicone under the LOWER plate holds the block steady. Close the articulator, pin at zero, and plaster the UPPER plate to the upper mounting plate.
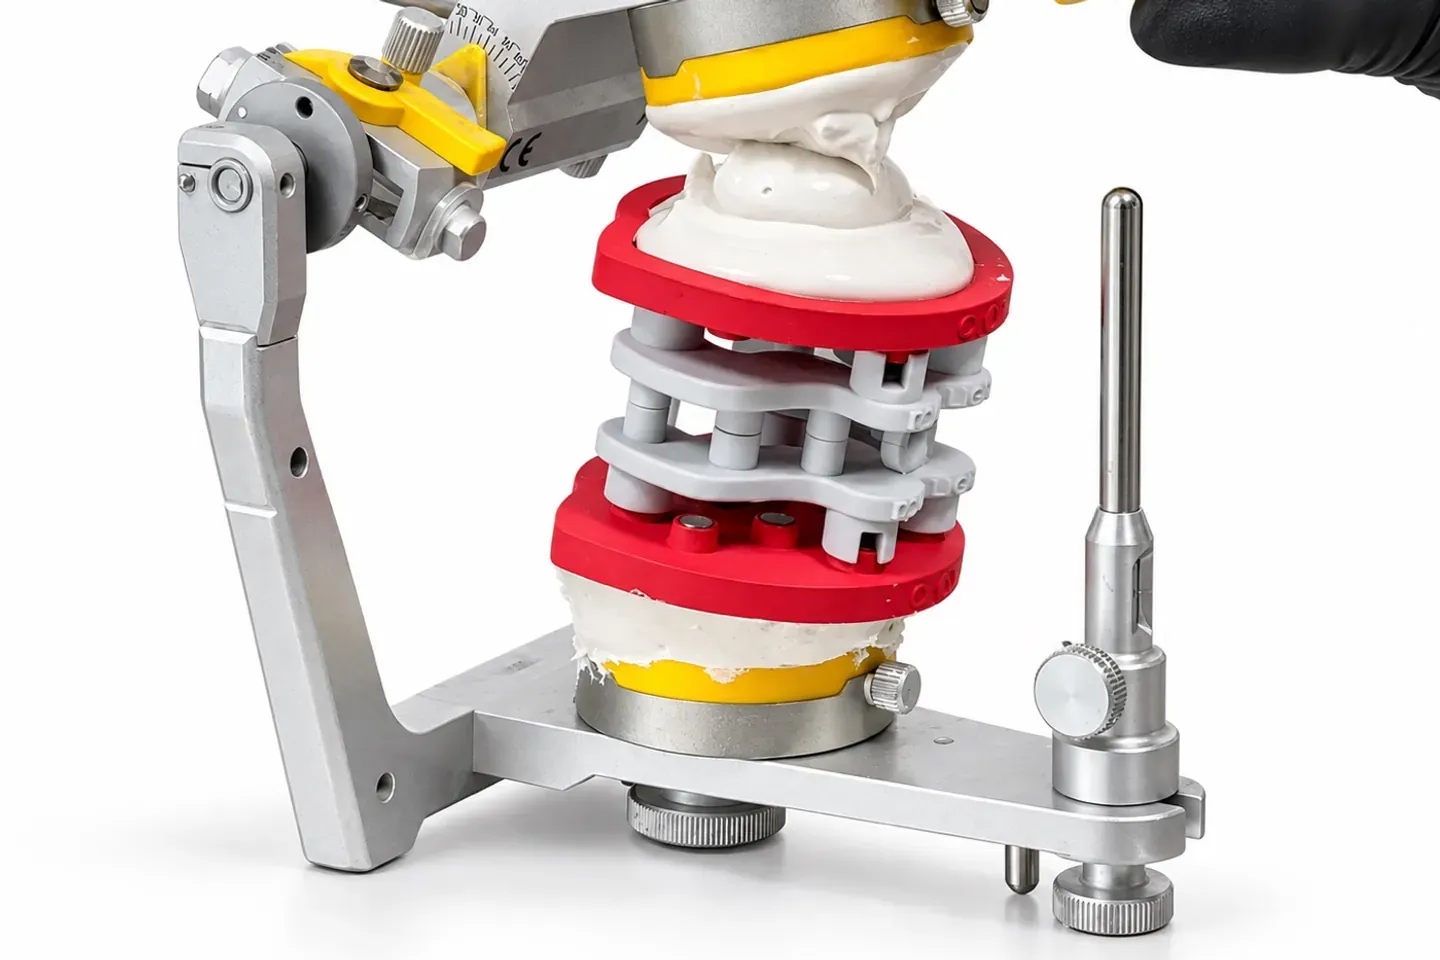
Take out the silicone and plaster the LOWER plate the same way. Keep the articulator closed until the plaster has fully set.
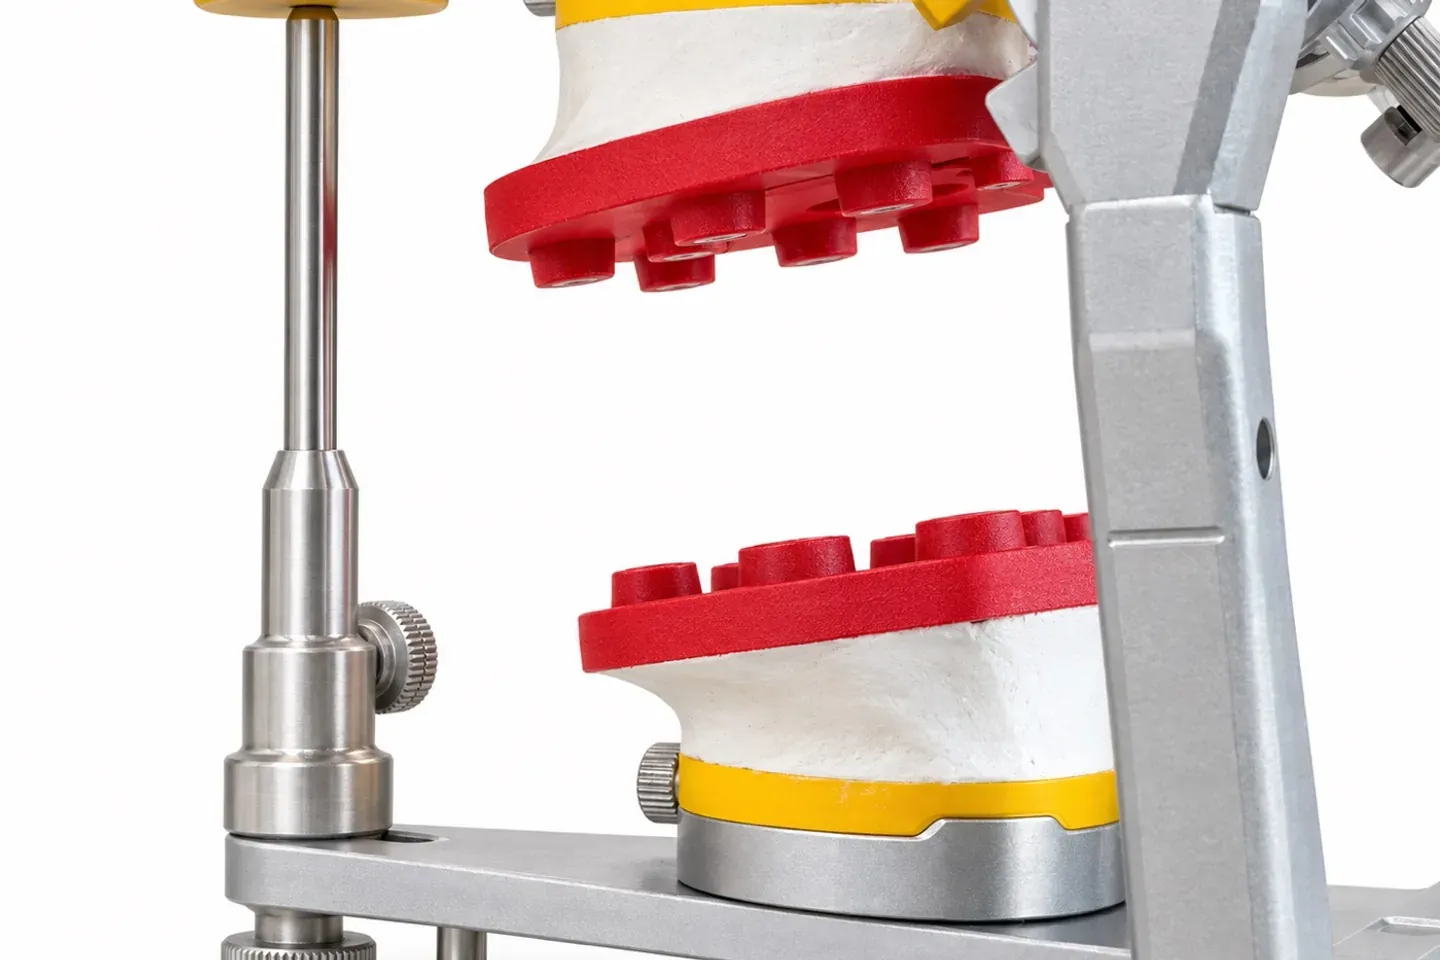
Both plates are installed. From here on models mount by magnets, with no more plaster and no recalibration.
In the spotlight
Prosthodontics Resident at Harvard School of Dental Medicine
United States
Brilliant design with strong customization (nine site options for different cases) and the mounting calibration, which should improve accuracy!
Blender for Dental Spanish Agency
Chile
This system has changed the way I work. It allows me to transfer all my digital records with precision to my analog articulator, making my treatments more tangible and predictable than ever.

Dental technician
Italy
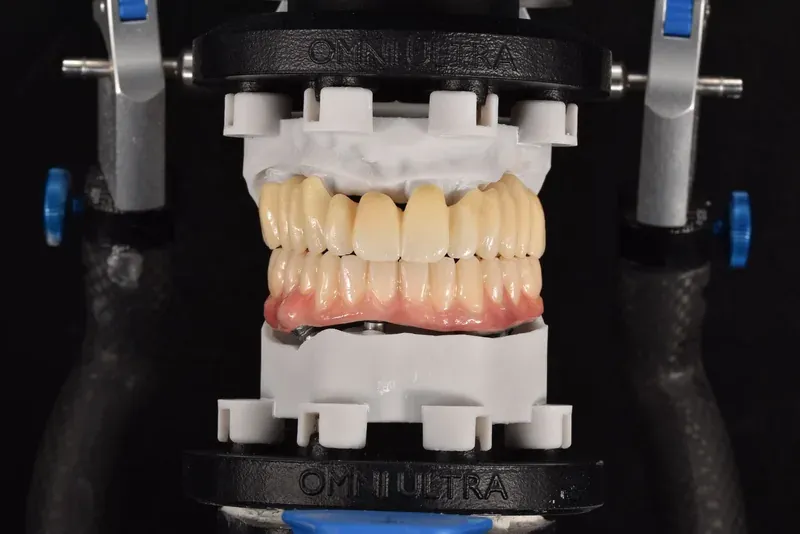
I've finally found a simple, effective system for printing models through the Model Creator module in Exocad, with a beautiful and extremely precise design. The models are lightweight and reduce resin consumption. They don't have bulky or outdated bases, and I don't have to change anything in my workflow — I can keep printing horizontally, with the added flexibility of managing the model base and the digital analogs. Fully approved!

Dental technician · Pugnolab
Italy
In our CAD workflow, design is only half the job.
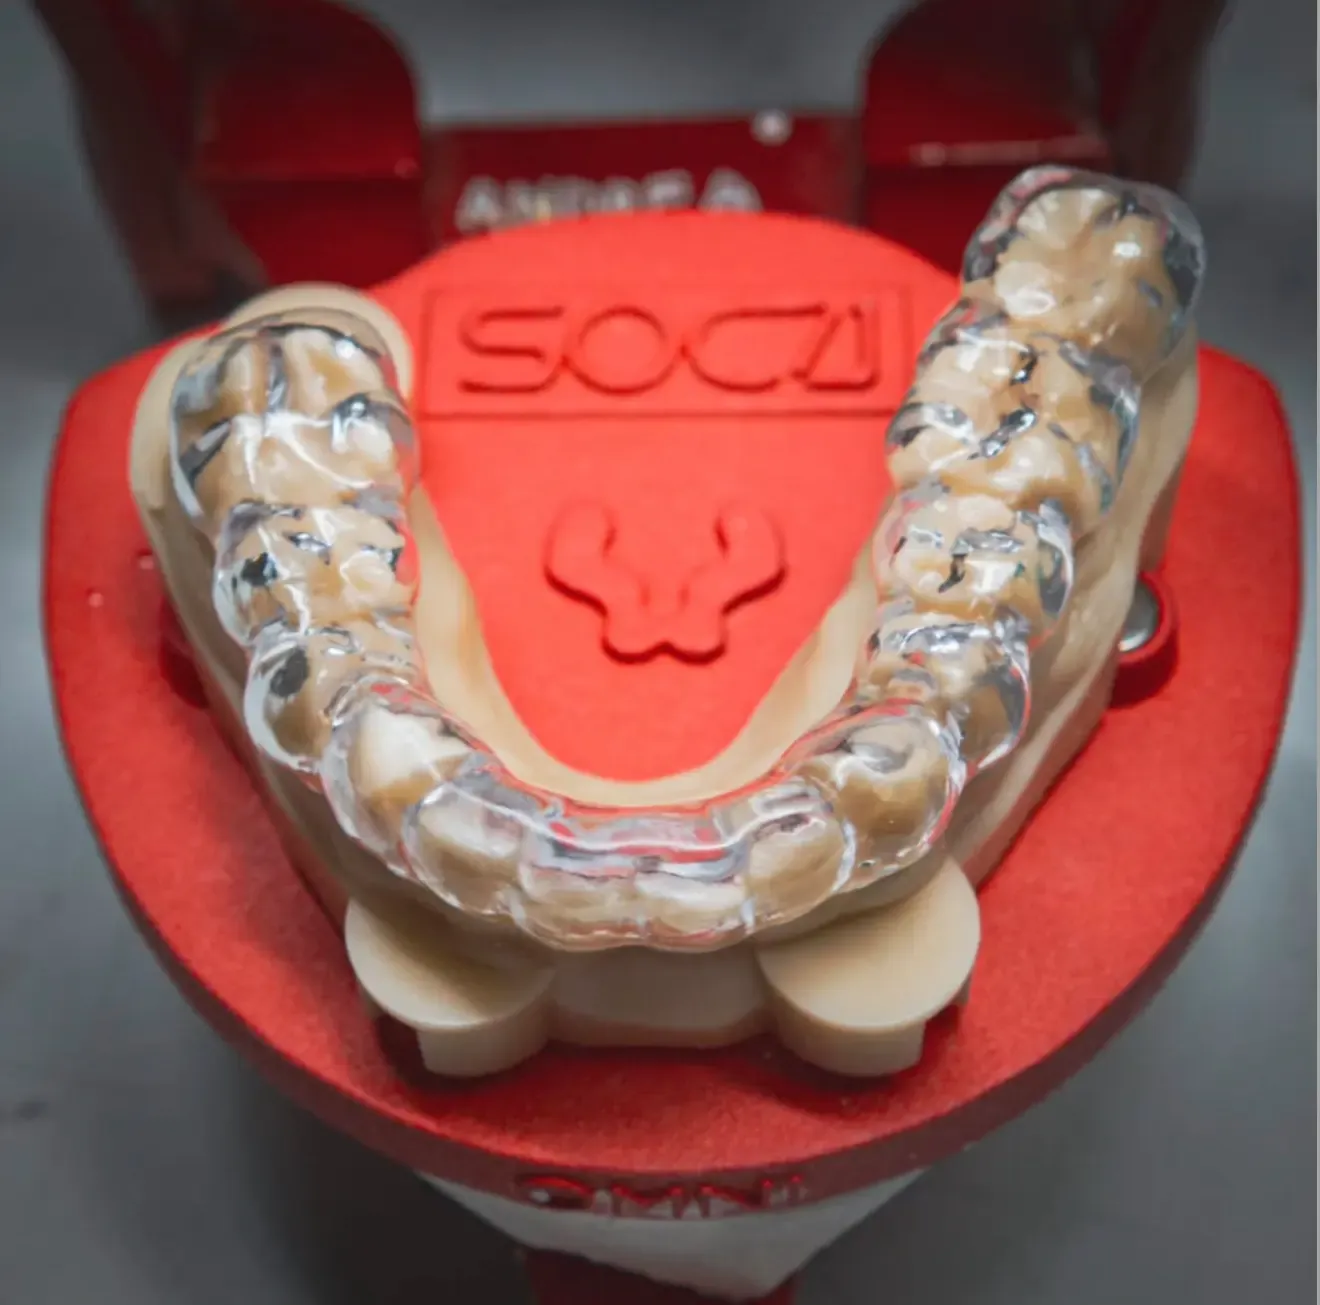
We were looking for a system that would let us take a real step up in the manual verification of our projects, especially for tasks requiring a highly dynamic approach, such as checking a 3D-printed bite splint.
With the new Dacos Omni, we found exactly what we needed.
Thank you, Antonello

Full Master Pro Instructor, Blender for Dental
Tenerife, Spain
I had the chance to try this system and I have to say it is truly excellent: Antonello has bridged the gap between analog and digital with great precision. It has become a routine in our laboratory, and the results have been remarkable. Heartfelt thanks.

Certified exocad Instructor
Italy
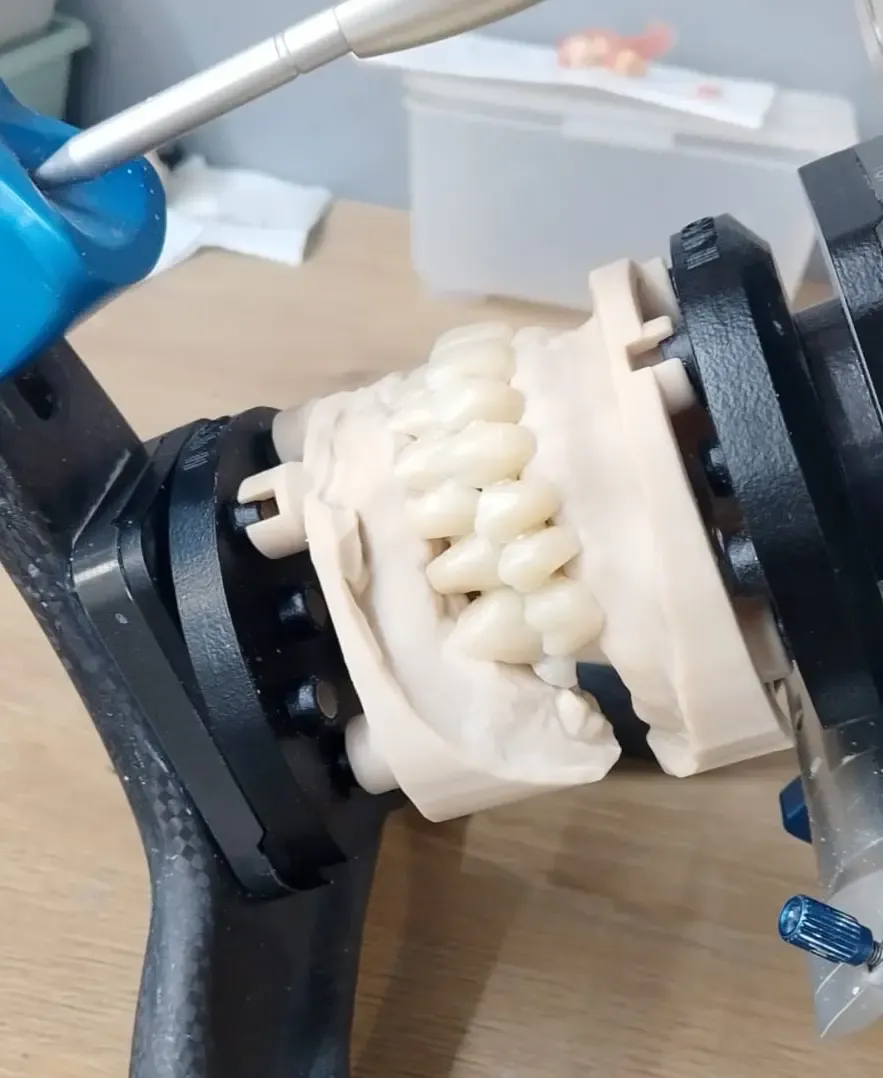
Those who know me know I've always been a bit skeptical about systems for repositioning 3D-printed models in an articulator. But Antonello designed this one differently, and it solves two key problems. The first is articulator calibration: thanks to the Gemini Calibrator, DACOS eliminates the level discrepancies caused by uncalibrated articulators. The second is the problem of having 3D-printing pins under the model: DACOS moves the anchoring level to a zone that doesn't interfere with the result or with seating the model on the articulator. It's one of the few systems on the market I really like.
Each articulator gets its own set of plates, calibrated on that articulator. Flex Plates cover one more articulator in the lab with the same magnetic workflow.
See Flex PlatesItalian business with a Partita IVA? Buy without Italian VAT (reverse charge, art. 17(2) DPR 633/72).Continue in Italian
All articulators