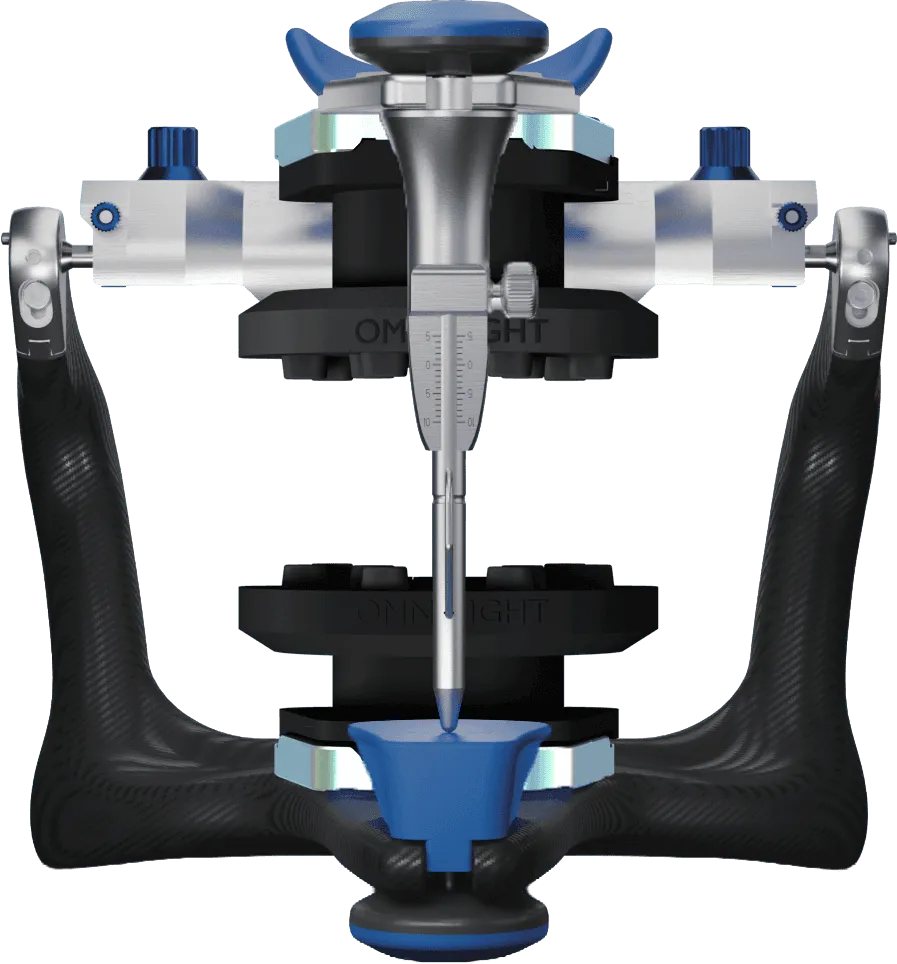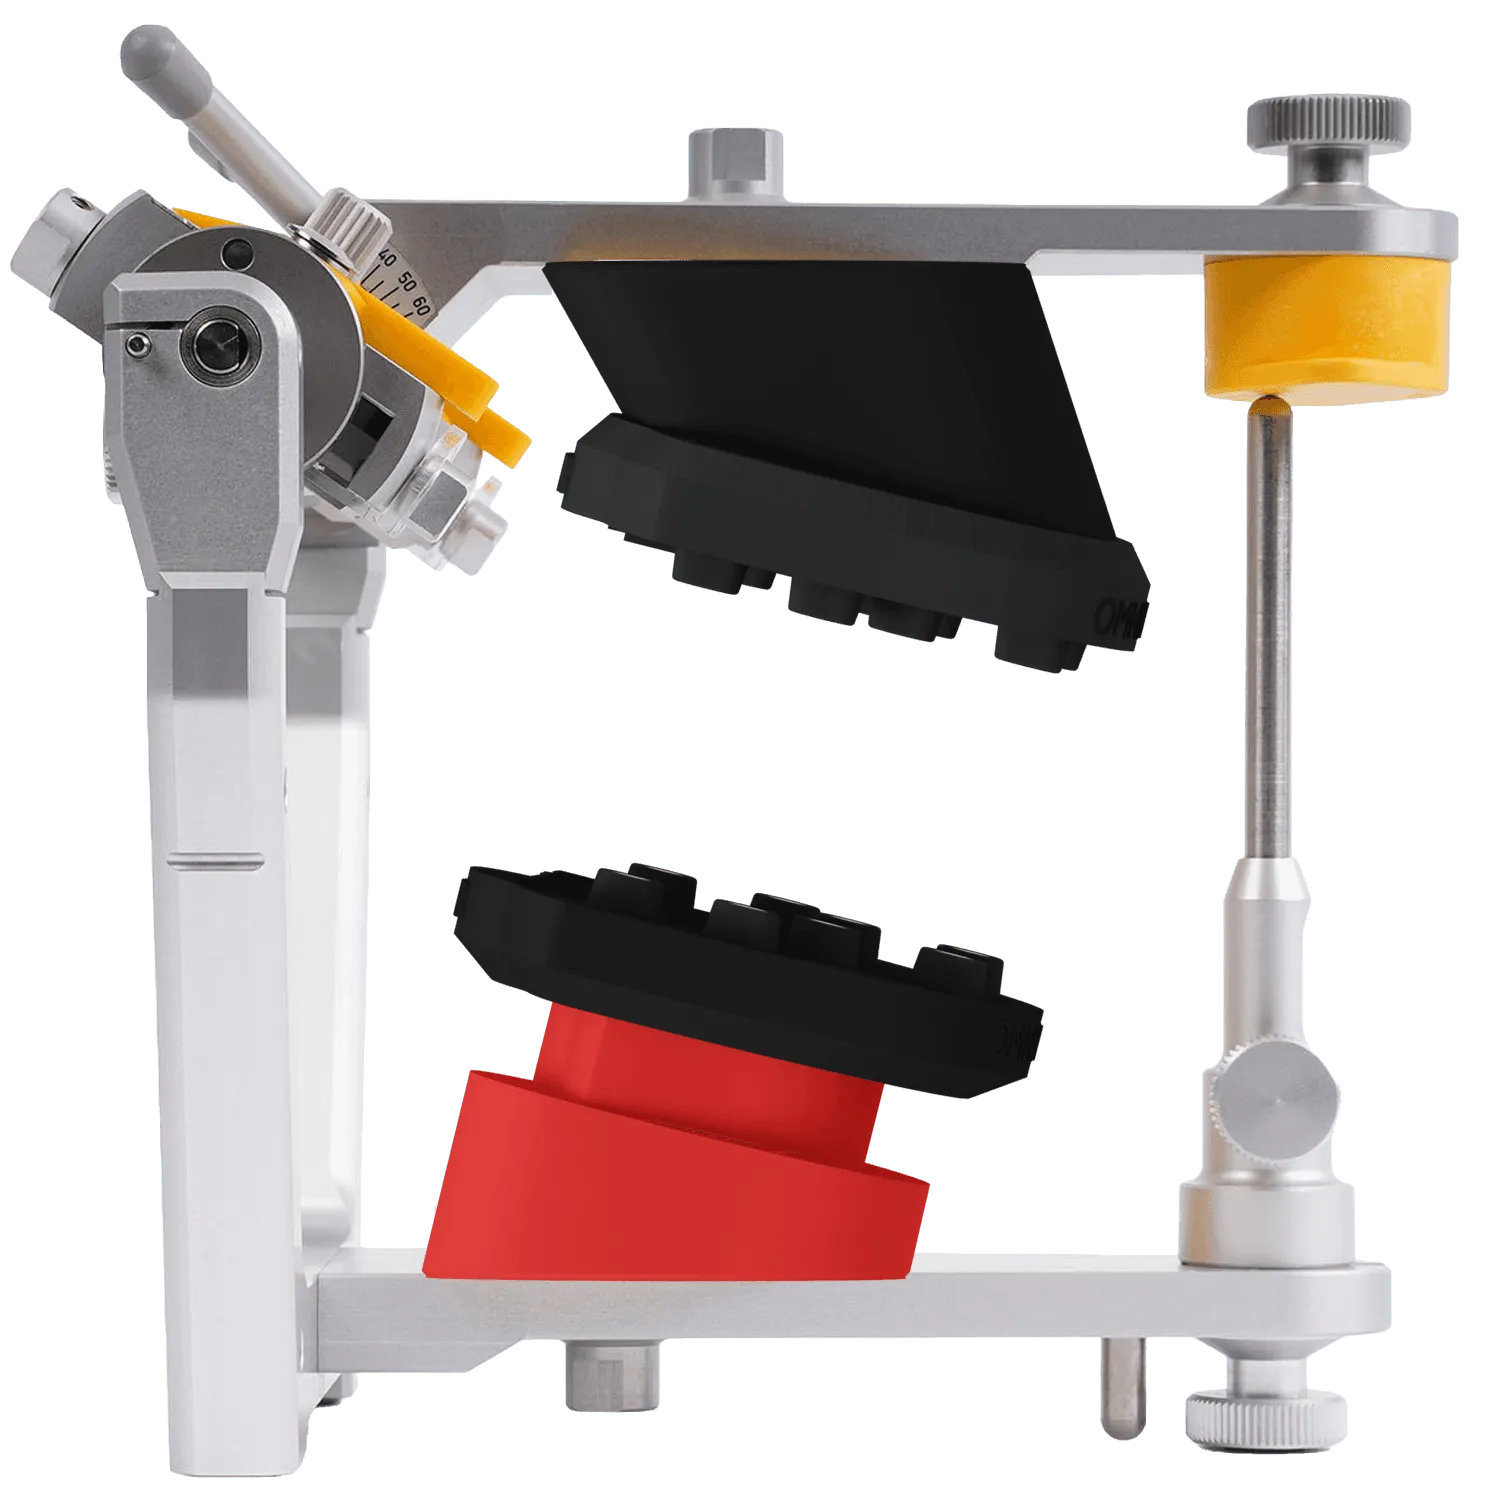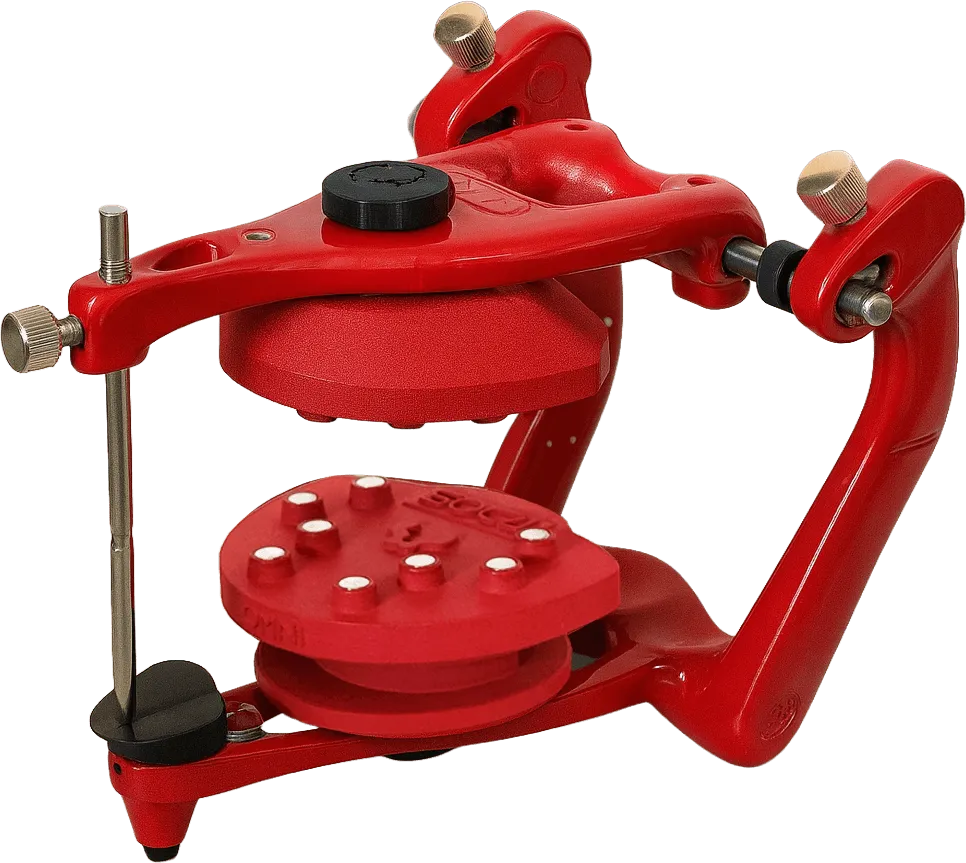
Any articulator · bonded once
DACOS Omni Flex
Duo USD 366.60
Light or Ultra from USD 197.40
Duo: both heights in one box, USD 28.20 less than two single kits.
Not available right now. We confirm a dispatch date by email.See the kit
Necessary cookies keep the cart, your language and this choice working. With your consent we also use analytics cookies to see which pages help, and marketing cookies to measure our ads. Read the privacy policy and the cookie policy.
ZeroDrift™ Transfer
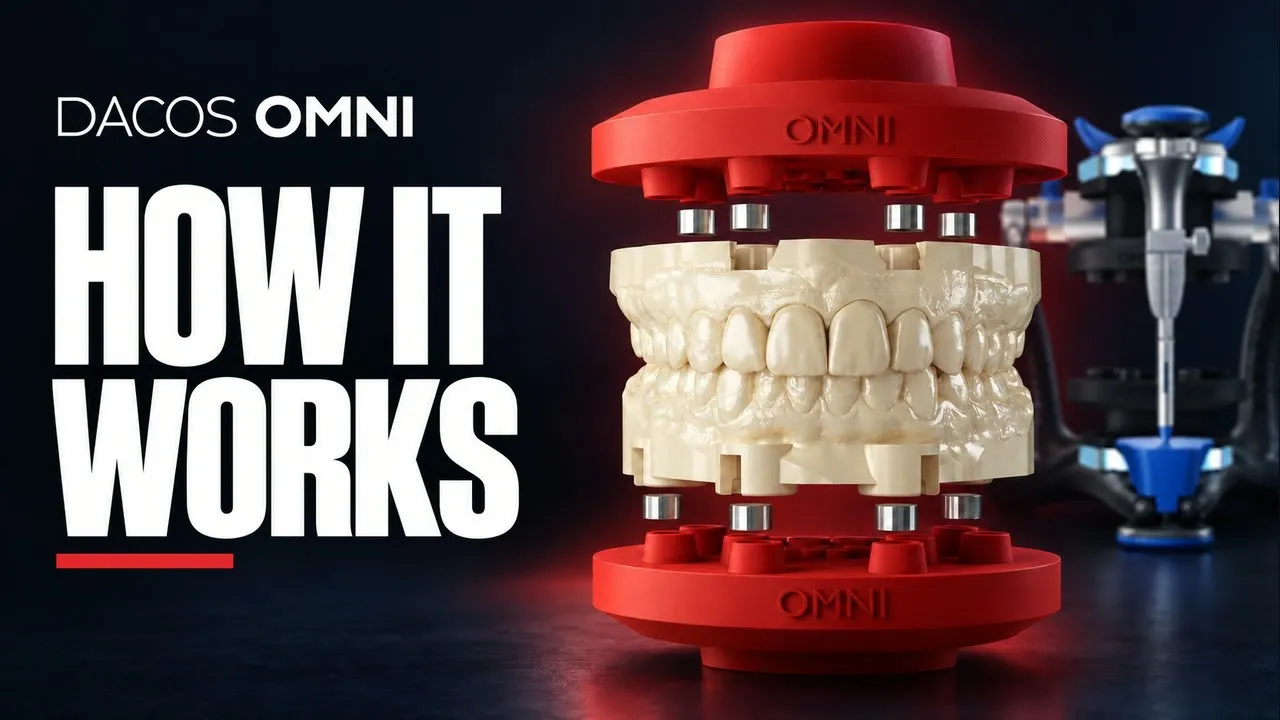
DACOS Omni is the Transfer Fidelity System engineered so the transfer adds nothing to your error chain. The pin returns to zero, remount after remount, on any articulator, implant cases included.
Which articulator is on your bench?
Patent Pending
The DACOS Omni system, including its adapter plates, calibration method, attachment geometry, and magnet placement tools, is protected by a pending international patent application.
Protected engineering
The demonstration
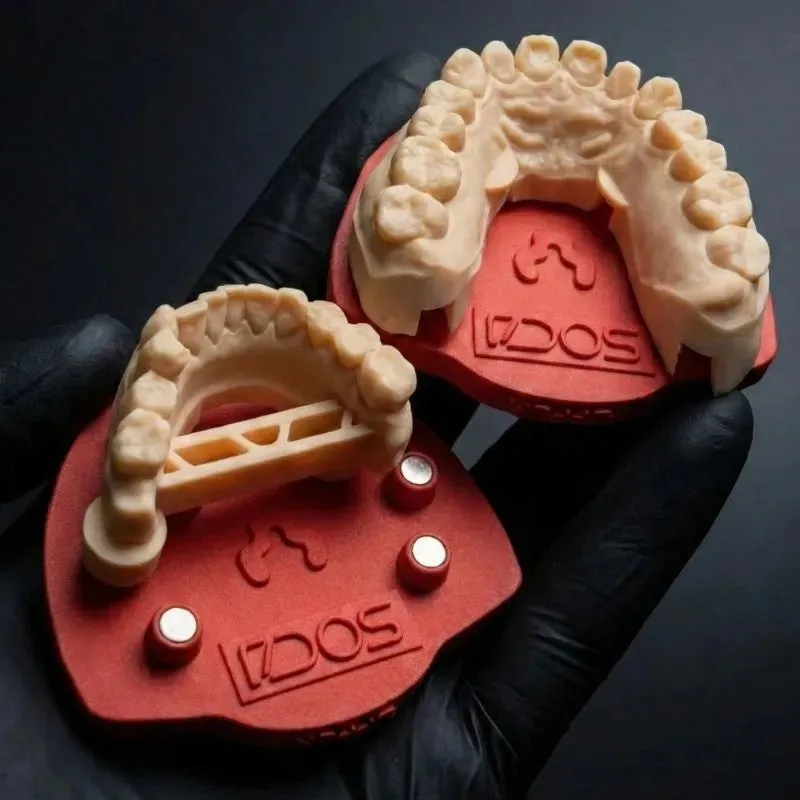
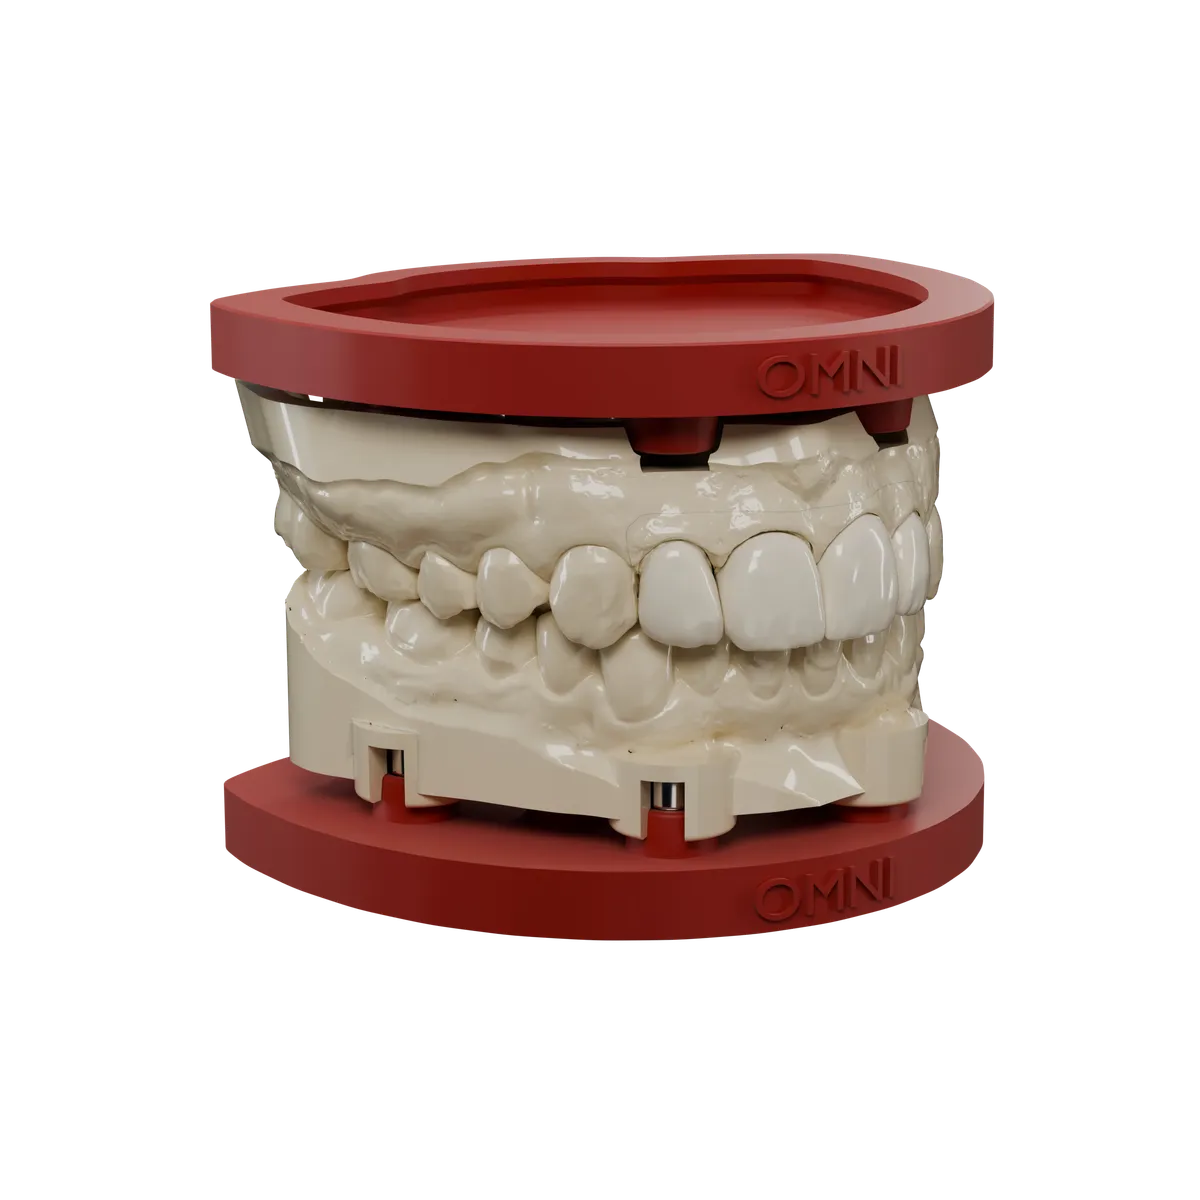
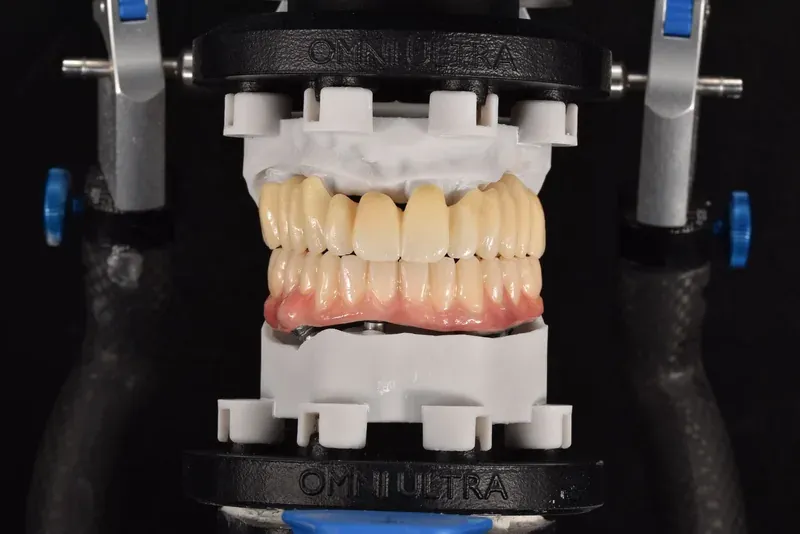
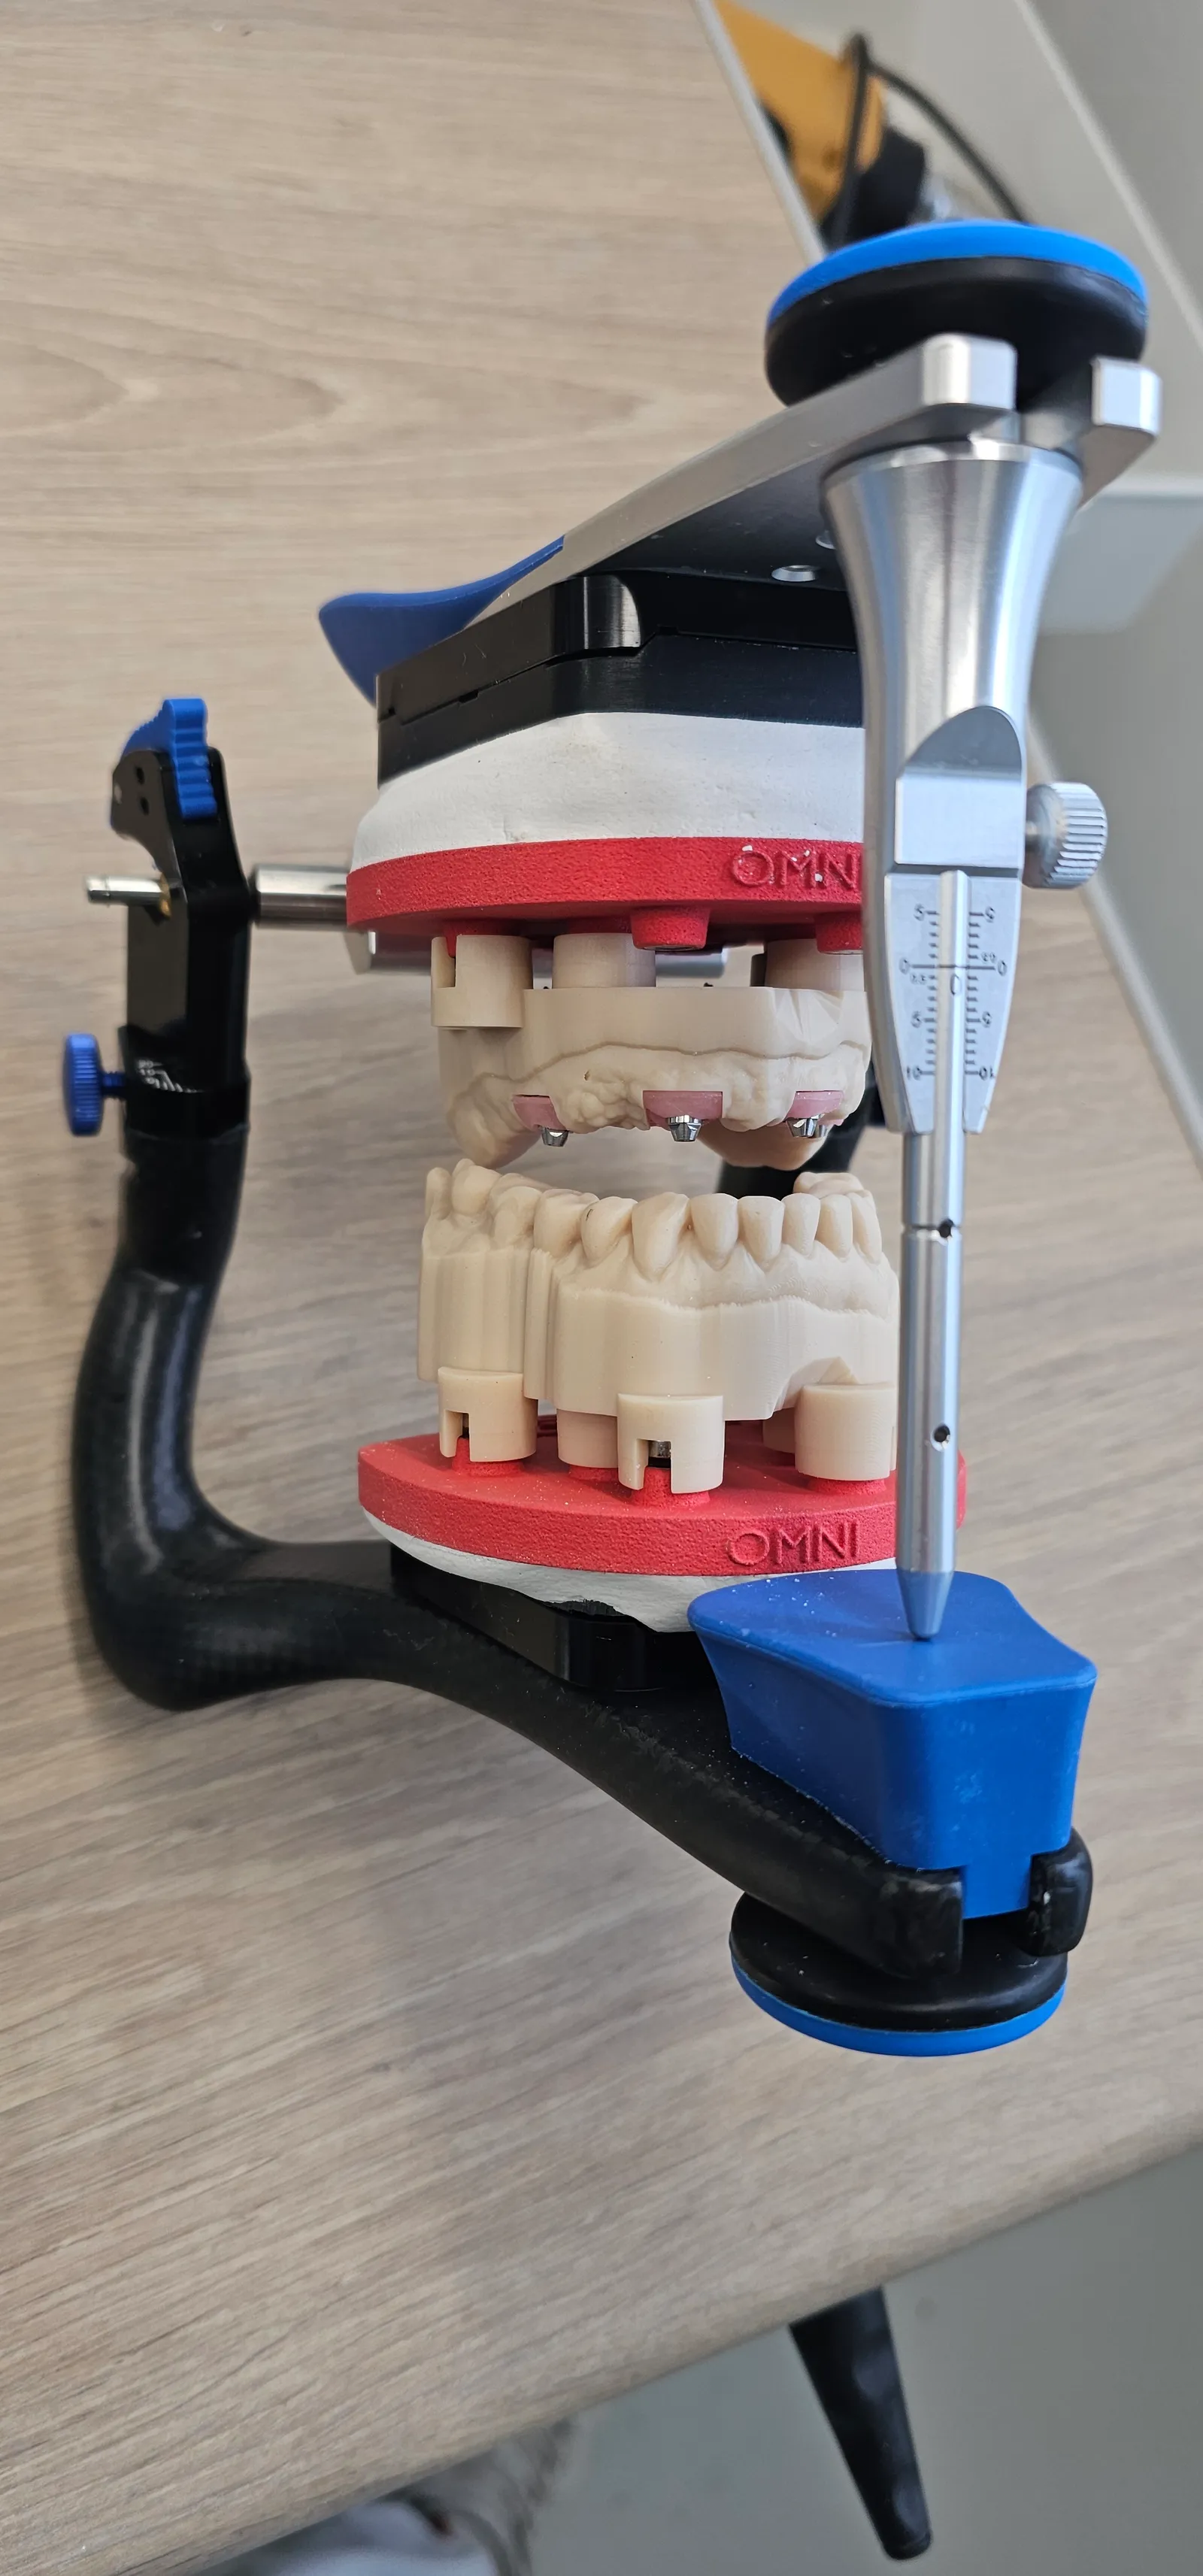
Mount the model. Close the articulator. Check the pin. Remove it, remount it, check again. The contacts you design are the contacts you verify.
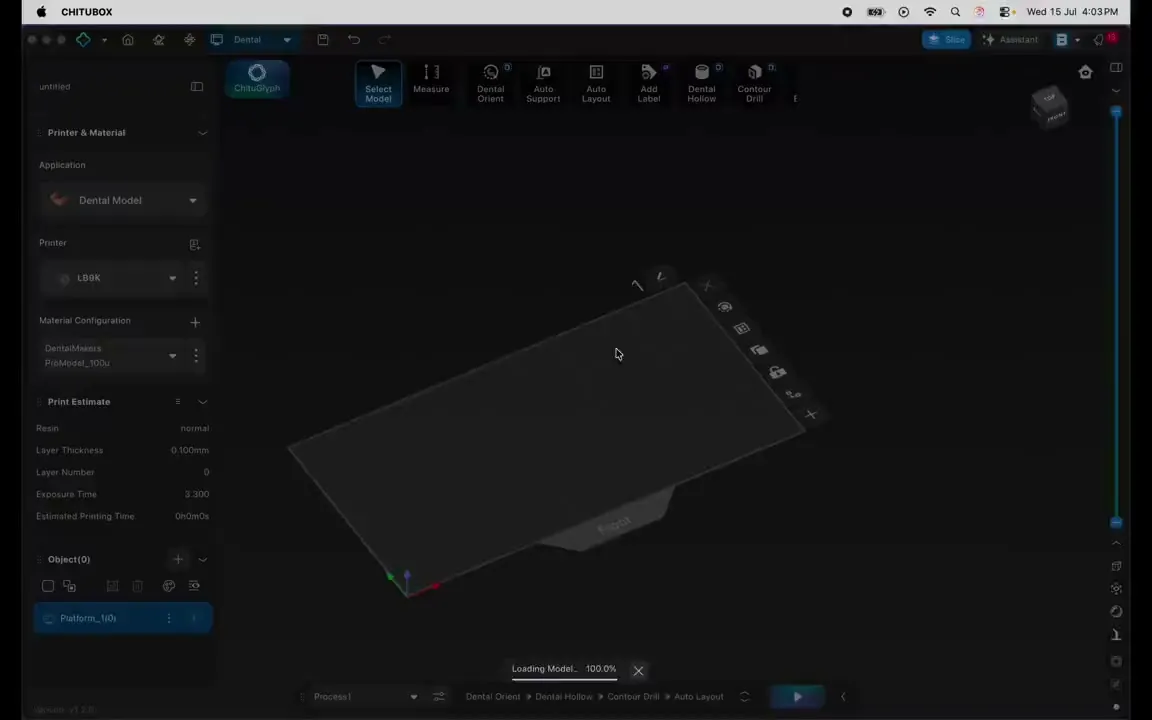
Reference, design, print, post-processing, magnets, attach and check. Jump to any step.
The hidden problem
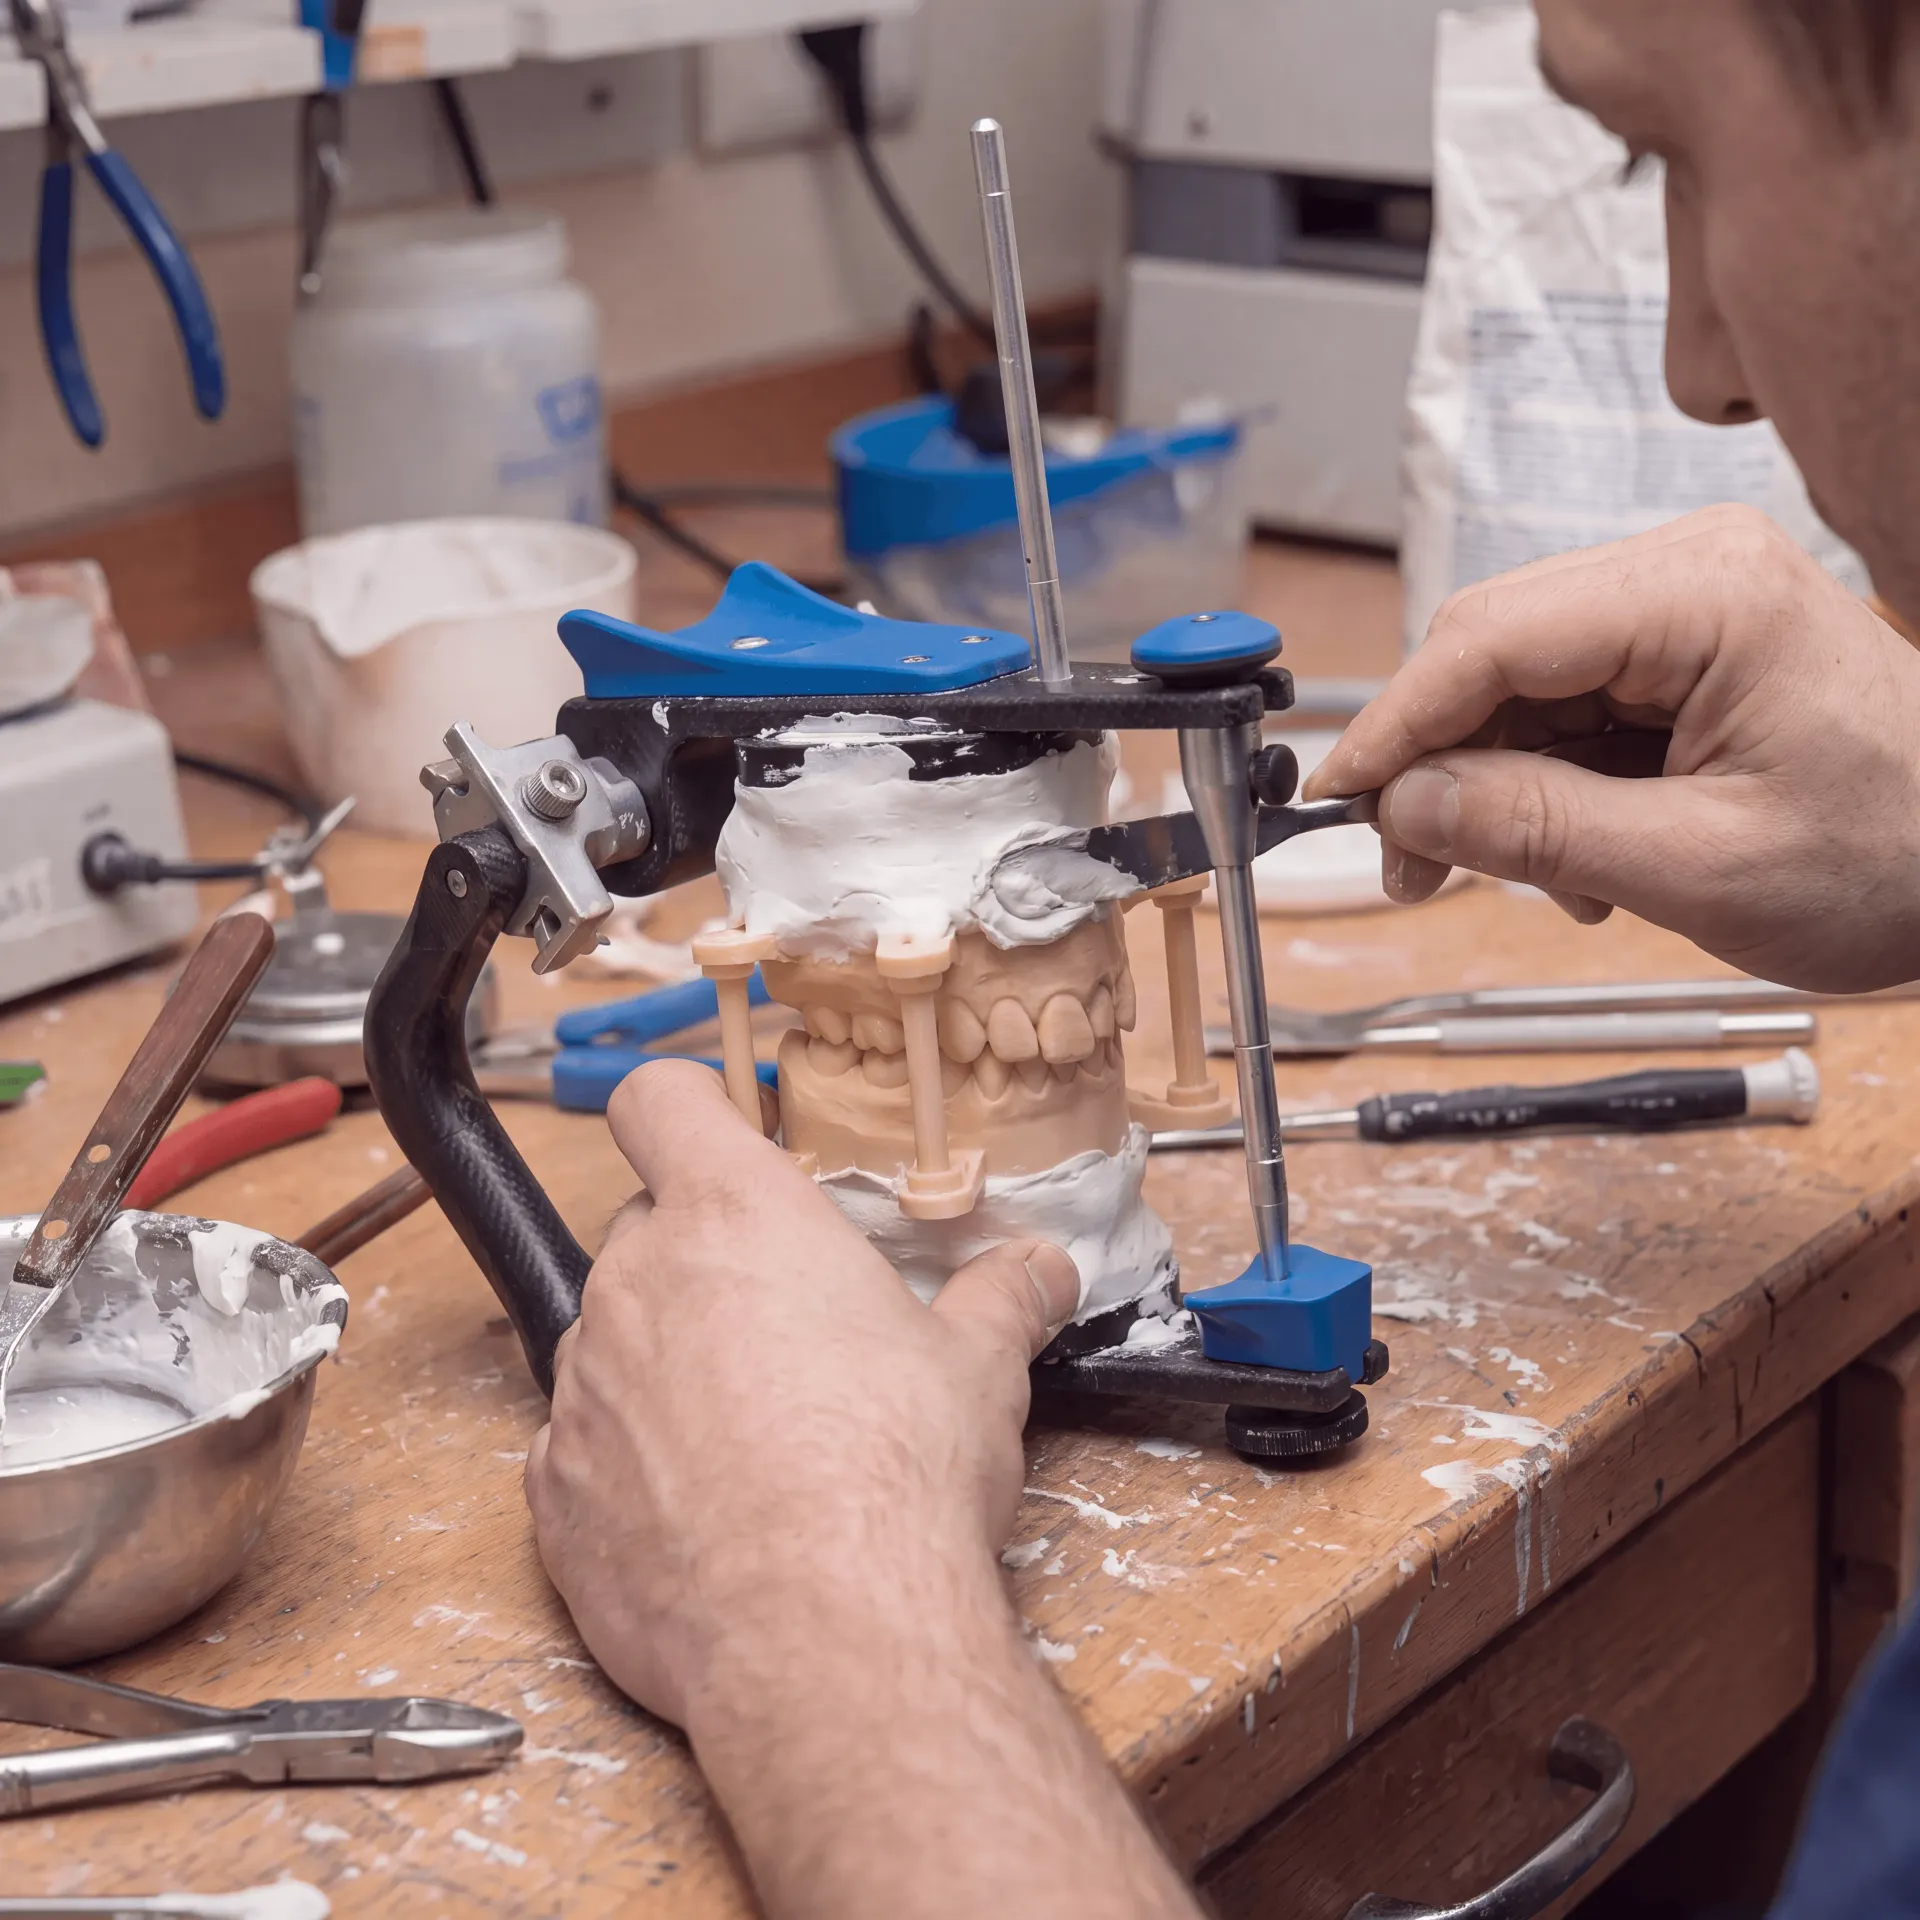
Most plaster-free systems take the plaster out of the model, not the play out of the transfer. If the base meets the articulator a little differently each time, every remount can land somewhere new, and that drift ends up in the contacts you check.
Plaster-free transfer
ZeroDrift™ Transfer
The pin returns to zero.
How it works
Calibrate once on your own printer, resin and articulator, so the plates are set to your equipment before the first mount.
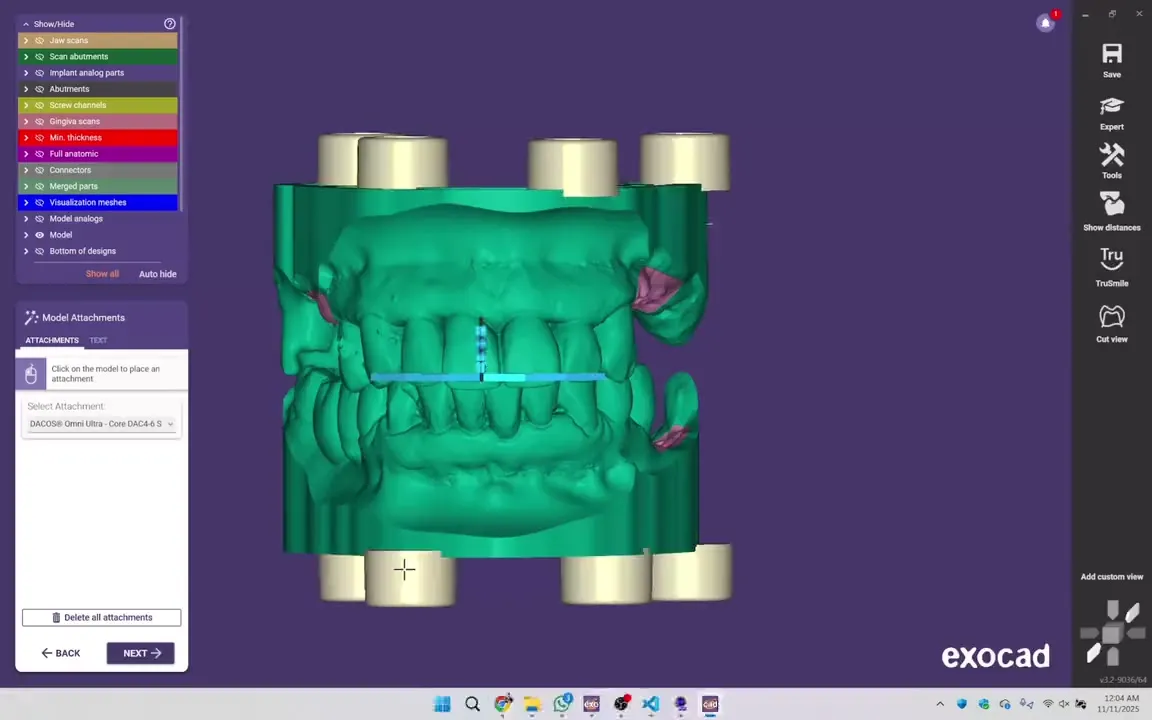
Load the DACOS library in your CAD software and design the case as you always do. The model base comes out ready for the plates.
Print the models flat, seat the magnets and mount them on the articulator. Remount after remount.
The system
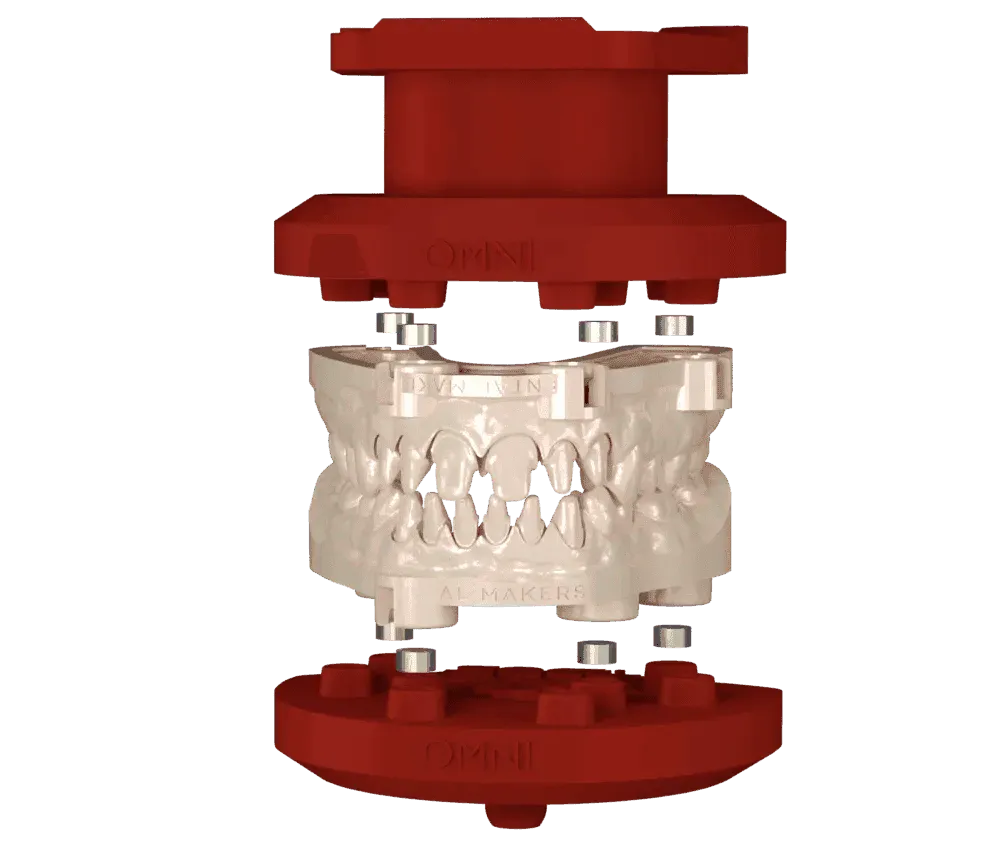
ZeroDrift™ comes from four parts that work together. Three of them are Patent Pending.
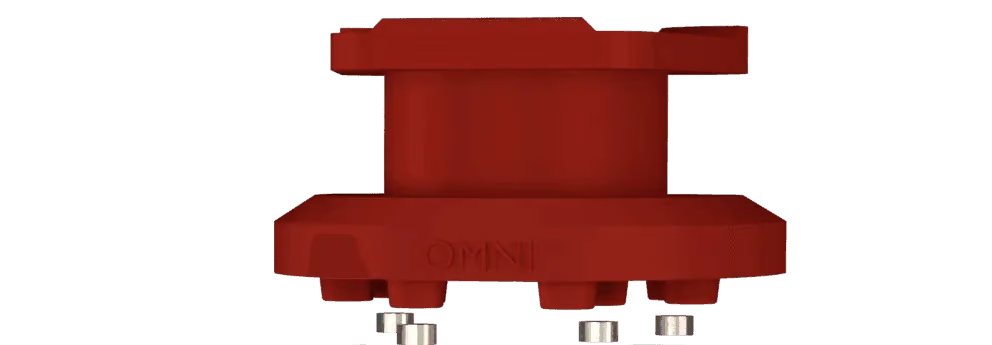
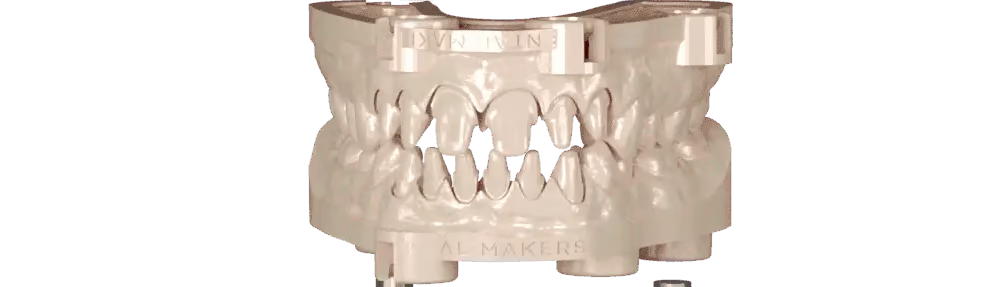

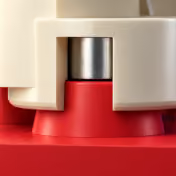
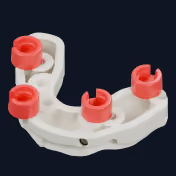
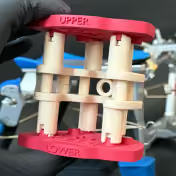
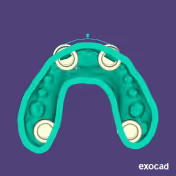



One plate, every case
Full arches, crowns, half arches, connecting bars, Toronto, All-on-X, implant models and bite splints, each on its plate. Choose the arch and the kind of case.
Renderings of the original CAD files, not photographs of printed parts.

Lower plate
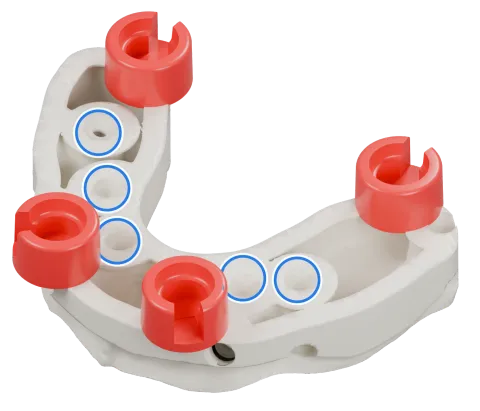
The lower plate, its eight magnet seats facing the model.
Scroll to change the model, or use the arrows.Swipe the model or use the arrows.
Which height do your cases need?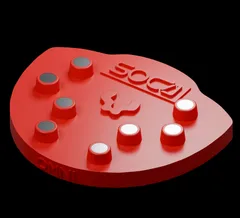
Lower plate
The lower plate, its eight magnet seats facing the model.
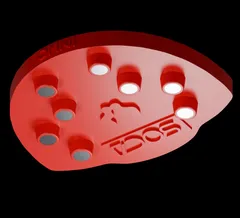
Upper plate, upside down
The upper plate turned upside down, its magnet seats facing down.
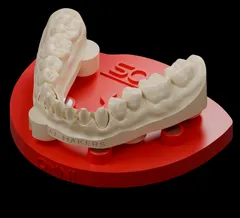
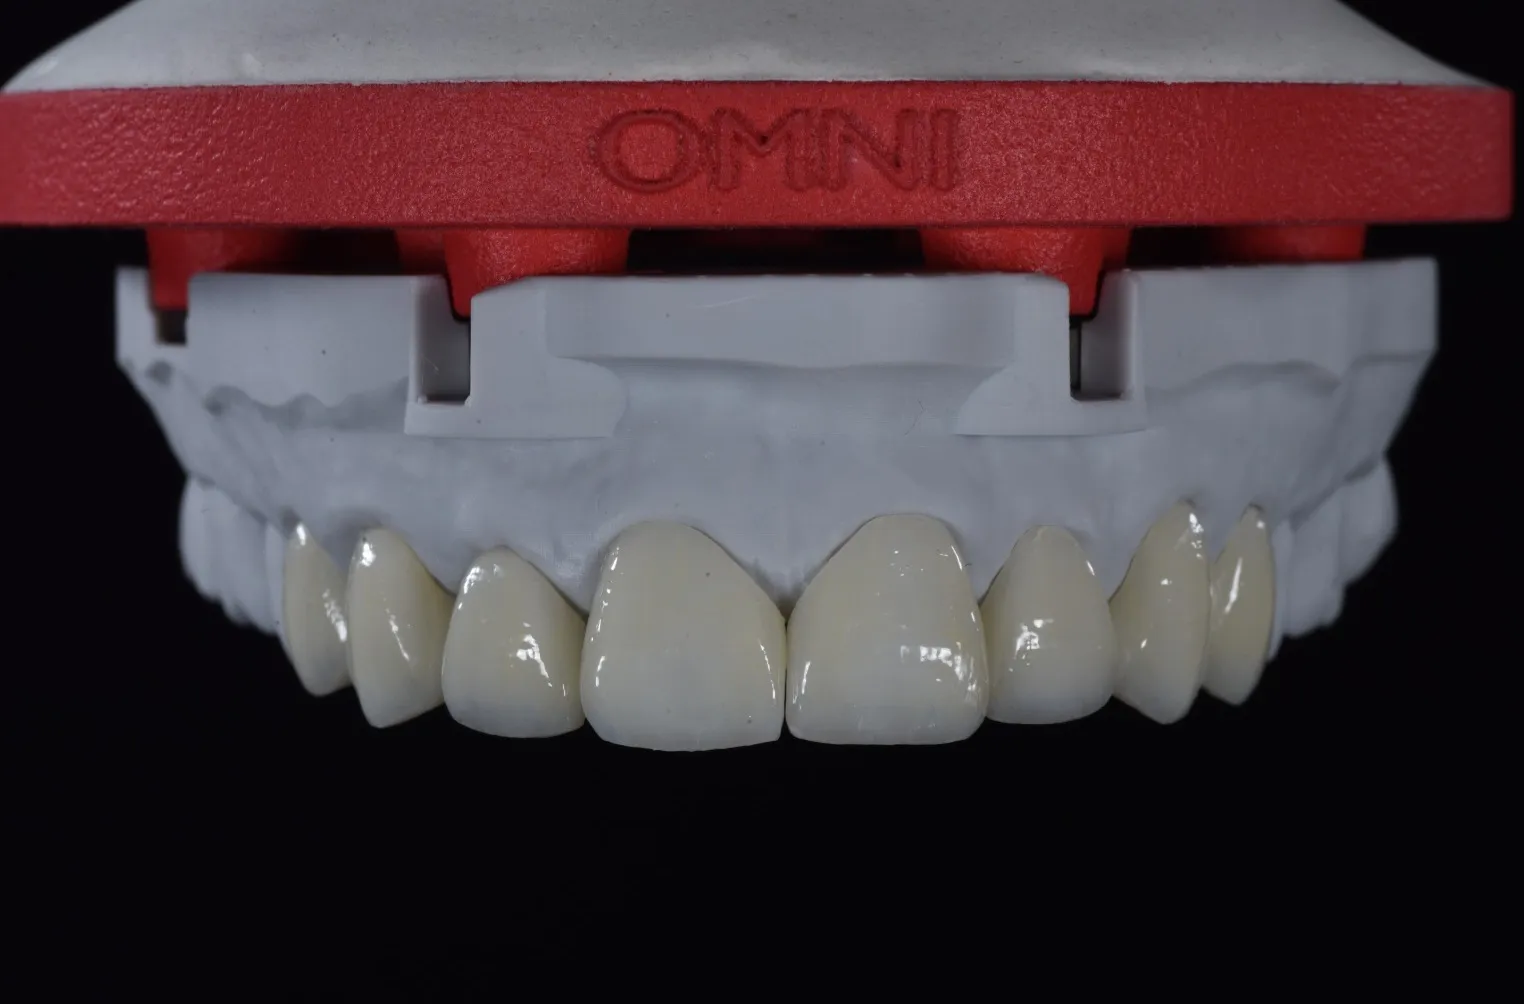
Full arch · lower
Complete lower arch with an open centre and built-in attachments.
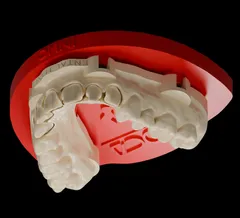
Full arch · upper
Complete upper arch, without a solid palatal base.
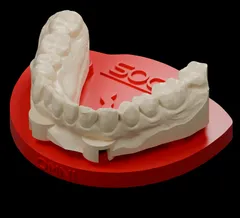
Crown case · lower antagonist
The lower antagonist model of a crown case.
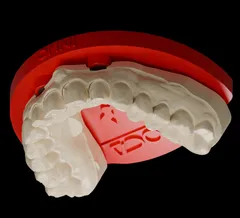
Crown case · upper
The upper set-up of the crown case.
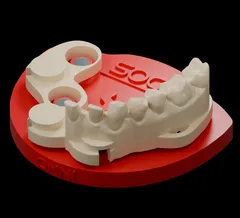
Half arch · lower
Lower half arch on an open frame. The free seats stay in view.
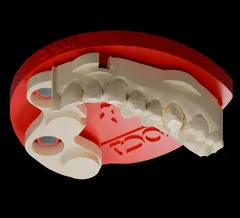
Half arch · upper
Upper half arch with frame and built-in attachments.
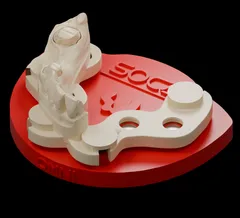
Half arch for a bridge · lower
Lower set-up of the bridge case: partial arch and frame.
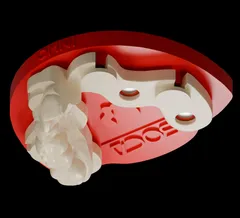
Upper antagonist
Upper antagonist model on the Light plate, upside down.
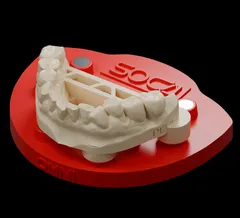
Connecting bar · lower
Lower arch joined by a posterior connecting bar.
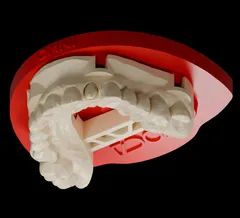
Connecting bar · upper
Upper arch joined by a posterior connecting bar.
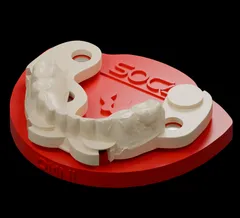
Lower antagonist
Lower antagonist model with an open frame and built-in attachments.
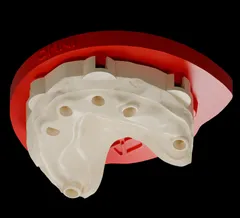
Toronto set-up · upper
Upper model of the Toronto case, with implant seats.
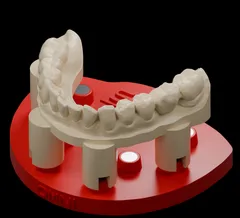
All-on-X · lower antagonist
Antagonist arch of the All-on-X case, with attachments for the Ultra plate.
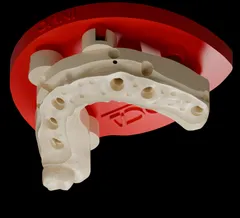
All-on-X · upper implant model
Upper All-on-X model with implant seats and an open centre.
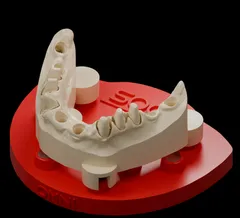
Implant model · lower
Lower implant model with analogue seats and built-in attachments, on the Ultra plate.
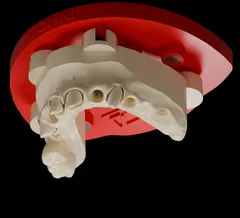
Implant model · upper
Upper implant model with analogue seats and built-in attachments, on the Ultra plate.
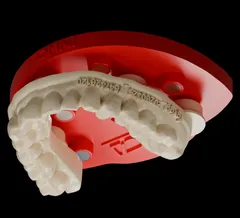
Upper model
Upper model with built-in attachments, on the Light plate upside down.
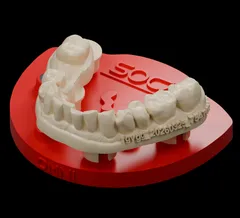
Lower model
Lower model with built-in attachments, on the Light plate.
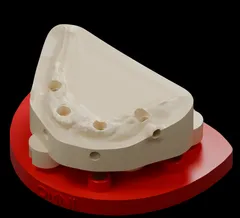
All-on-X with solid base · lower
Lower implant model with a solid base and built-in attachments.
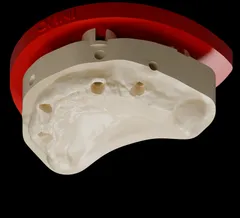
All-on-X with solid base · upper
Upper implant model with a solid base and implant seats.
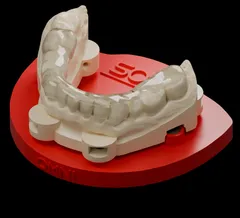
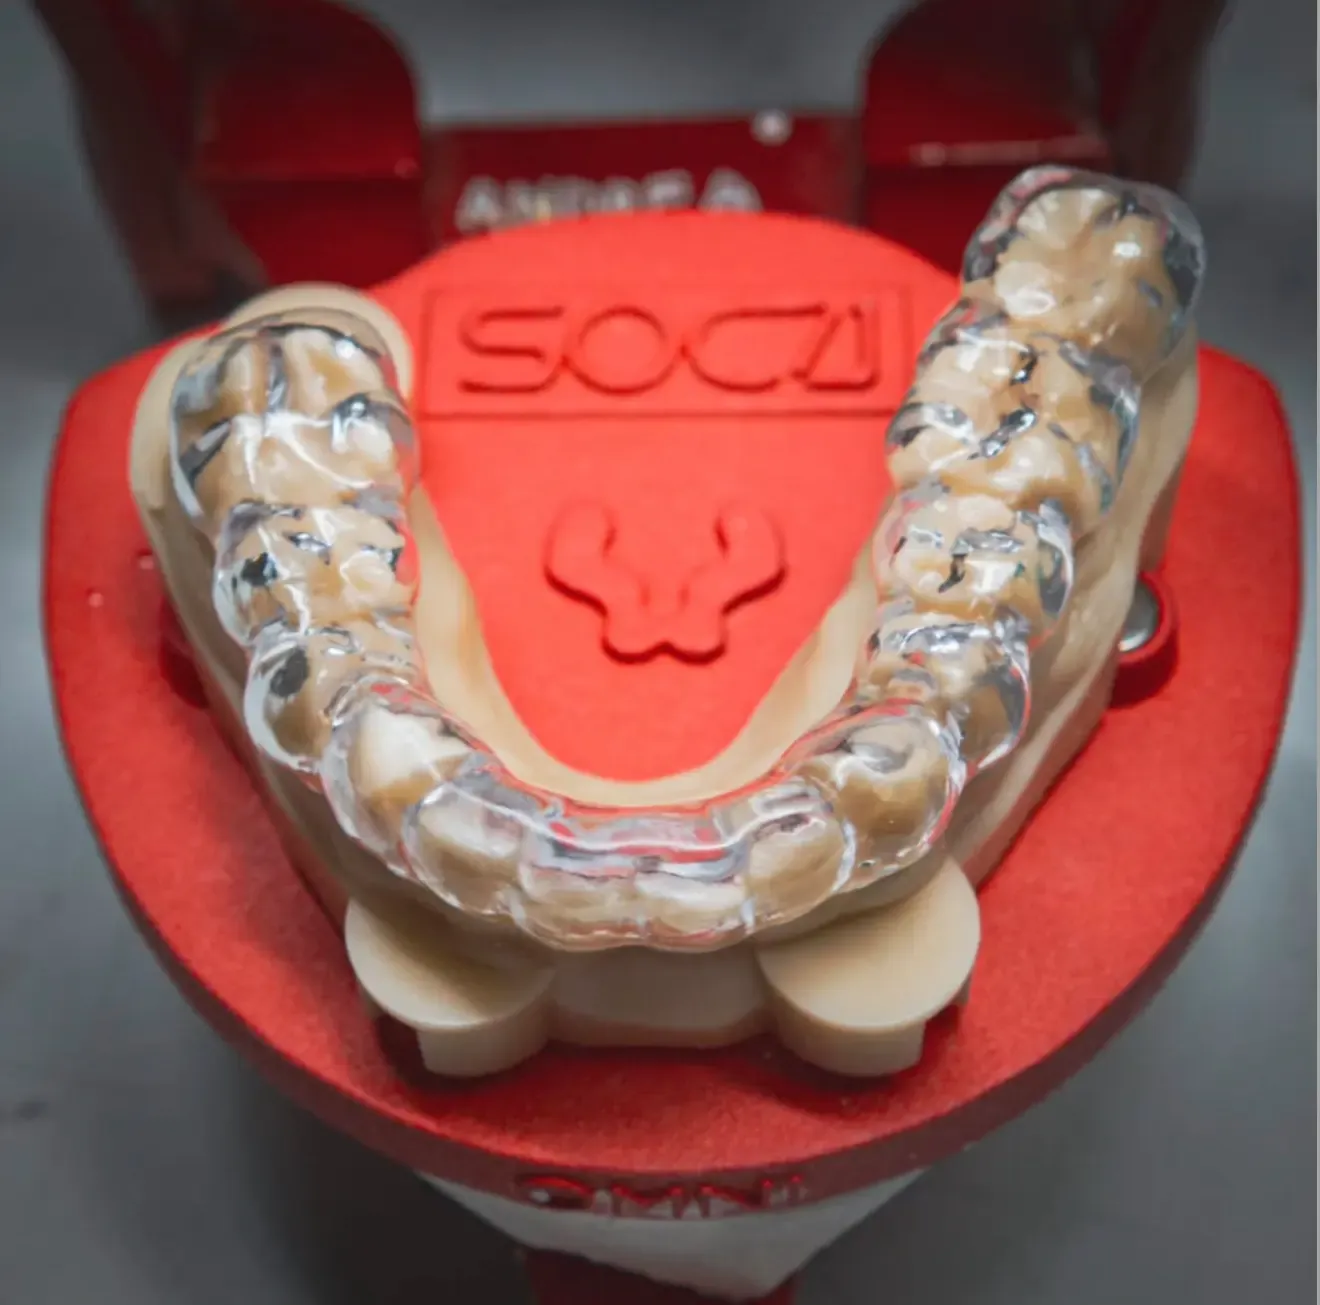
Lower model with a clear bite splint
Clear bite splint on the lower model. The teeth show through it.
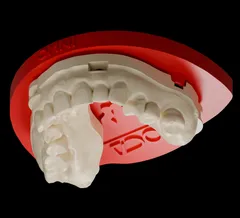
Upper model · bite splint case
Upper arch of the bite splint case, on the Light plate upside down.
Find your kit
Direct fit kits clip onto Artex, SAM and ASA Dental. Flex bonds once to any other articulator. Same plates, same transfer.
Any articulator · bonded once
Duo USD 366.60
Light or Ultra from USD 197.40
Duo: both heights in one box, USD 28.20 less than two single kits.
Direct fit · Artex
Duo USD 598.00
Light or Ultra from USD 319.60
Duo: both heights in one box, USD 41.20 less than two single kits.
Direct fit · SAM
Duo USD 772.80
Light or Ultra from USD 400.00
Duo: both heights in one box, USD 27.20 less than two single kits.
Direct fit · ASA Dental
Duo USD 598.00
Light or Ultra from USD 306.00
Duo: both heights in one box, USD 14.00 less than two single kits.
Start with the Flex Duo: both heights, any articulatorDuo: both heights in one box, USD 28.20 less than two single kits.
Heights
The height is the space between the magnets of the upper and the lower plate. Pick it by the cases you run.
No implants, or implants on one arch. Keeps daily models compact.
See the Light Flex kitImplants on both arches. Clears implant analogs for full-arch and All-on-X work.
See the Ultra Flex kitBoth heights on your bench, whatever comes in.
See the Duo Flex kitDuo: both heights in one box, USD 28.20 less than two single kits.
CAD libraries
The DACOS library sits inside the CAD software you already use. Design the case, export the model, print it on the plates.
From the bench
In the spotlight

Prosthodontics Resident at Harvard School of Dental Medicine
United States
Brilliant design with strong customization (nine site options for different cases) and the mounting calibration, which should improve accuracy!

Dental technician
Italy
I've finally found a simple, effective system for printing models through the Model Creator module in Exocad, with a beautiful and extremely precise design. The models are lightweight and reduce resin consumption. They don't have bulky or outdated bases, and I don't have to change anything in my workflow — I can keep printing horizontally, with the added flexibility of managing the model base and the digital analogs. Fully approved!

Full Master Pro Instructor, Blender for Dental
Tenerife, Spain
I had the chance to try this system and I have to say it is truly excellent: Antonello has bridged the gap between analog and digital with great precision. It has become a routine in our laboratory, and the results have been remarkable. Heartfelt thanks.

Dental technician · Pugnolab
Italy
In our CAD workflow, design is only half the job.
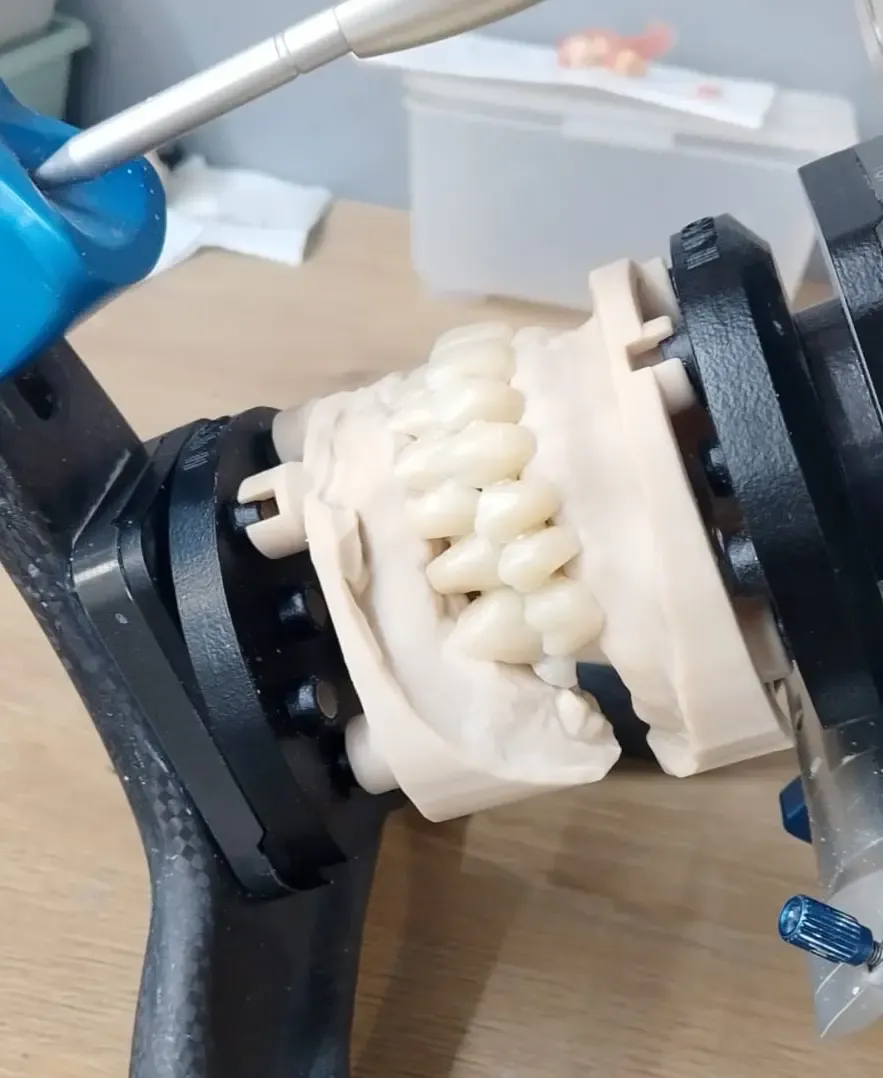
We were looking for a system that would let us take a real step up in the manual verification of our projects, especially for tasks requiring a highly dynamic approach, such as checking a 3D-printed bite splint.
With the new Dacos Omni, we found exactly what we needed.
Thank you, Antonello

Owner
United States
Game changer. No more mess, just clean, consistent, and highly accurate printed models

Certified exocad Instructor
Italy
Those who know me know I've always been a bit skeptical about systems for repositioning 3D-printed models in an articulator. But Antonello designed this one differently, and it solves two key problems. The first is articulator calibration: thanks to the Gemini Calibrator, DACOS eliminates the level discrepancies caused by uncalibrated articulators. The second is the problem of having 3D-printing pins under the model: DACOS moves the anchoring level to a zone that doesn't interfere with the result or with seating the model on the articulator. It's one of the few systems on the market I really like.

Ceramist dental technician · 360 Estudio Dental
Mexico
A predictable, practical, clean, and simple-to-use work system.

Dental technician
Italy
DACOS Omni — a great ally for digital prosthetic production. In my production chain I find the DACOS Omni very useful, if not indispensable, for transferring from digital to analog — onto my physical articulator — the real spatial position of the dental arches that the clinician registered with the intraoral scanner. From that registered position I can start an accurate design of my restoration, one that is esthetic and, above all, functional. With this system, simply by using magnets glued into the dedicated recesses prepared in the 3D-printed models, the models anchor to the articulator, where I can check and finalize my prosthetic work at its best — with no model adaptations and no plaster.
Dental technician · Laboratoire Miot
France
Good system. I just have to select a wider fit at the design stage, otherwise the models don't seat correctly.
Partners
Printing, materials and CAD software.










Risk and service
Within 2 business days of your order, with tracking.
Issued by MetaDac FZE, ready for your accounts.
If the pin does not return to zero after TrueZero™ calibration, open a TrueZero™ Verification case and we work through it with you. Damaged, defective or wrong items: write to us within 7 days of delivery.
Questions about your bench, your articulator or your CAD? Write to us.
Chat on WhatsAppItalian business with a Partita IVA? Buy without Italian VAT (reverse charge, art. 17(2) DPR 633/72).Continue in Italian
Protected engineering
The geometry, the calibration method and the magnet placement tools are the result of years at the bench.
Patent Pending
The DACOS Omni system, including its adapter plates, calibration method, attachment geometry, and magnet placement tools, is protected by a pending international patent application.
Protected engineering

Founder
DACOS Omni was designed at a lab bench, by a technician who needed the transfer to stop being a variable. When you write to us, you talk to the people who built it.
Antonello CroceDental technician and inventor of DACOS Omni
Learn
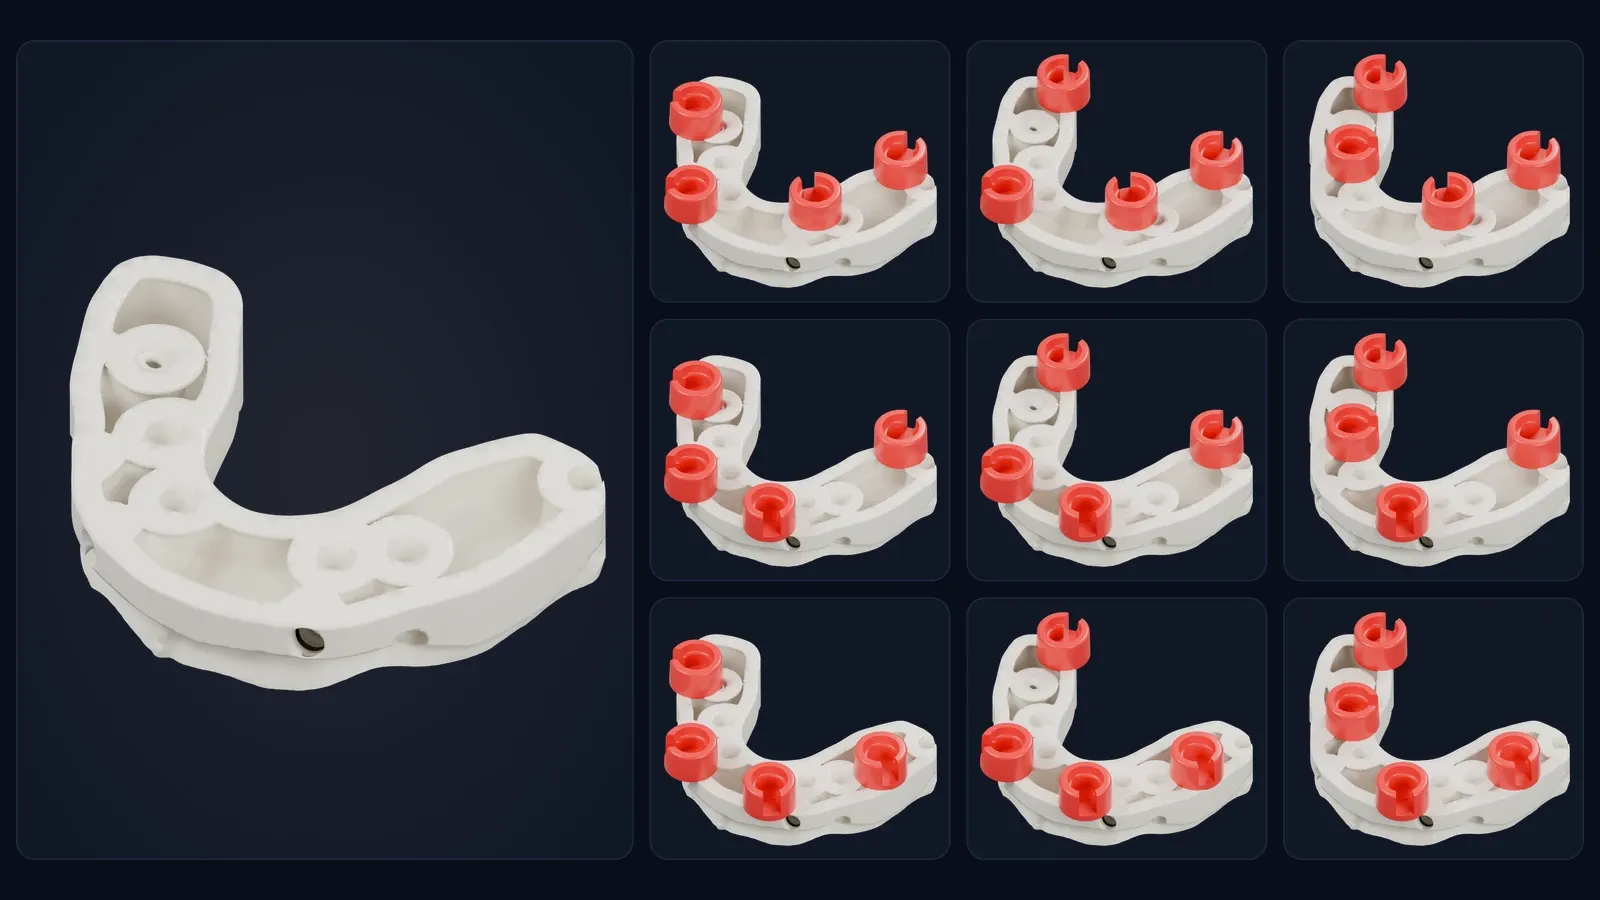
Eight magnet positions, four attachments per model, nine combinations. With DockingMatrix™ you pick in CAD the layout that clears your implant analogs.
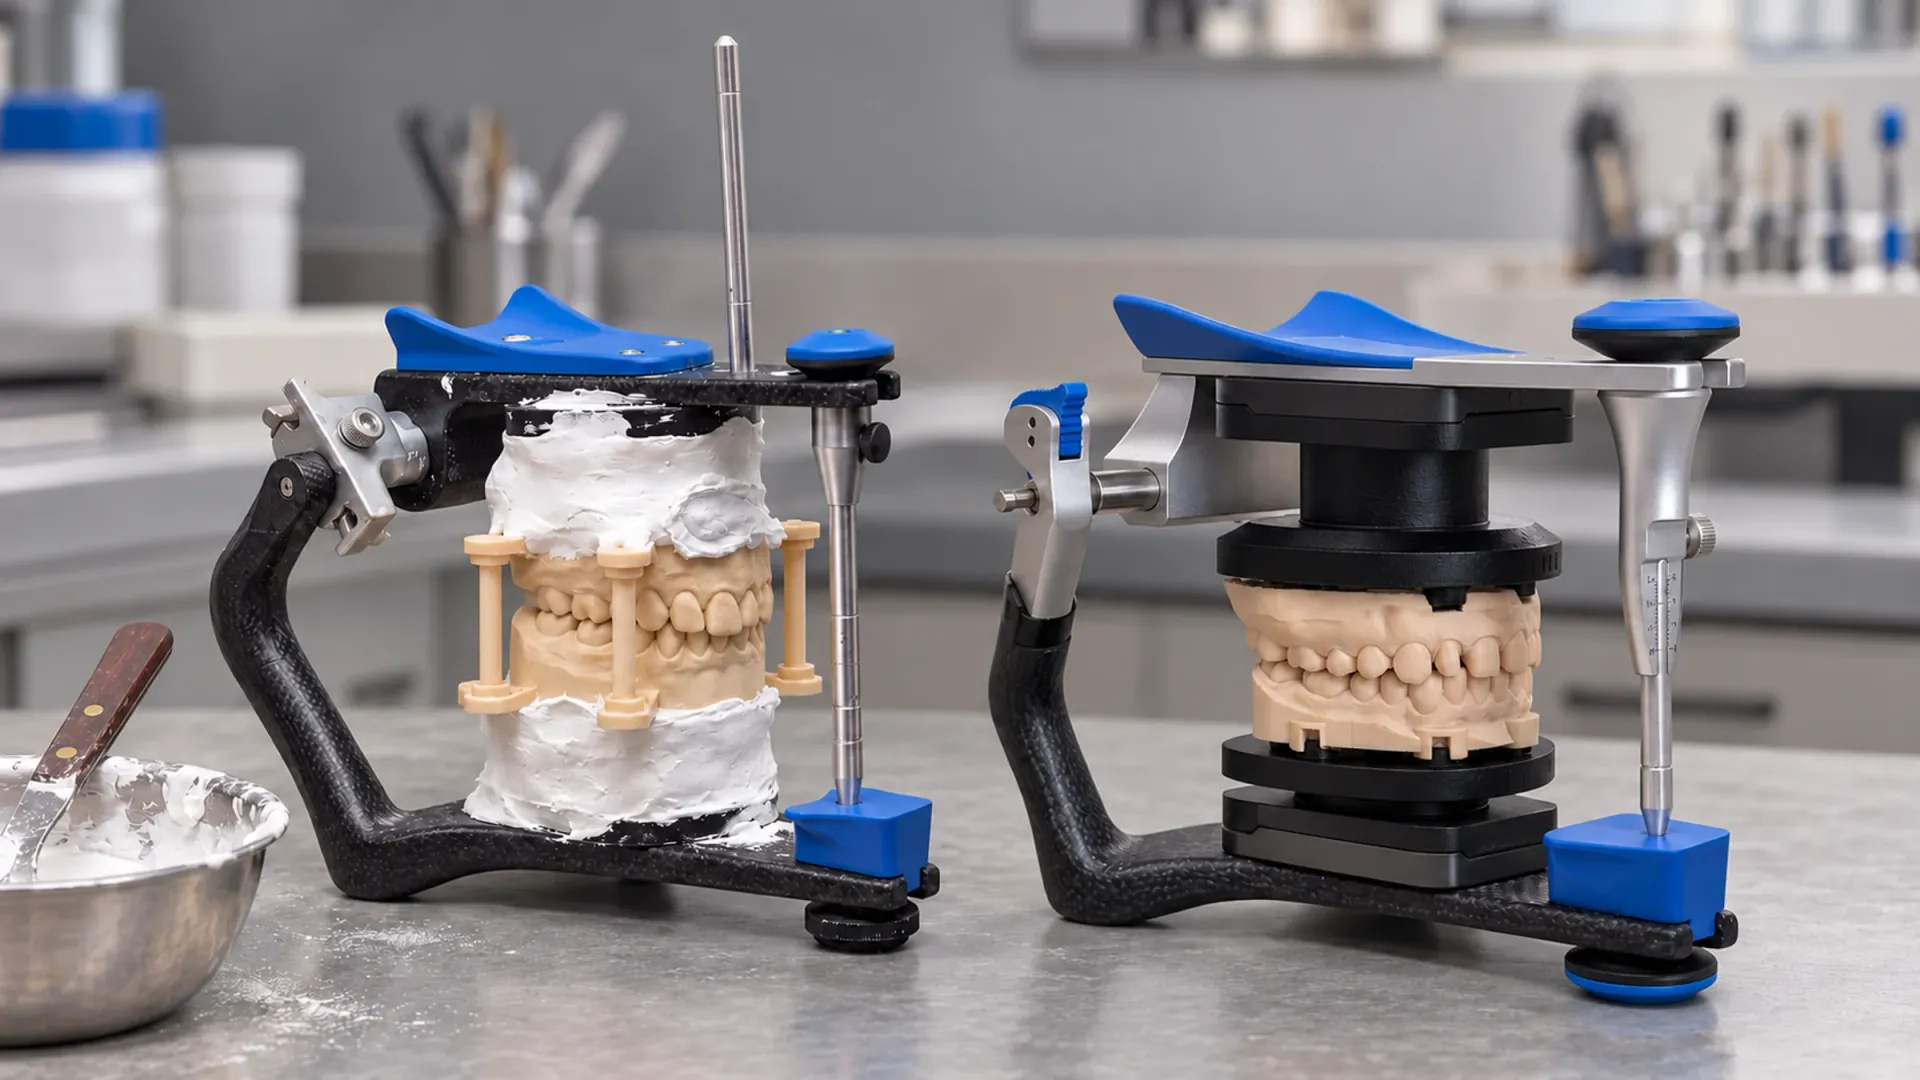
Plaster works. But it’s the one step where the position comes from your hands, not your file. What changes when the mount follows the CAD design.
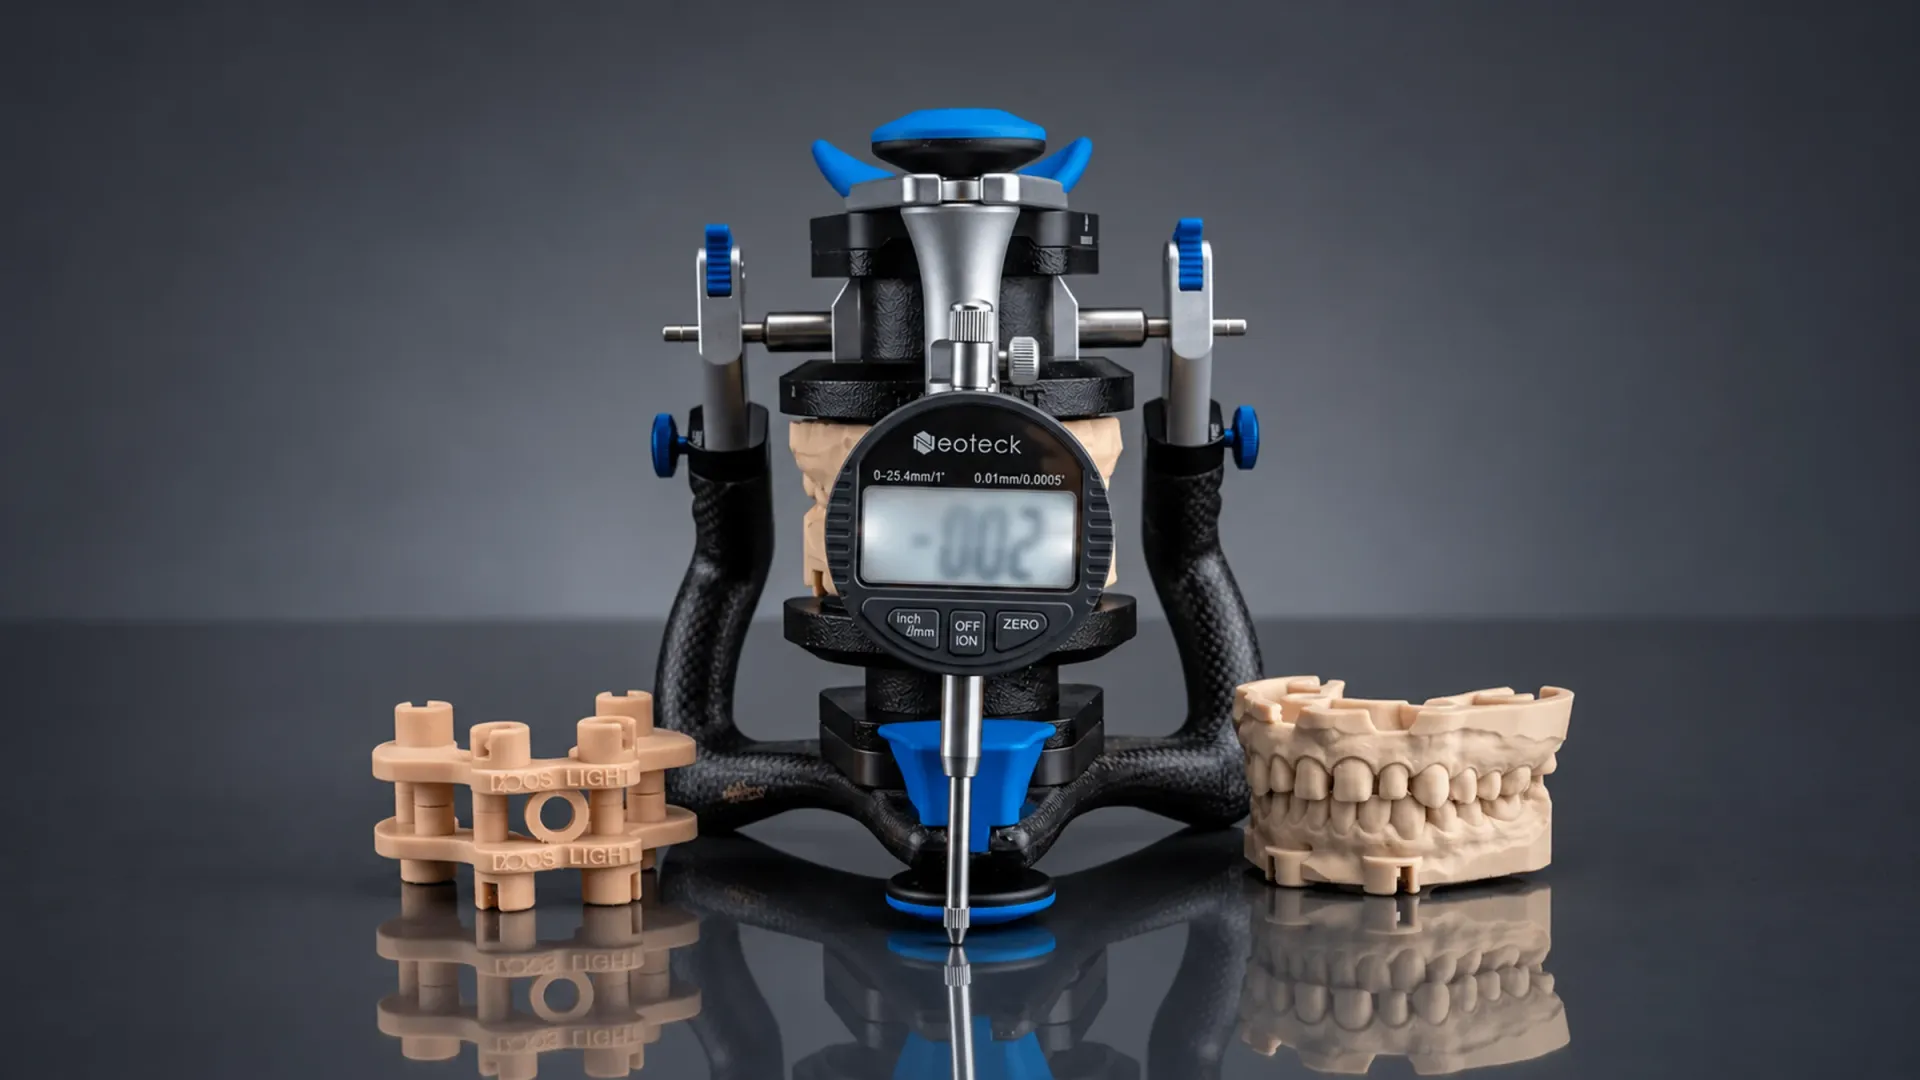
We measured the transfer at ±0.02 mm with a digital indicator. That is the ceiling. On your bench, the proof is the pin at zero and the contacts you designed.
Free PDF
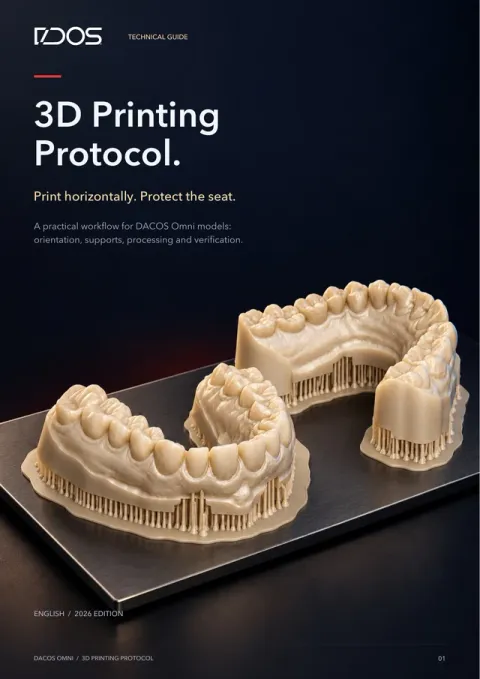
Orientation, supports, starting parameters and post-processing for the models you mount. Many errors you cannot explain start in the print, not at the articulator.
Leave your email and Antonello, the inventor of DACOS, sends you the protocol, with a few short notes on the transfer.
Check your inbox
The protocol is in the first email, arriving in a few seconds.
Emails and PDF in English.