Necessary cookies keep the cart, your language and this choice working. With your consent we also use analytics cookies to see which pages help, and marketing cookies to measure our ads. Read the privacy policy and the cookie policy.
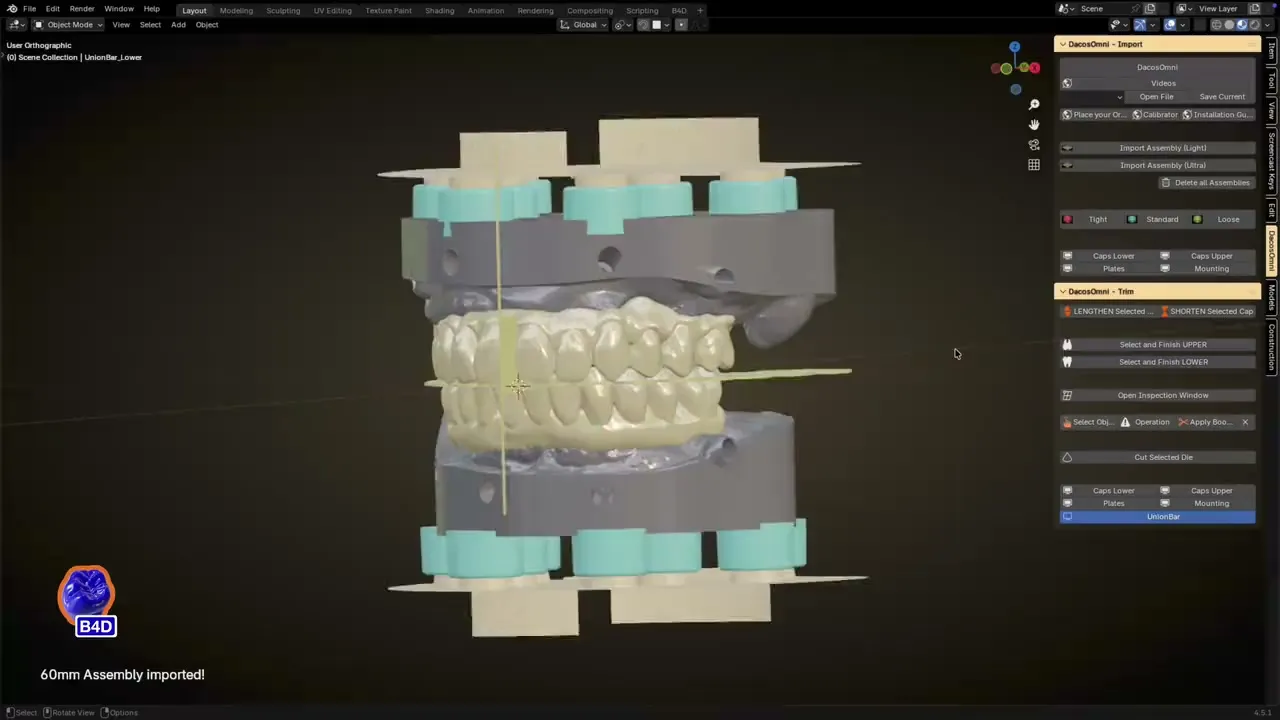
The DACOS Omni module makes your upper and lower models DACOS ready in four guided sequences: import, offset, attachments, finish. All eight attachment positions load, and you keep, remove or move the ones your case needs. It is the flexible path with implant analogs, and the path for every other CAD.
Models module required
Module sold by Blender for Dental
Light and Ultra
Patent Pending
The DACOS Omni system, including its adapter plates, calibration method, attachment geometry, and magnet placement tools, is protected by a pending international patent application.
The module is not part of the DACOS kit. It runs on the Models module of Blender for Dental: a lab not yet on Blender for Dental buys both.
What you install
One module, on the Models module.
Blender for Dental
DACOS Omni module
Bought from Blender for Dental. The tutorials are also in your Blender for Dental account, under My modules.
Required
Models module
The DACOS module runs on it. Without the Models module the DACOS module cannot be used.
Offset
The rule
The offset you set in the module is the offset of your calibrator. The Light or Ultra set is the tier of your plates.
Your DACOS kit gives you the calibrator files and the lessons in the hub. The module comes from Blender for Dental.
Before you start
Calibration first, CAD after.
Print the fitting test of the TrueZero™ calibrator with the printer, resin and post-curing you use for your models. Keep the offset that seats fully, stays stable and does not rotate on the Omni plate. That offset is the one you download and the one you select in your CAD.
From the Blender for Dental shop, with the Models module if you do not have it yet.
Open it from My modules.
The module and its tutorials appear in your Blender for Dental account.
Hub lesson: The DACOS module in Blender for Dental, 6 steps
Design
Four sequences, one colour at the end.
01
Import.
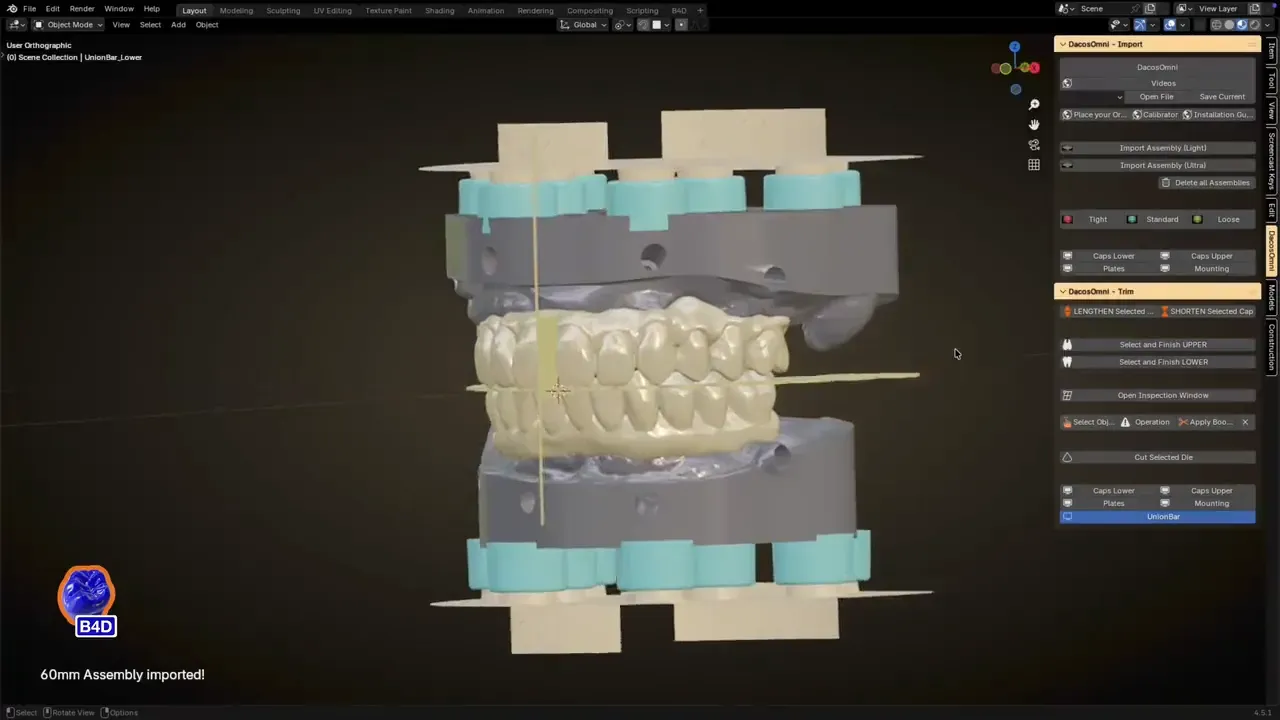
Upper and lower in occlusion, moved together to the centre onto the occlusal reference plane. Import the Light or the Ultra set, the tier of your plates.
Hub lesson The DACOS module in Blender for Dental, 6 steps
02
Offset.
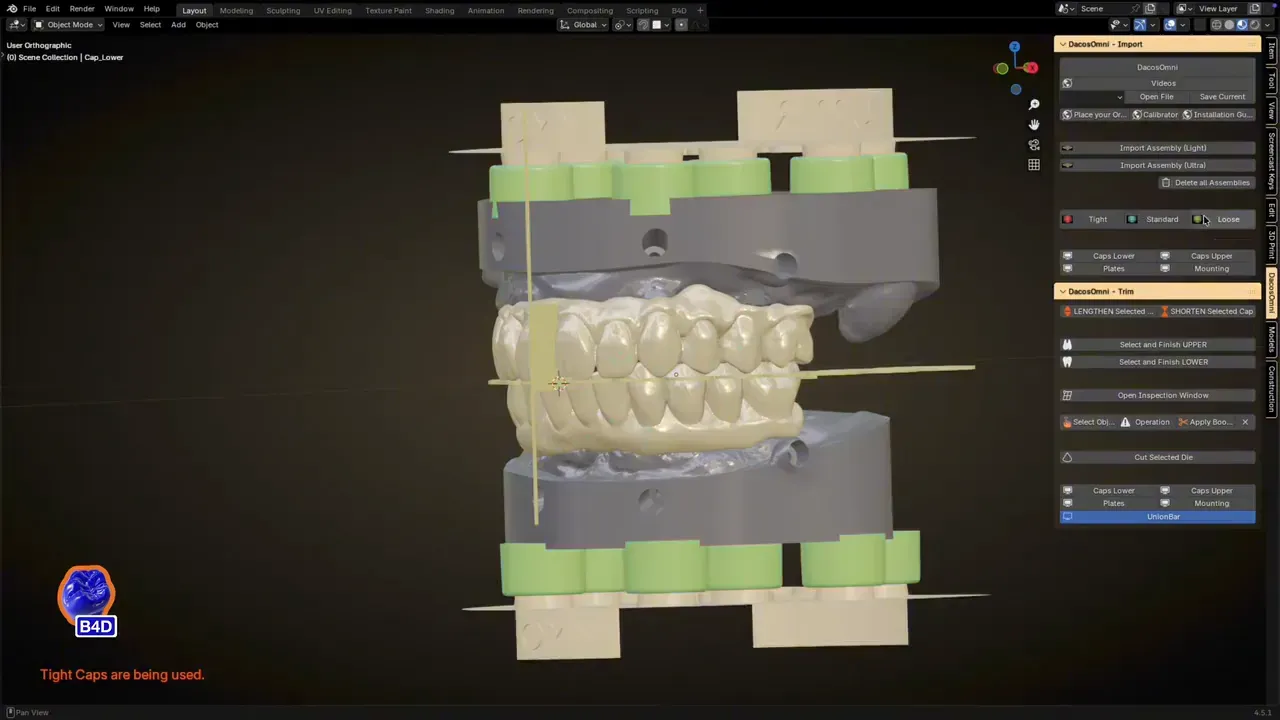
Set the offset of your calibrator: Tight, Standard or Loose.
Hub lesson The DACOS module in Blender for Dental, 6 steps
03
Attachments.
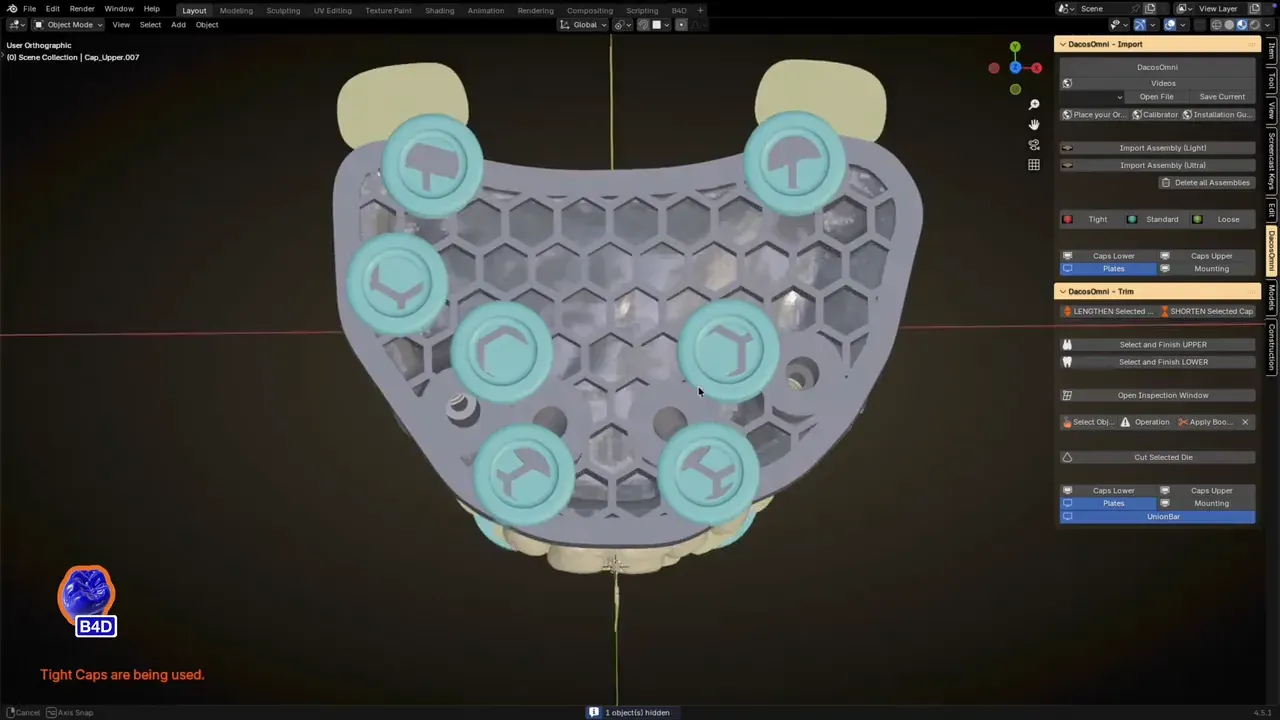
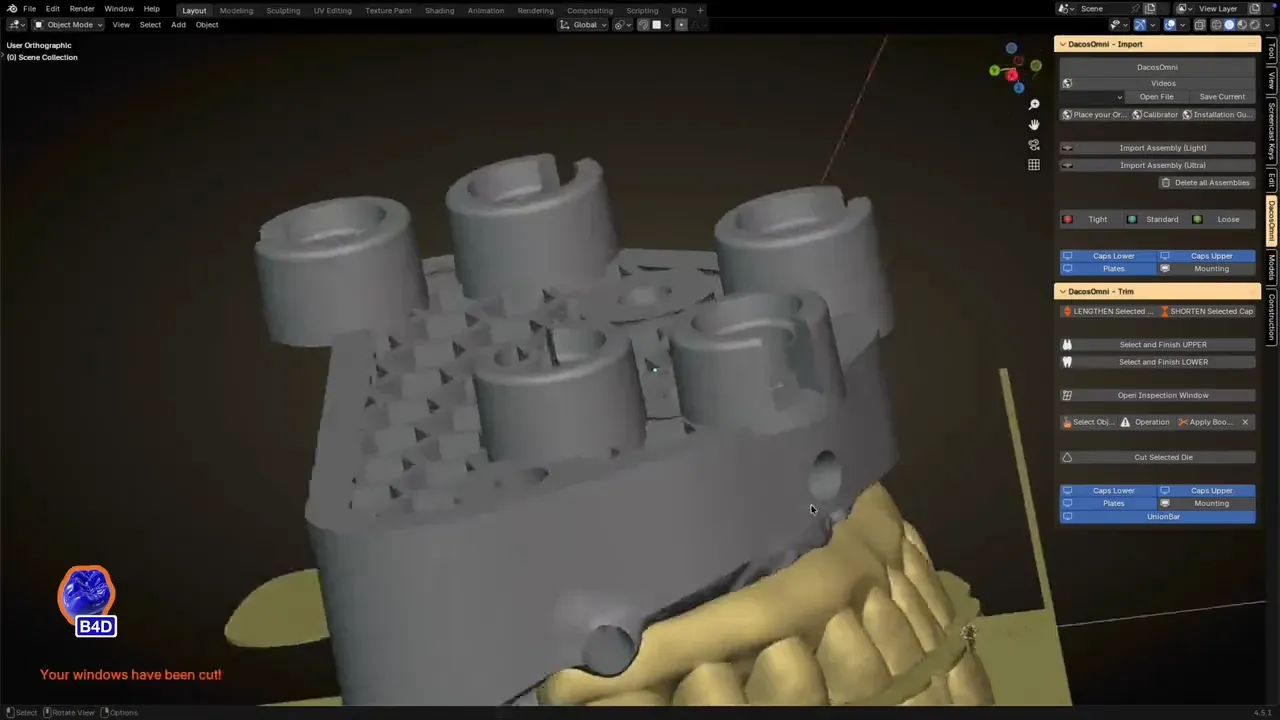
All eight positions load. Delete with X, hide with H. Extrude, enlarge and space them toward the model. Keep enough for a stable, balanced seat.
Hub lesson The module in practice (2:37)
04
Finish.
Select the attachments, then the model, then Selection and Finish, upper and lower. When the model shows one single colour, it is done. Optional: open windows to check that the magnet goes fully down.
Hub lesson The module in practice (2:37)
05
Export STL and print.
Flat on the platform, supports under the base, none on the seating step.
Hub lesson Slicing the models, flat (1:57)
Another CAD
Another CAD
Your CAD is not listed? This is your path.
A CAD other than exocad, 3Shape and Blender for Dental has no DACOS library of its own. Export the models from it as STL, in occlusion, import them in Blender for Dental and let the DACOS Omni module place the attachments. exocad and 3Shape users bring here the cases their fixed libraries do not handle well, such as very tall models.
Free to change, never change.
Free to change
Which of the eight attachments you keep
Extrusion toward the model
Size and spacing of the attachments
Never change
The seating interface of the attachment
The vertical position against the occlusal plane
The occlusion after the import
DockingMatrix™ Configuration
Choose the layout.
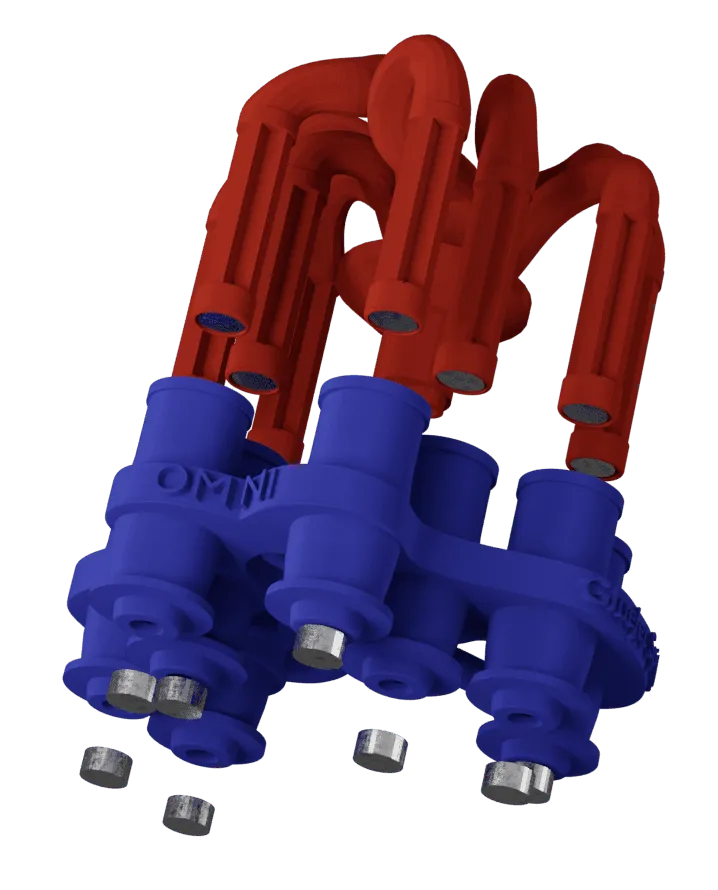
Here you choose the attachments yourself. A good starting point: the nine combinations of the exocad and 3Shape libraries, in the DockingMatrix™ explorer of the software page.
In Blender for Dental all eight positions load and you keep the ones you need.
Diagram, not to scale.
Print and seat
Magnets last, seating step first.
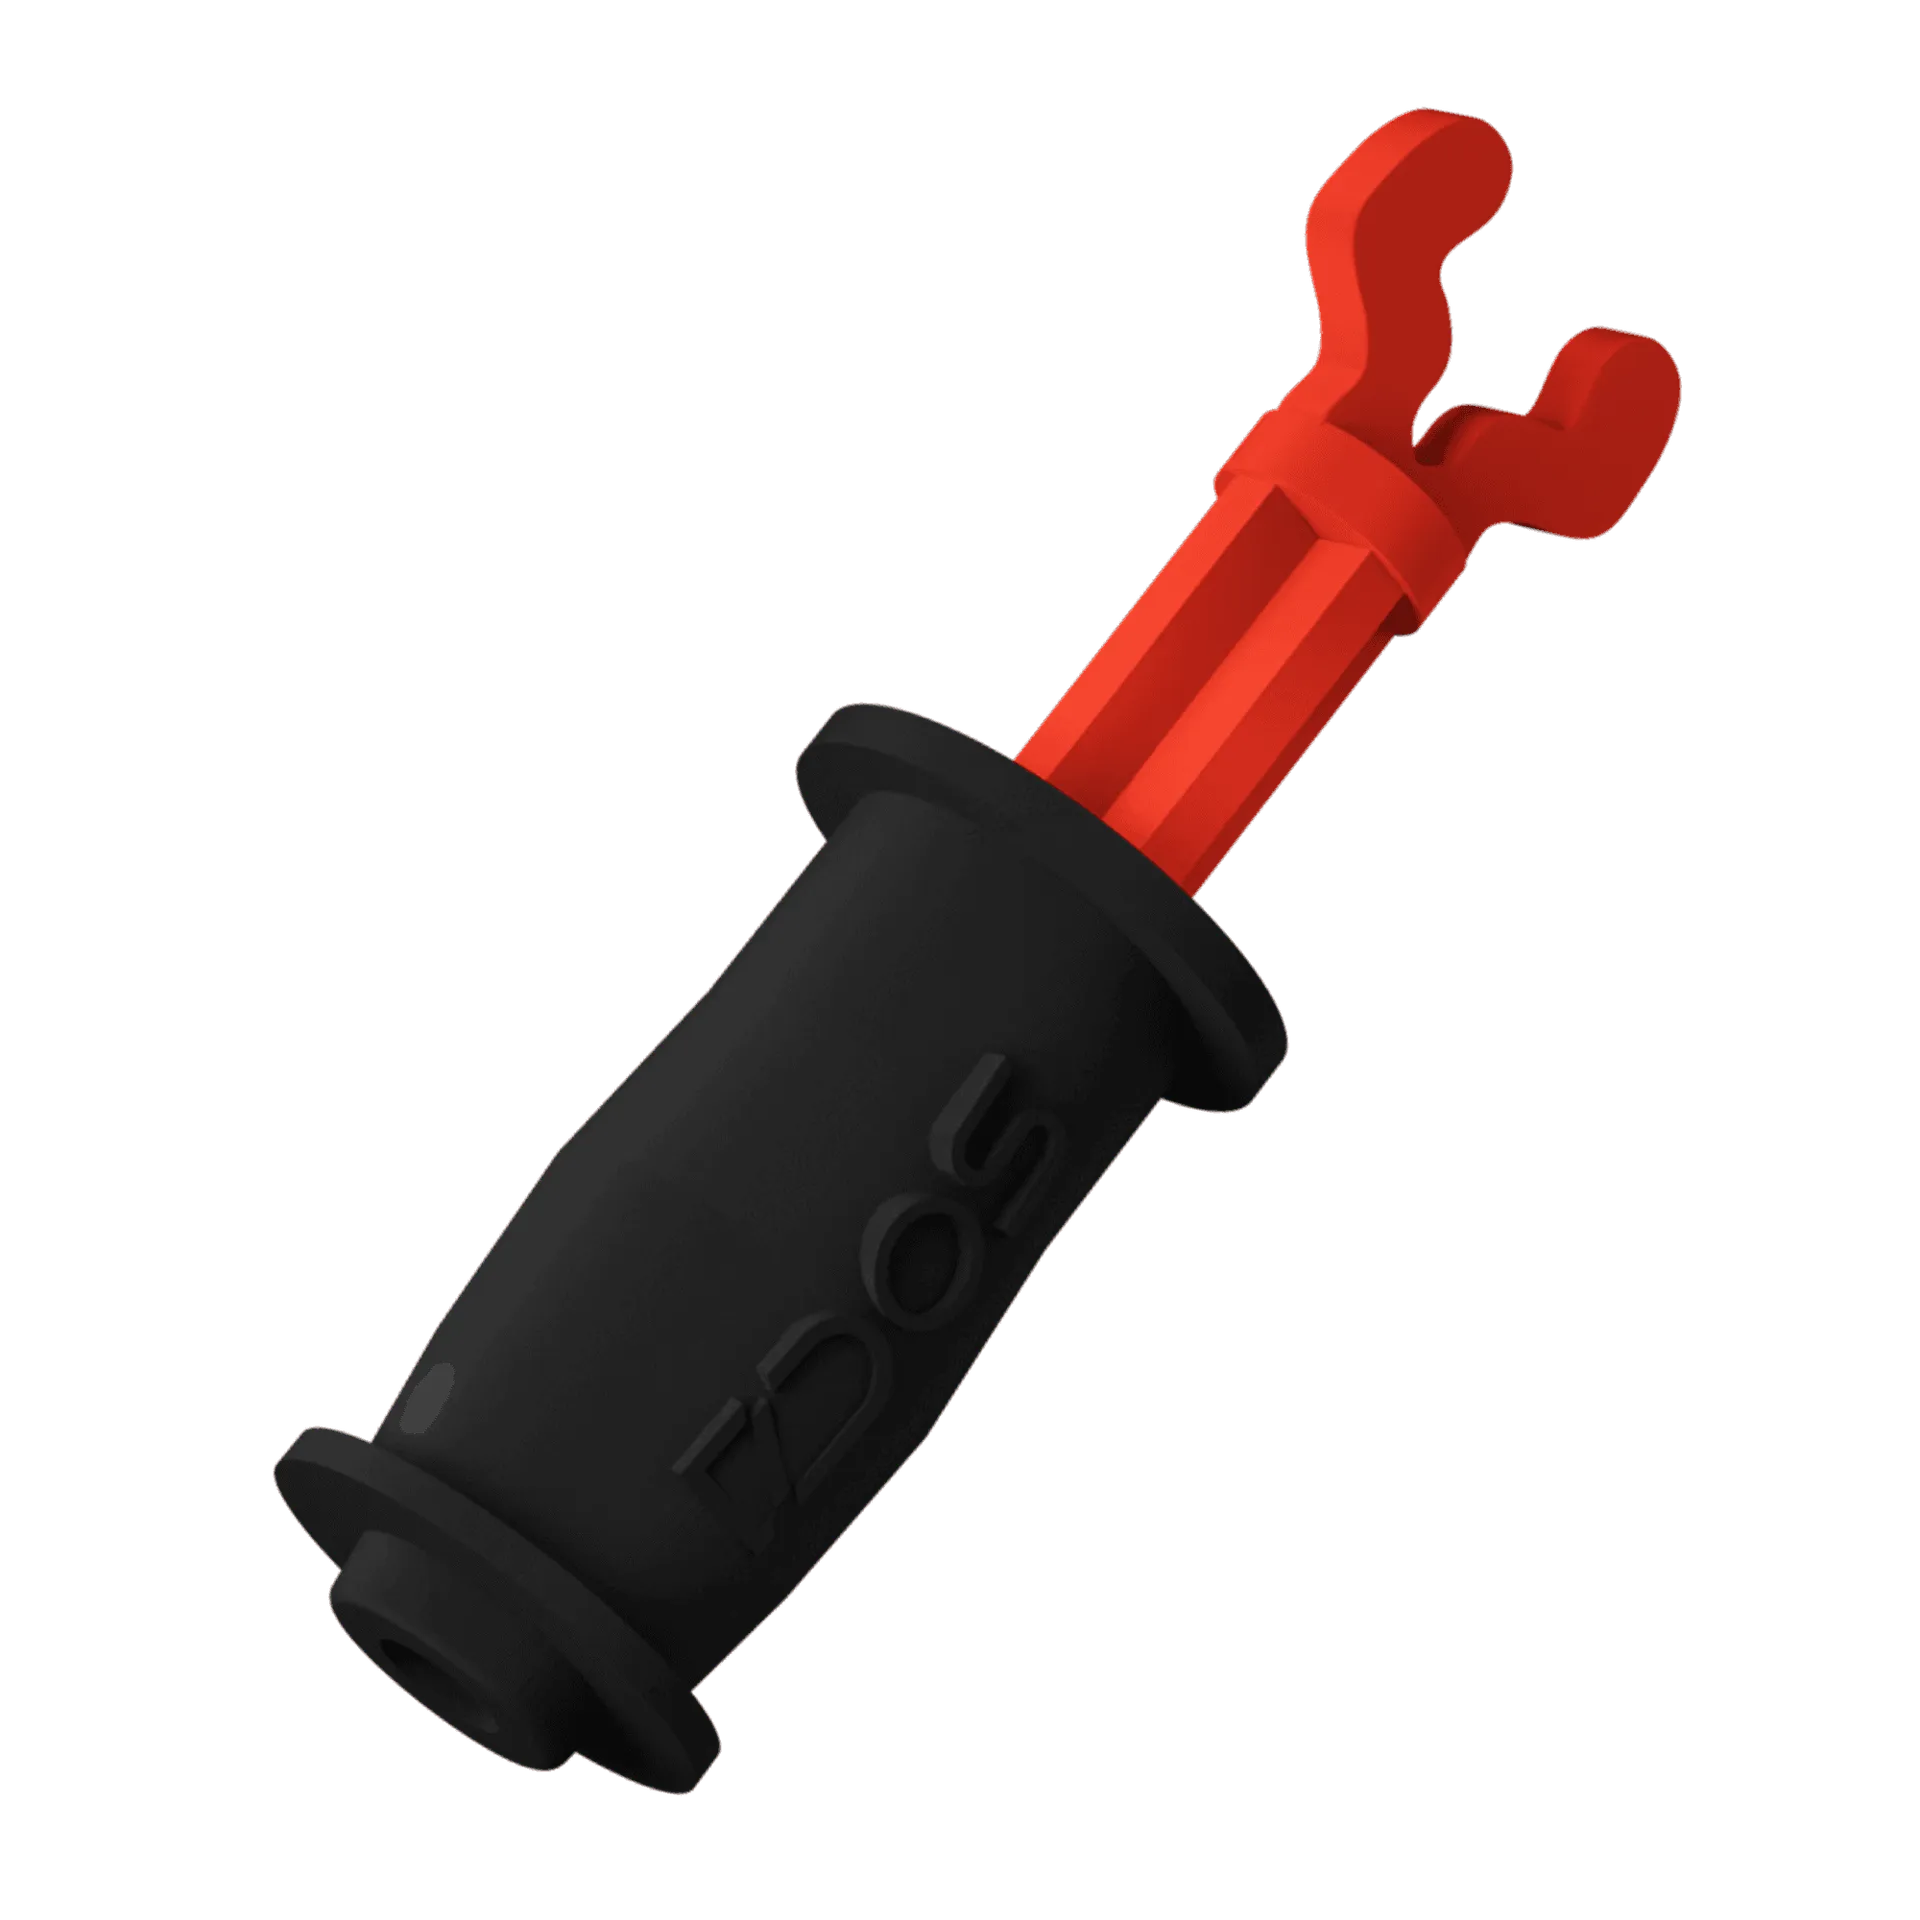
Print flat on the platform, supports under the base, none on the seating step, with the printer, resin and post-curing of your calibrator. After post-curing the magnets go in with the Omni GlueJet™ or the Omni GlueJet™ Spider Set, which hold them at the right polarity. The magnet sits at the bottom of its housing and never touches the magnet of the plate: the seating step defines the position.