In CAD it was right
You spent an hour on the contacts. Light where they should be light, firm where they should hold, nothing where you wanted clearance. You checked them twice on screen.
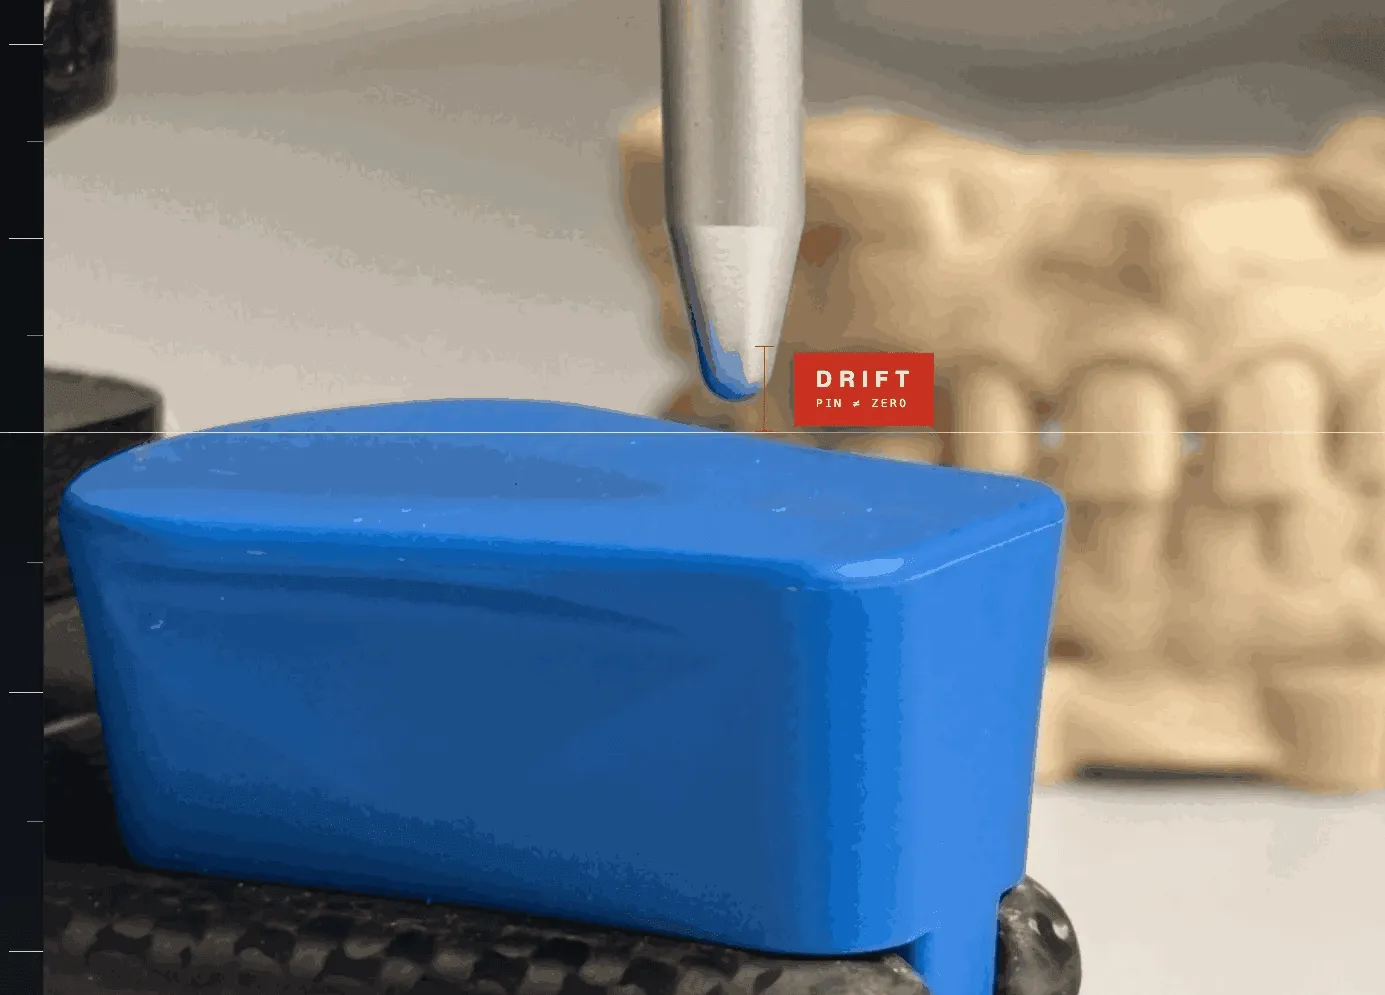
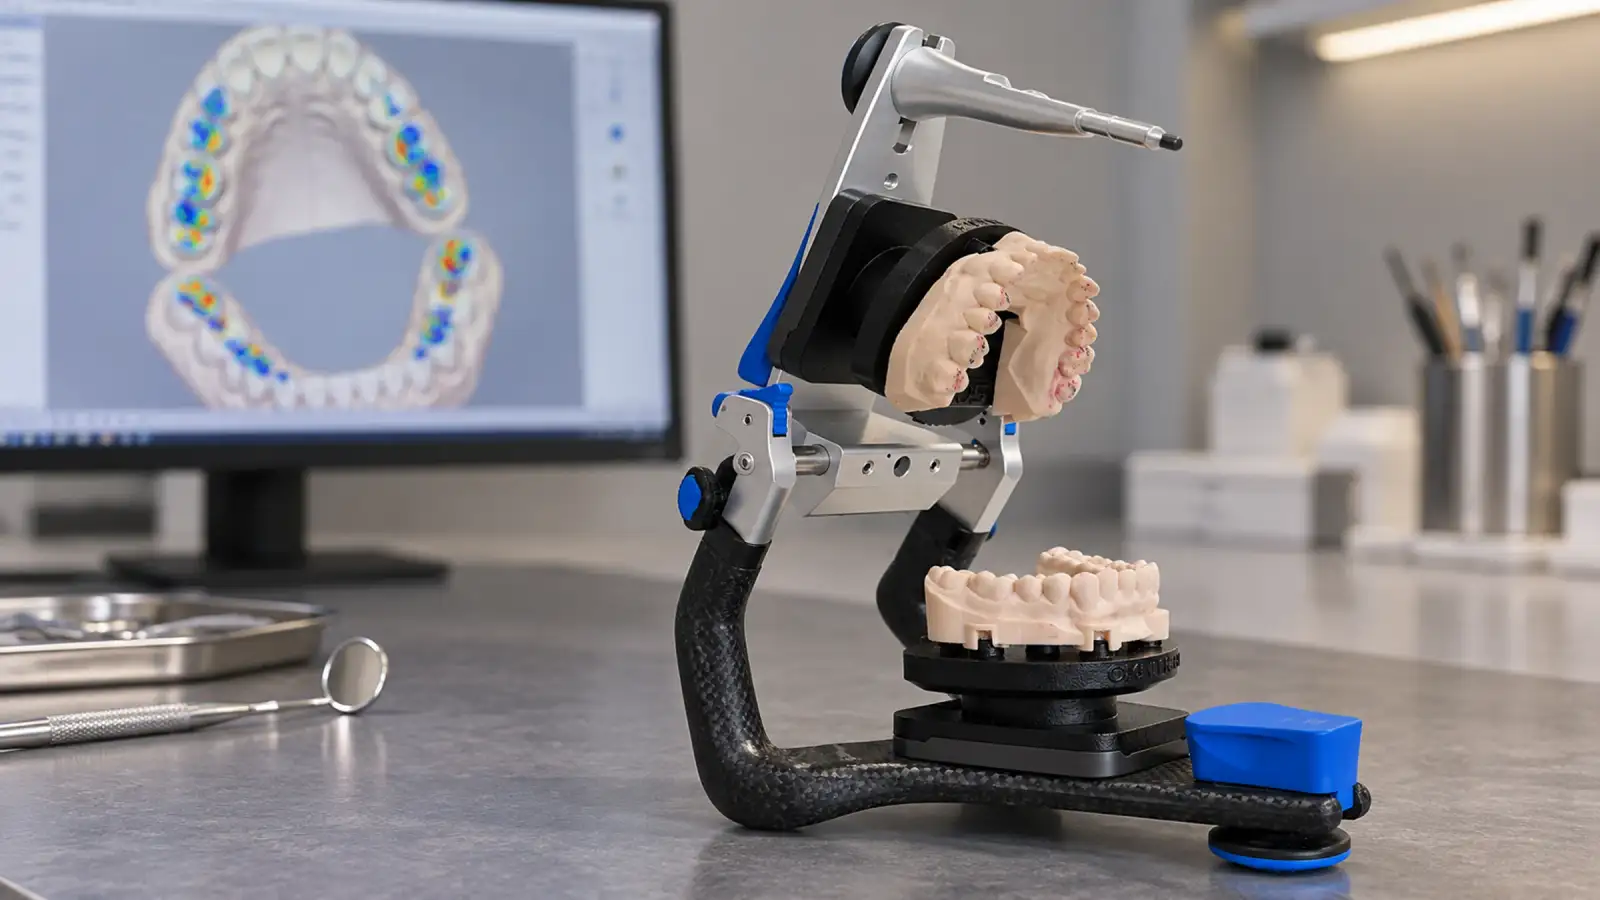
Then you mounted the printed model and closed the articulator. The pin stopped short of zero. You opened it and looked at the paper marks: some contacts where you designed them, some missing, one heavy spot on a cusp you never touched.
Now the question that costs the most time in a digital lab: which link failed?
The scan? The bite registration? Something in the design? The printer, the resin, the curing? The articulator? Or the system that put the model on the articulator?
Most technicians start at the top, with the scan, because that’s where the case started. That’s usually the slowest place to look.
Your result is a chain, not a single step
Every case you deliver is the sum of its links. When the contacts on the bench don’t match the contacts on screen, one or more of these moved:
- Scan and occlusal alignment. The digital input sets the ceiling for everything downstream. A bite aligned a little open or a little shifted is carried into every step after it.
- CAD design management. Intersection handling, virtual articulator settings, the choices you make while designing.
- Printer calibration. The printer has to hold its dimensions from one job to the next.
- Resin behaviour. Shrinkage, expansion, differences between batches.
- Post-curing. Time, temperature and light outside the manufacturer’s protocol bend the geometry.
- The articulator. A good articulator holds its calibration. A tired one doesn’t.
- The transfer system. The plates, bases and magnets that carry the model from file to articulator.
The first six belong to your lab, and they’re worth controlling. The seventh is the one most labs never question, because they assume it was engineered to the same standard as the rest. Often it wasn’t.
- Scan and bite alignment
- CAD design
- Printer
- Resin
- Post-curing
- Articulator
Transfer system
Taken out of the chain by ZeroDrift™ Transfer
Why the transfer is the link that hides best
A scanner error usually shows up in the scan. A printer problem usually shows up in the print: a soft margin, a warped base. Those links leave fingerprints.
A transfer system that doesn’t hold leaves no fingerprint on the model. The print is clean, the design is right, and the error appears only at the end, at the articulator, right where you’d blame everything else. It looks like a scan problem. It looks like a design problem. So the hunt starts at the top of the chain and works its way down, case after case.
It hides even better because of how many plaster-free systems are built: a bulky base that shifts the reference, a geometry that forces a 45° print and makes the teeth worse, a base that collides with the implant analogs so the model never seats fully. Each of those adds an error to the chain and then makes it look like it came from somewhere else.
Walk the chain from the bottom
When the contacts don’t match, start at the end of the chain, not at the beginning. The bottom links are the fastest to rule out.
Start with the transfer. Does the pin close to zero when the model goes on? Does the model sit still when you press on it, or does it rock or lift? If the base touches an analog or doesn’t seat fully, you have found your problem before opening a single file.
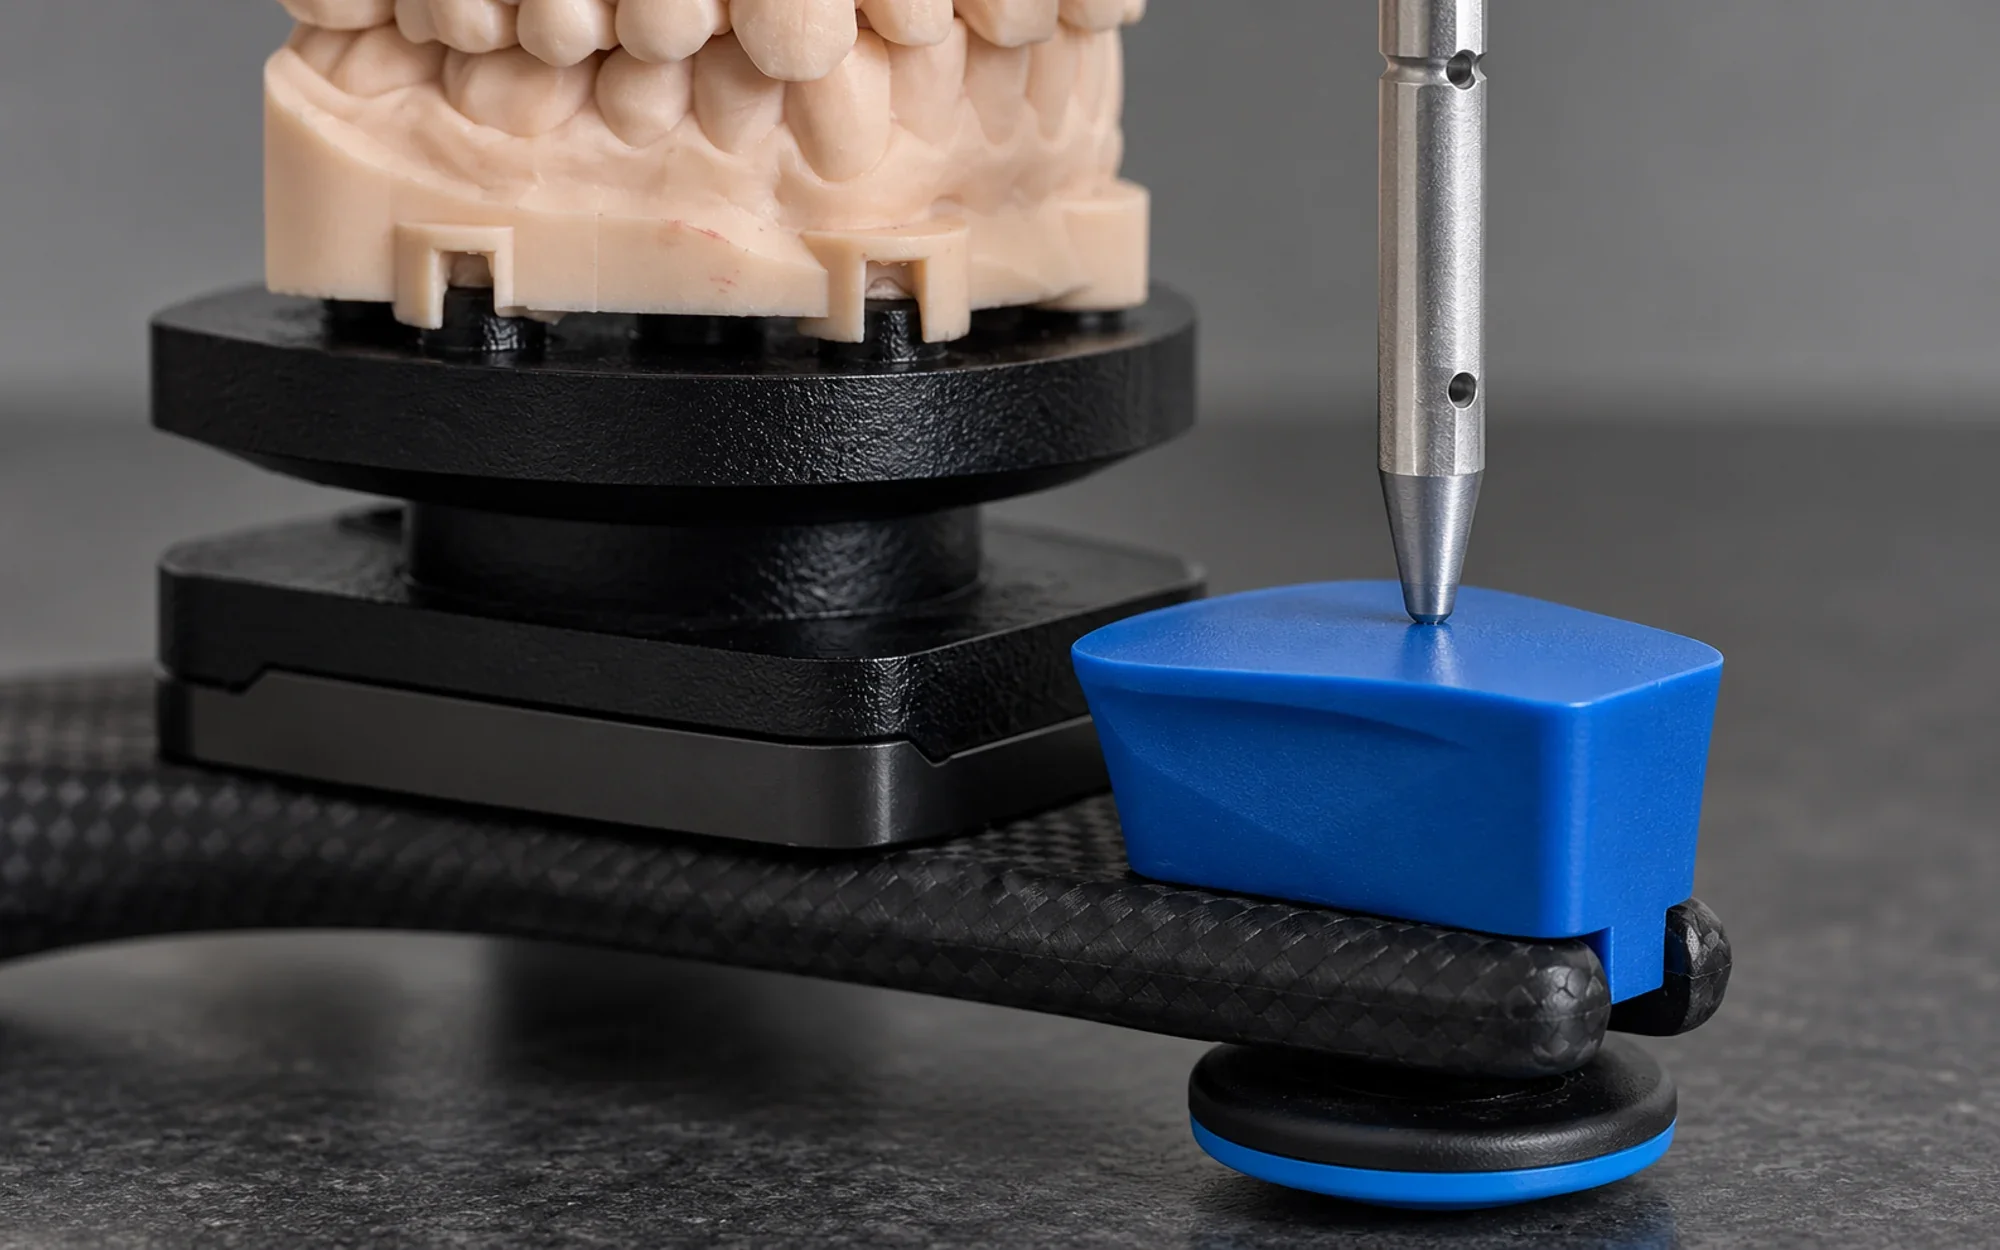
Then the articulator. When was it last checked? A calibration step that sets the zero on your own instrument takes its offsets out of the question.
Then the print. Same printer, same resin, same curing as last week? A new resin batch or a skipped post-cure is a common source.
Then the design and the scan. Only now. These are the slowest links to recheck, and in many labs they turn out to be the innocent ones.
Take one suspect off the list
DACOS can’t control your scanner, your printer, your resin or your articulator. We say so plainly. What we engineered, as a precision instrument, is the step where your model meets the articulator.
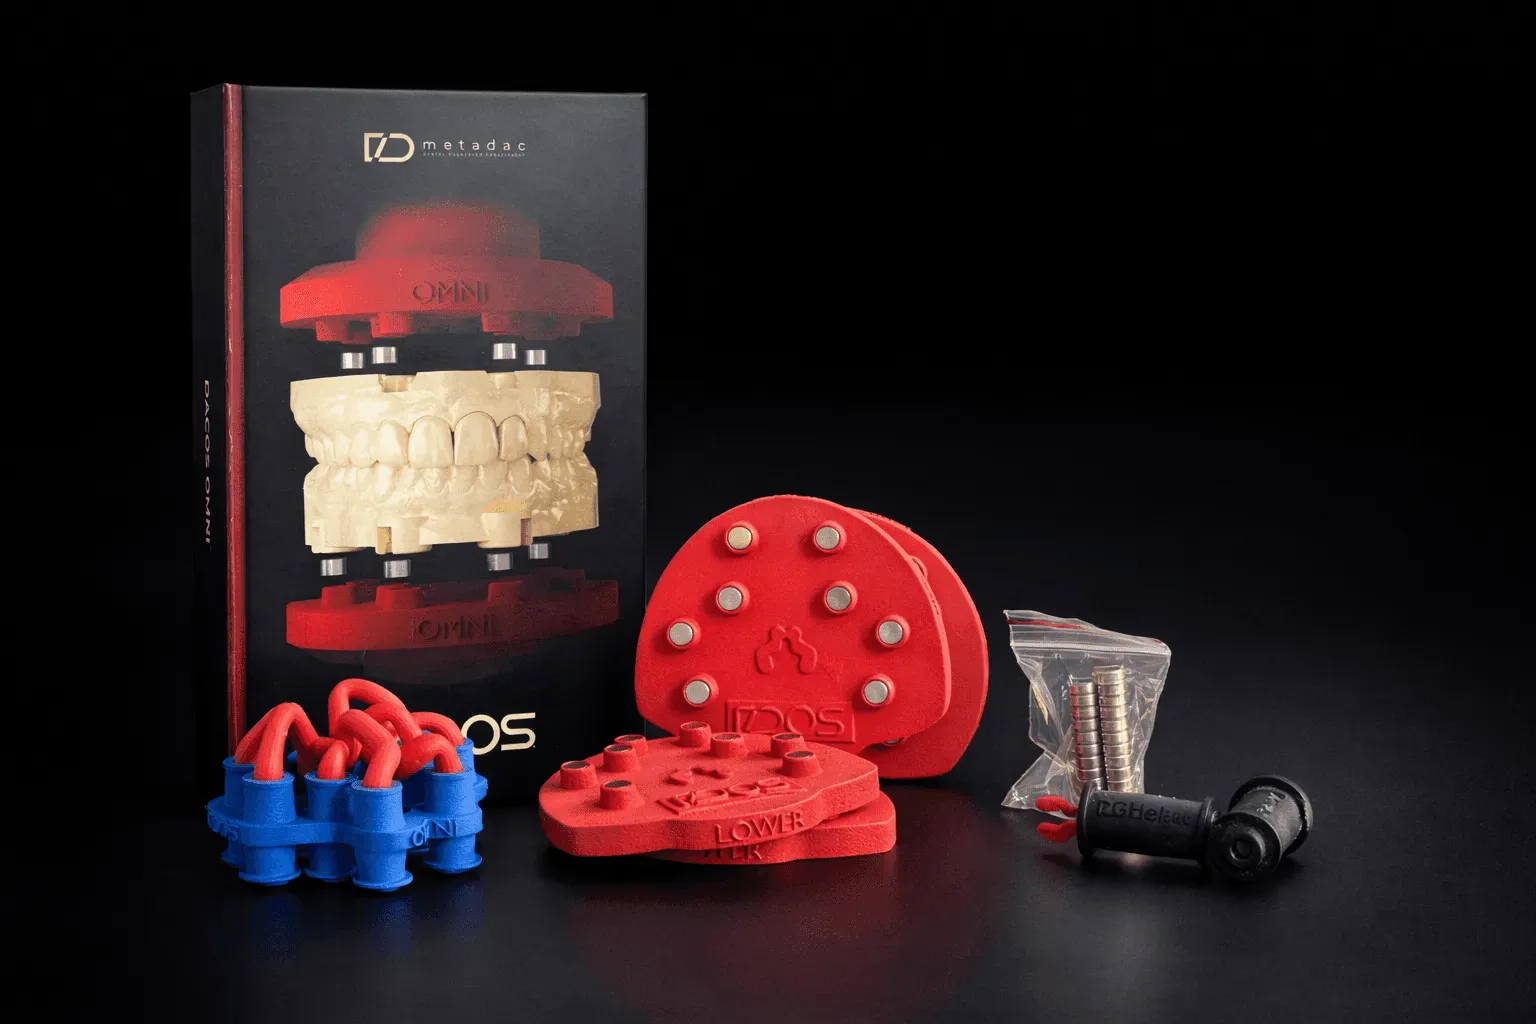
ZeroDrift™ Transfer is built for that one link:
- ShieldBase™ Geometry prints flat, without supports on the contact zone, so the base doesn’t force a print orientation that compromises the teeth.
- DockingMatrix™ lets you choose, case by case in CAD, which of nine magnet combinations leaves this model’s analogs clear. No collision, so the model seats fully.
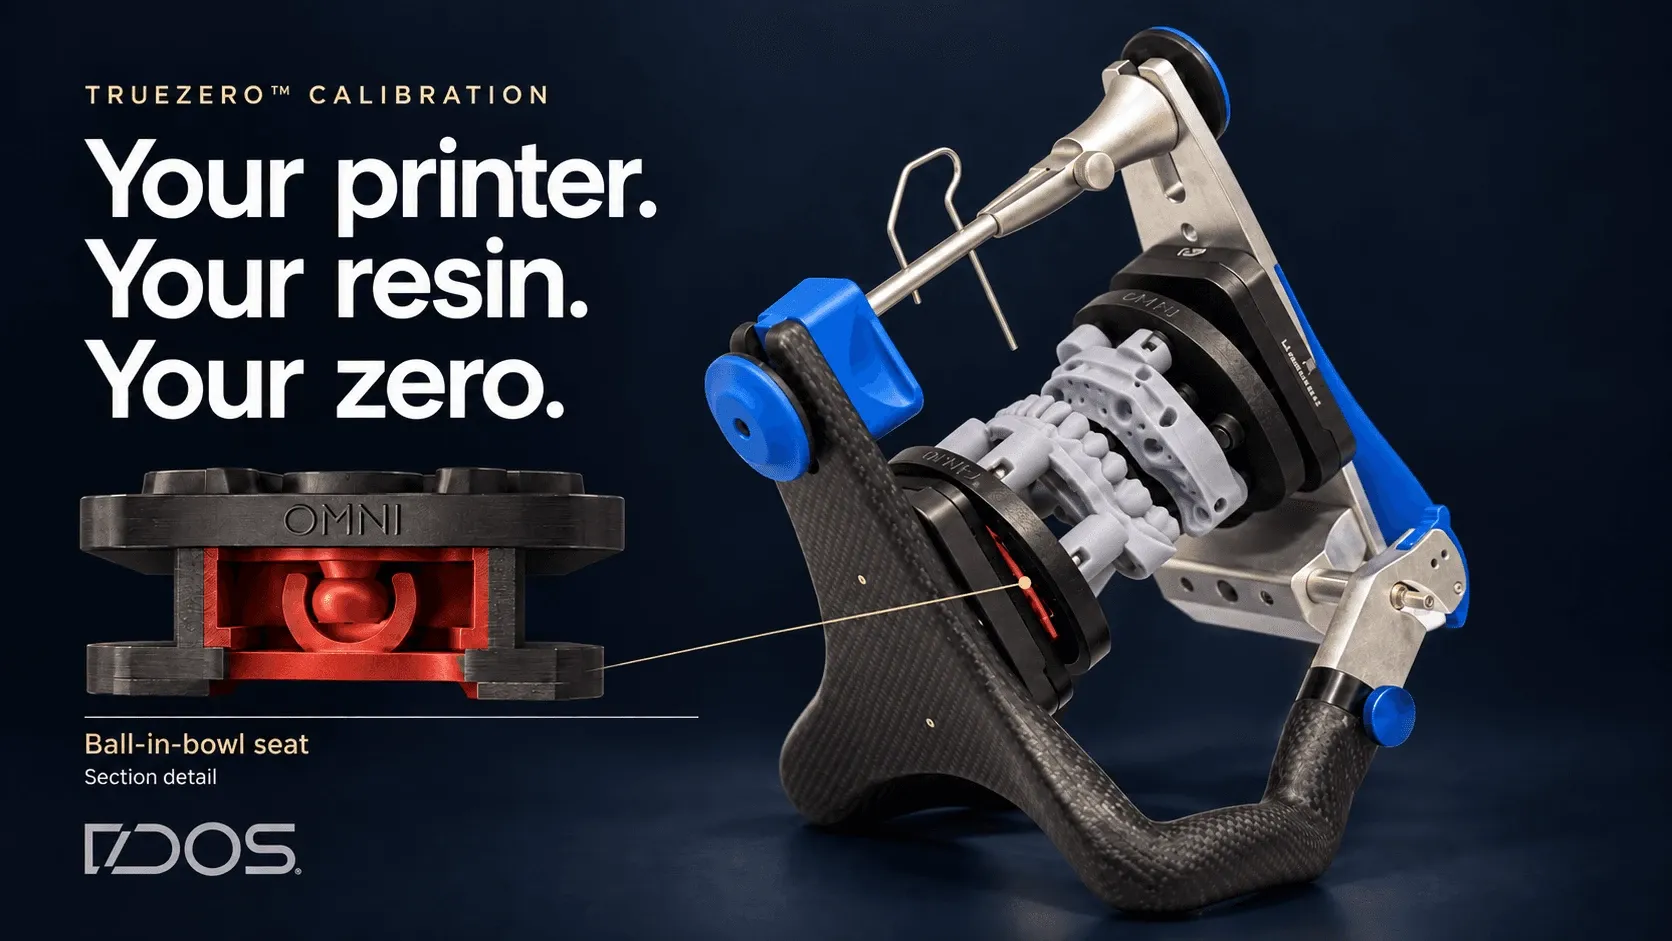
- TrueZero™ Calibration sets the zero on your articulator with a calibrator printed on your printer and resin, so your equipment’s consistent offset cancels out instead of stacking up. How it works.
- Dedicated CAD libraries for exocad, 3Shape and Blender for Dental keep the whole protocol inside the software you already use.
The result is three things you check at the bench on the first mount: the pin closes to zero, the contacts on the articulator are the contacts you designed, and the model doesn’t move.
When something is still off after that, you know where not to look. The transfer is no longer on the list, and the hunt starts one link higher.
The chain is only as strong as the step nobody checks
Your scanner, your software and your printer were bought to a precision standard. The transfer should meet the same standard, or it quietly erases the work of everything above it.
Read more about transfer drift, the name for the error this post is about, or see how the kit fits your articulator.