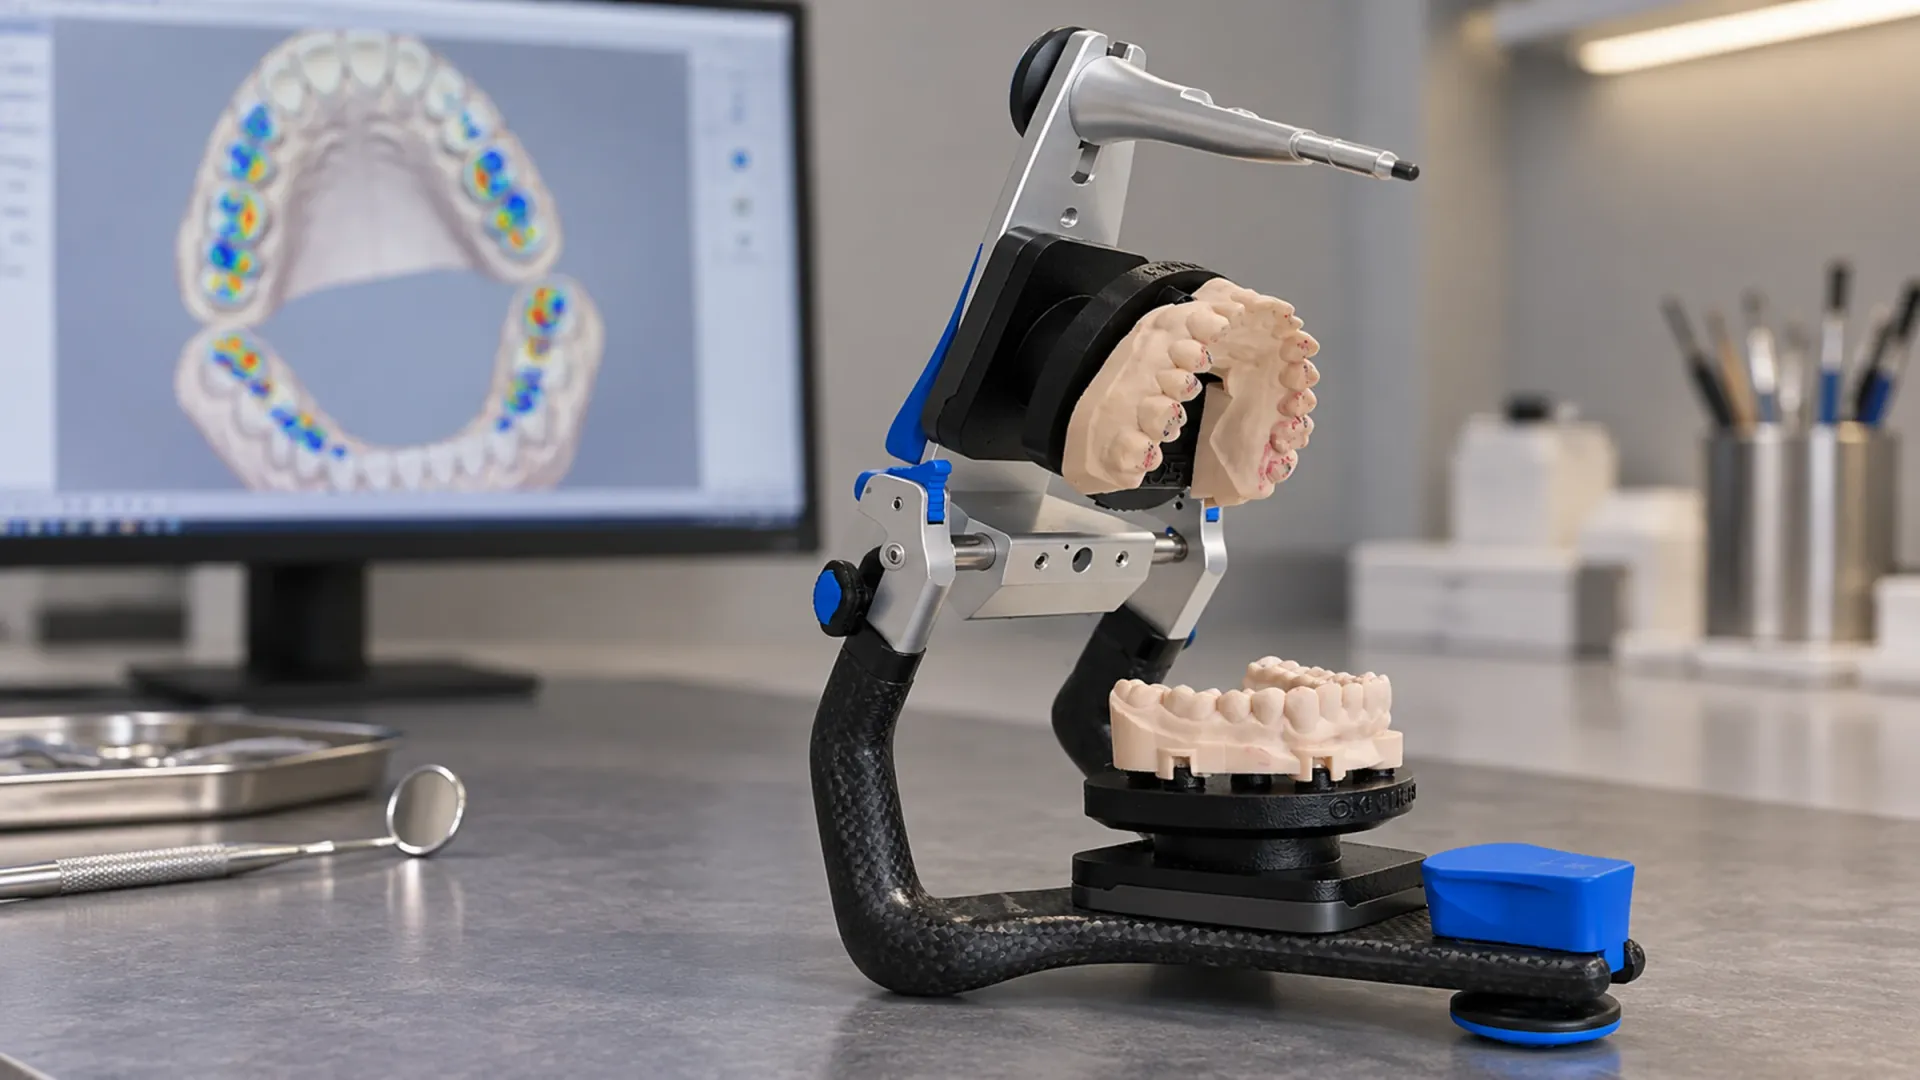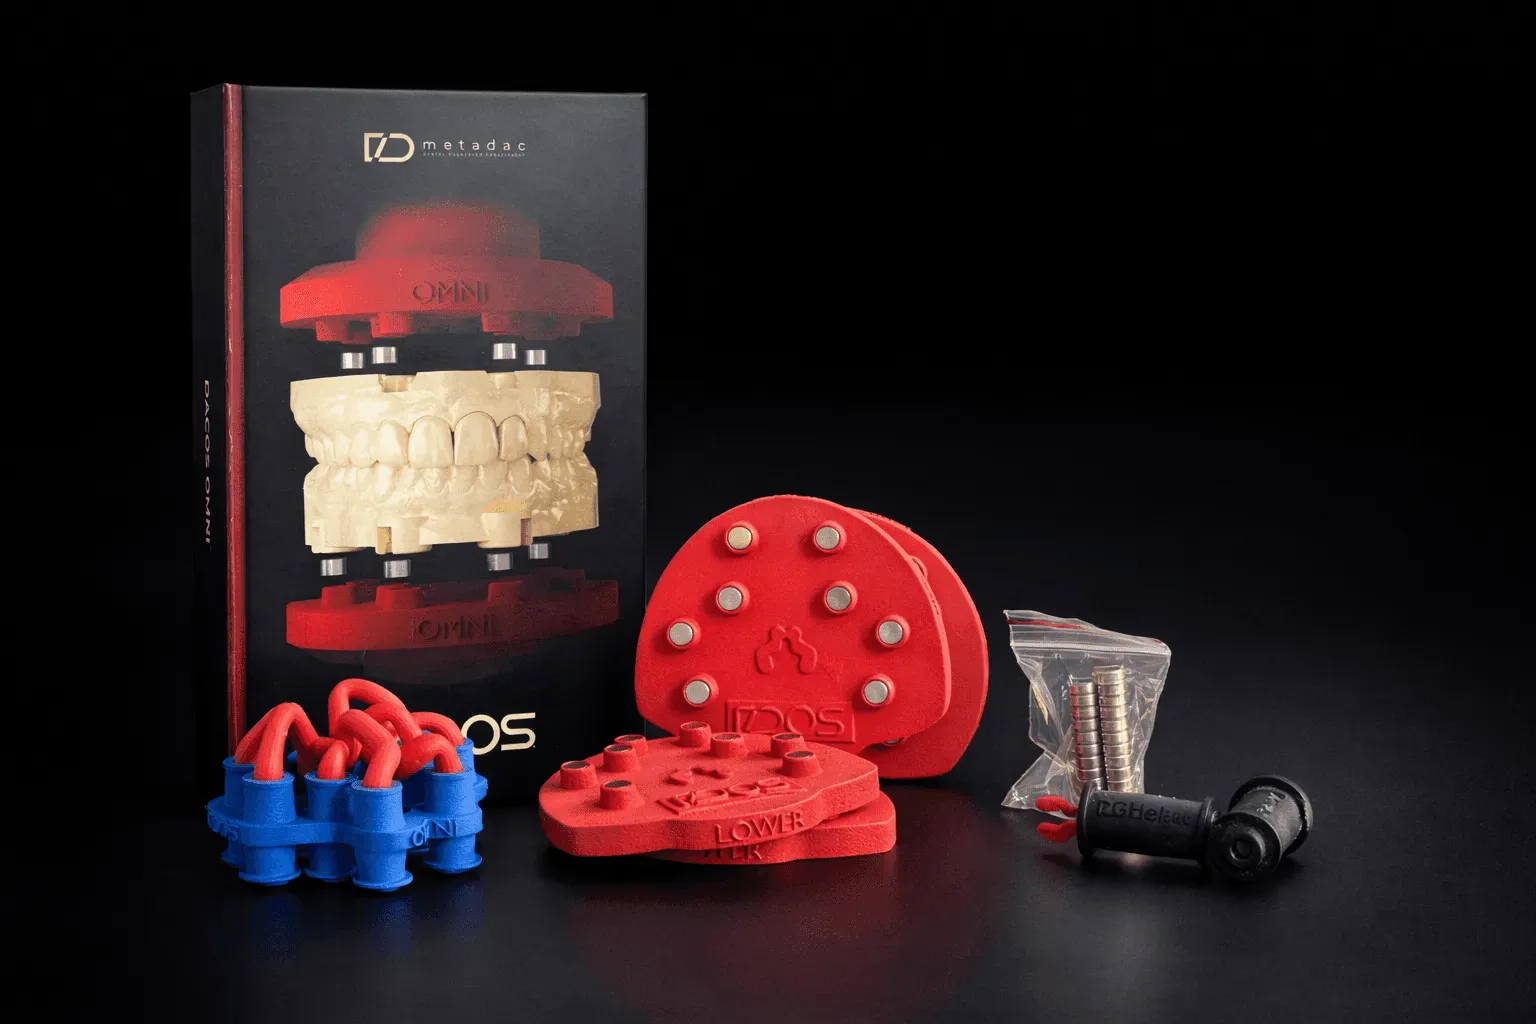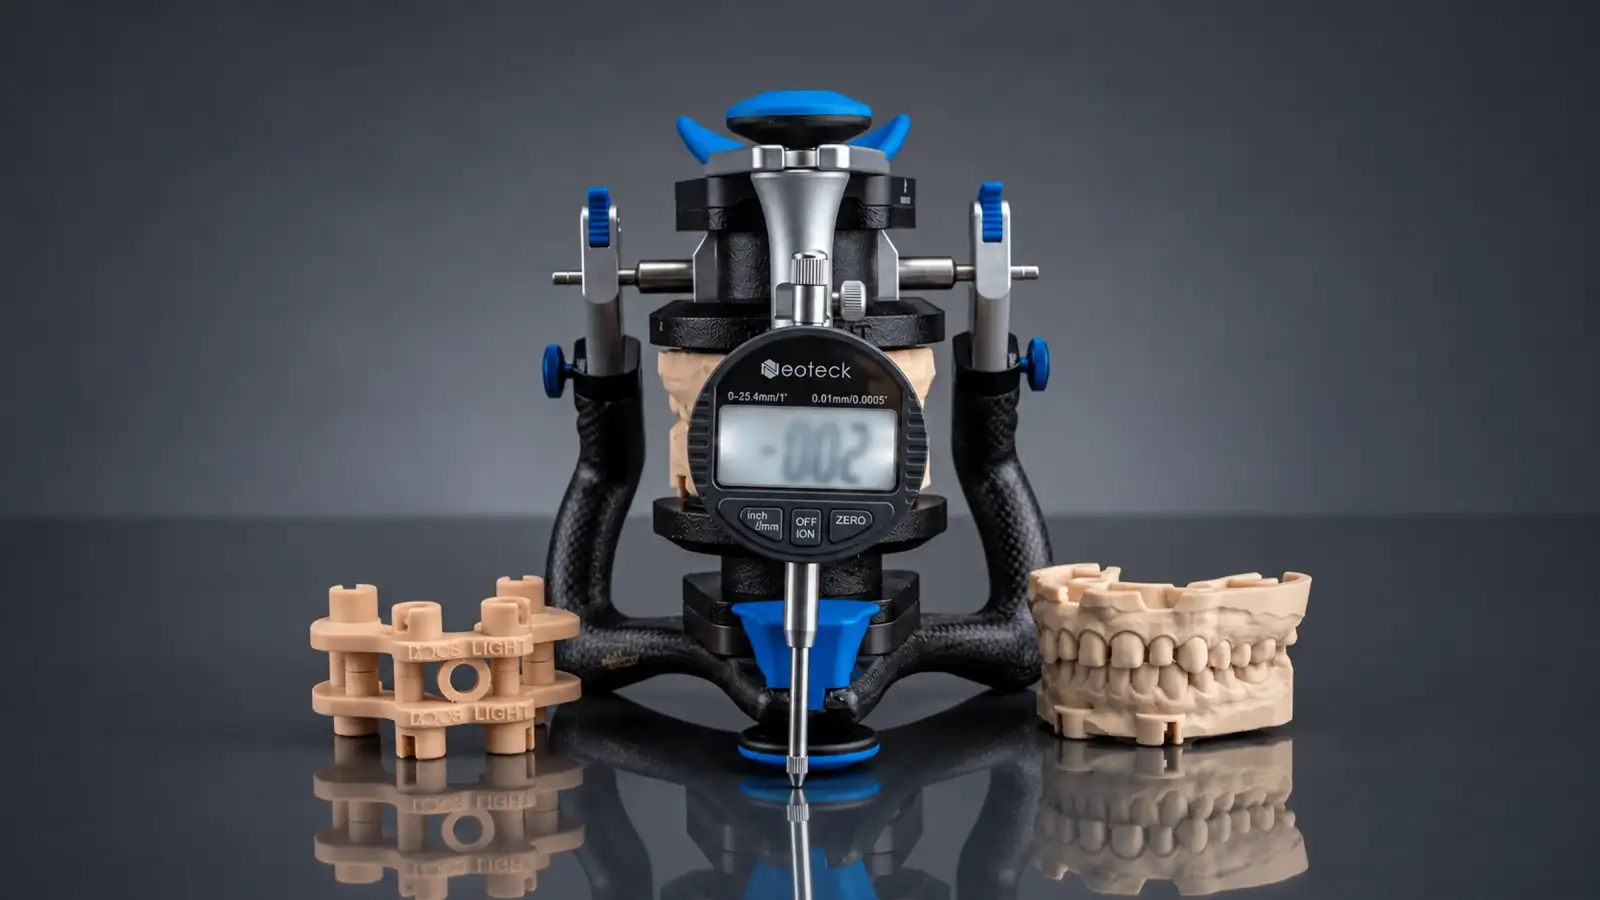
The number, first
Ask any plaster-free brand about precision and you get a number. Ask us, and you get the same thing, followed by the part most brands leave out.
We measured the ZeroDrift™ transfer with a calibrated digital indicator. Mounted, seated and measured again, the model on a DACOS Omni plate holds its position within ±0.02 mm.
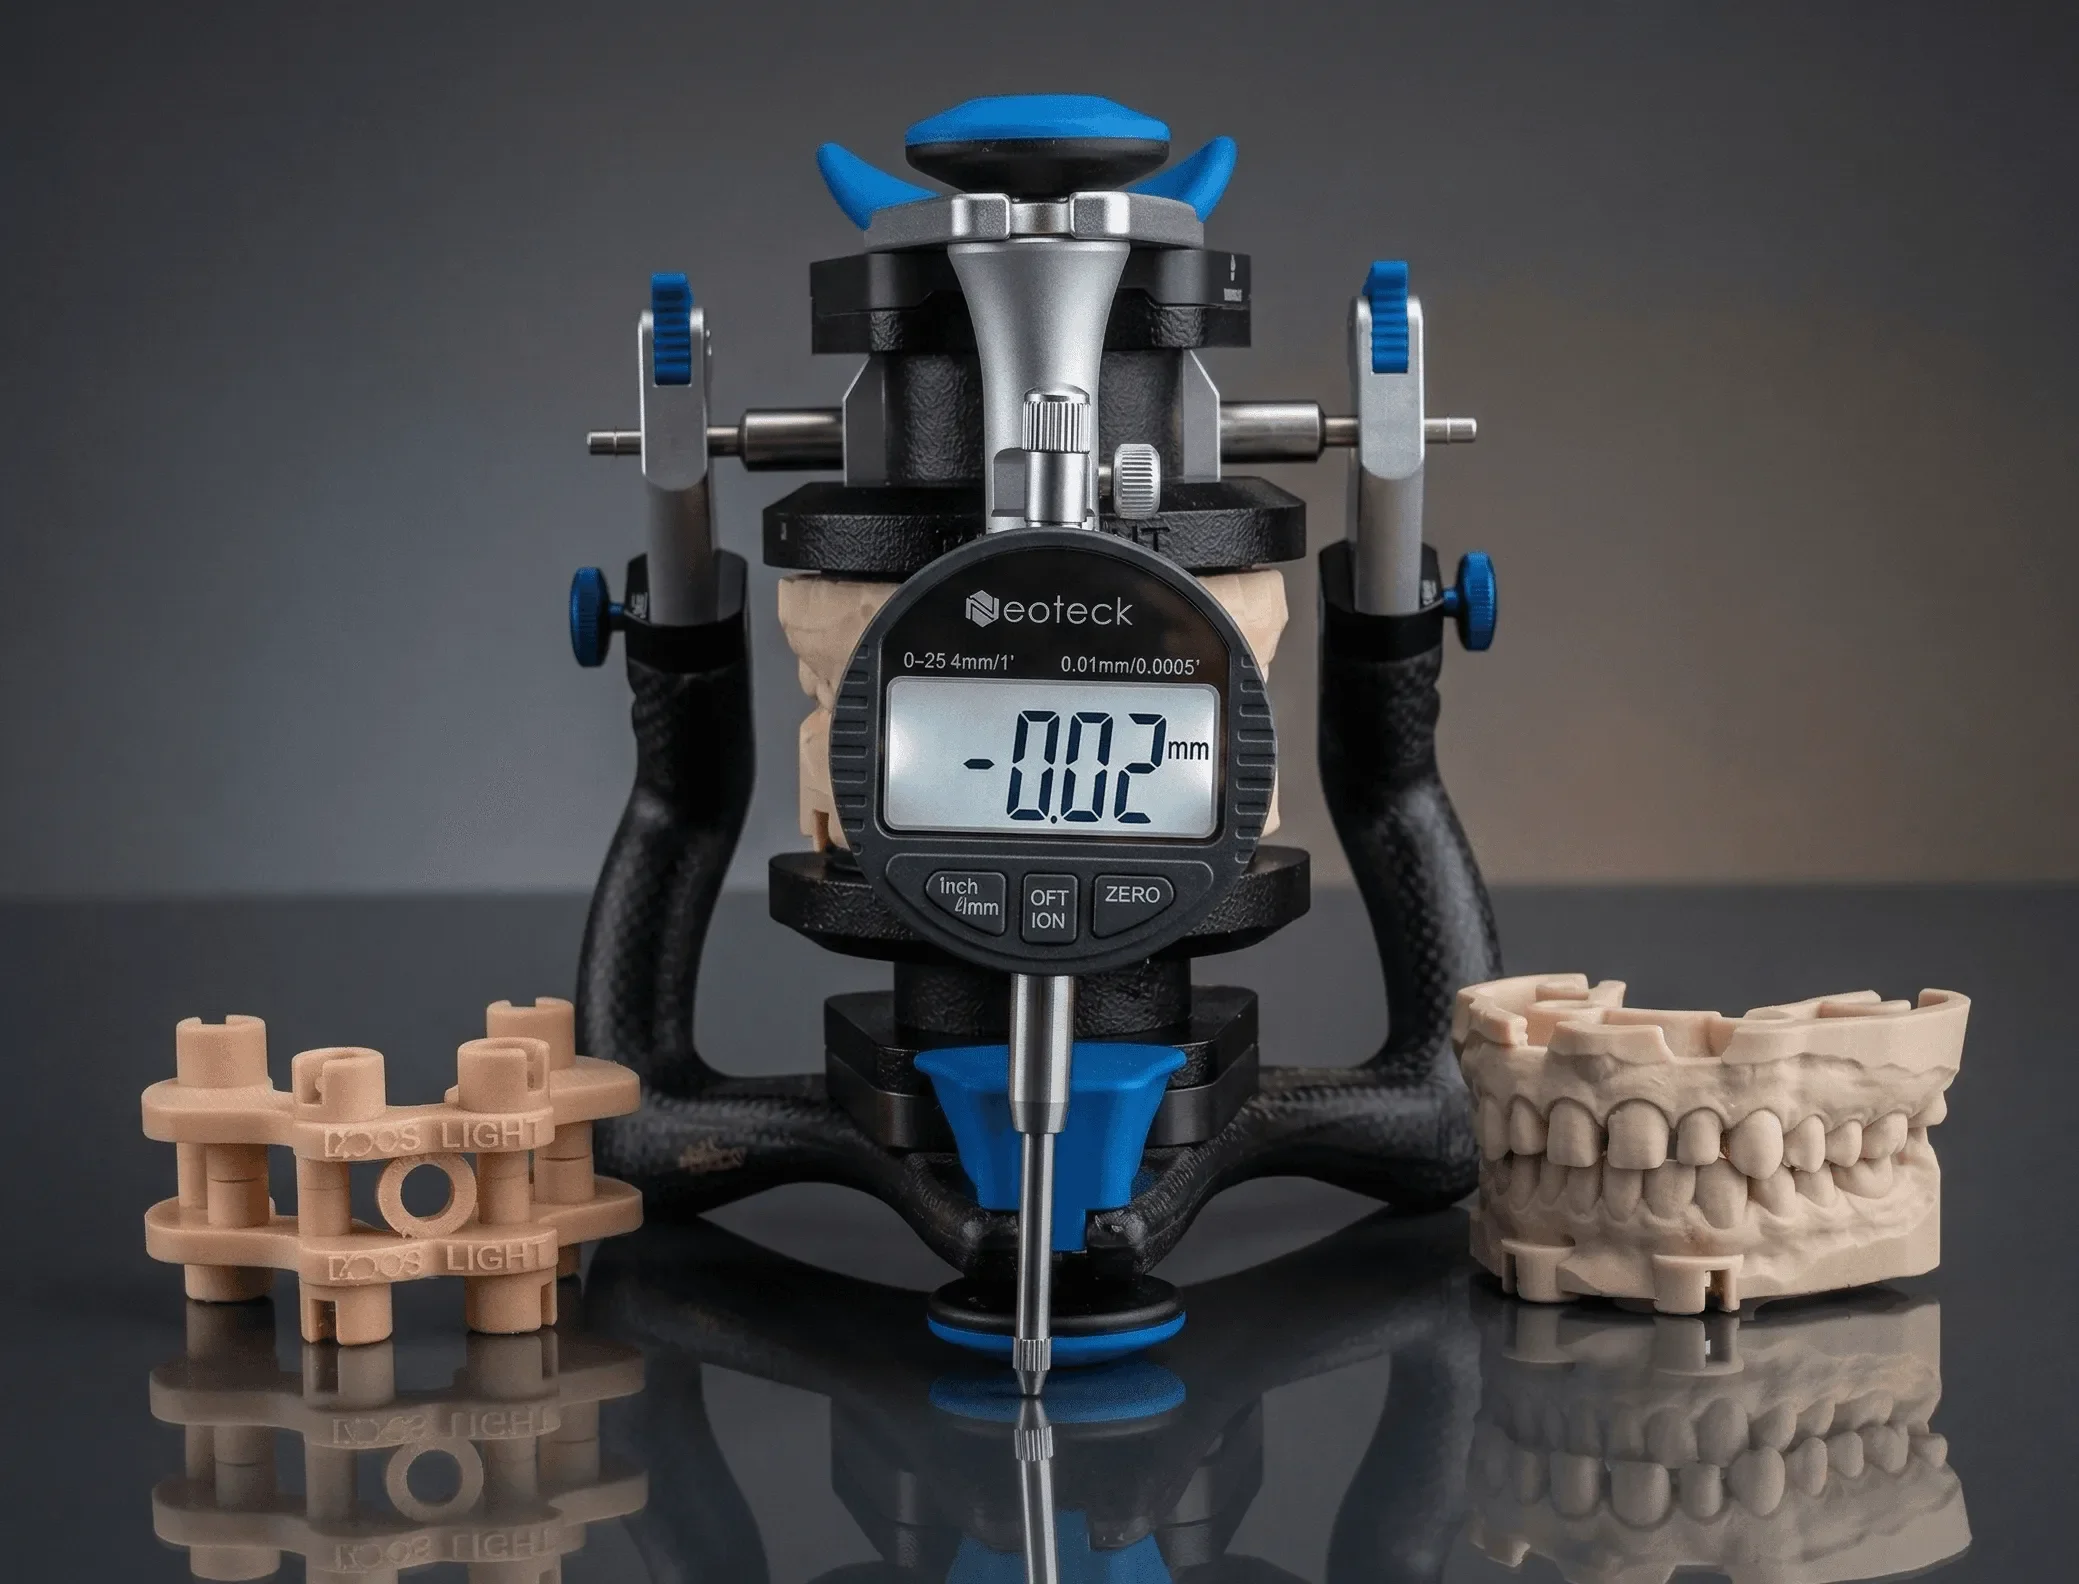
Now what that number covers: the plates, the magnets, the seat and the attachment geometry, under controlled conditions in our lab. The transfer step, isolated from everything else.
What it doesn’t cover: your scan, your design, your printer, your resin, your curing and your articulator.
Why it’s a ceiling, not a promise
±0.02 mm is the best the transfer itself can do. It’s the top of what any case can reach through DACOS Omni, not the result every case on your bench will show.
Your result is a chain. The scan sets the starting point, the design adds its choices, the printer and the resin add their tolerances, the curing adds its own, the articulator adds its play. We wrote about that chain in Your Contacts Don’t Match. It’s Not Your Scan.. Every link adds something, and the final figure is never better than the sum.
That’s why a number on a box proves so little. Many burned labs bought a system with a figure on its datasheet. The figure was probably measured honestly. It just described one link, and the contacts on their articulator described the whole chain.
A transfer measured to a tight ceiling matters for one reason: it takes our link out of the sum. What happens on your bench is decided by the rest.
The real test: the pin, every day
So here is the check that actually matters, with all the variables of a normal working day: a new resin batch, a printer that ran warm, a different technician at the bench.
Mount the model and look at the incisal pin. On a calibrated DACOS Omni setup the pin closes to zero, and the largest gap you should ever see at the pin stays within 0.2 mm.
Why a larger figure at the pin than at the transfer? Two reasons. The pin sits much farther from the hinge axis than the teeth, so it shows any small vertical difference larger than it is at the occlusion. And the pin carries the sum of every link in the chain, not only ours.
If the pin stops beyond that, something in the chain has moved. Start looking from the bottom: the transfer is the link you can rule out first, then the articulator, then the print, and only then the design and the scan.
The contacts must come back too
A pin at zero says the vertical is right. The contacts say the case is right.
Open the case in your CAD software and put the screen next to the articulator. Mark the contacts with paper on the bench and compare them point by point with the contact map on screen. Same contacts, same points. That’s the promise of ZeroDrift™ Transfer: the contacts you design are the contacts you verify.
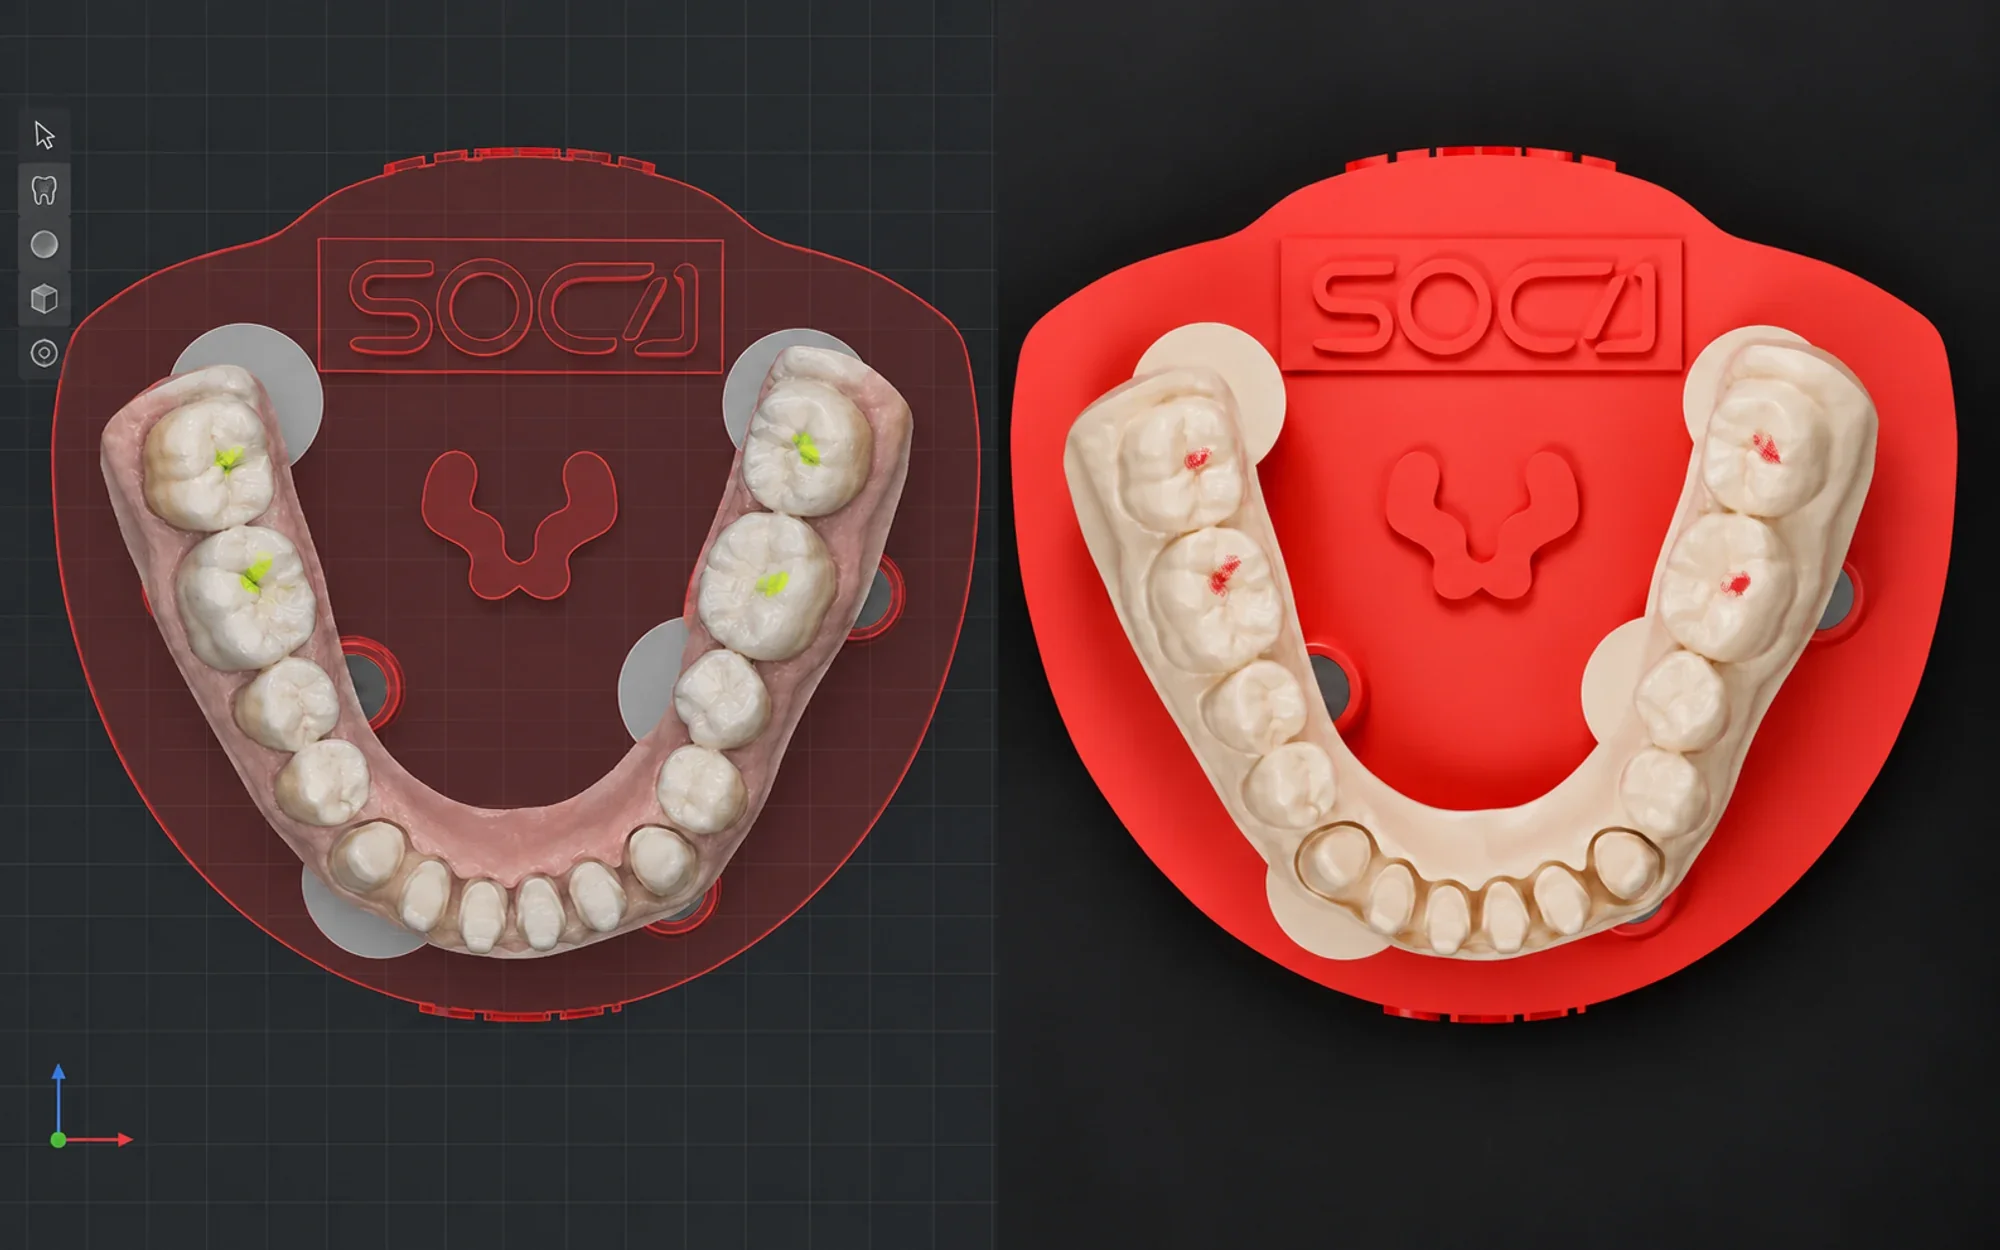
Then press on the model with your thumb and move the articulator through its excursions. It doesn’t rock, lift or shift. A model that moves is a model you can’t trust.
Want it harder? Take an implant case. In CAD, pick whichever of the nine DockingMatrix™ combinations leaves this model’s analogs clear, print it, mount it, and run the same checks. The base doesn’t touch the analogs, so the model seats fully.
How to run the test in your lab
- Calibrate once. Print the TrueZero™ calibrator on the same printer and resin you use for patient models, fit it on the articulator, lock the seat. This happens at setup, not on every case.
- Design a real case. Use the DACOS library in exocad, 3Shape or Blender for Dental. Pick a case you know well.
- Print it the way you always do. Same printer, same resin, same post-curing.
- Mount it and check. The pin within its limit, the contacts next to the screen, pressure on the model.
Don’t take our word for it
The number tells you what the transfer can do. The pin and the contacts tell you what your lab does with it, and only your bench can answer that.
If you’re comparing systems, the buyer’s checklist starts with the same question: can they prove the transfer on your bench?